To access your email templates, kindly navigate to your communications & events area which you may access from the left hand menu > then click on communications.
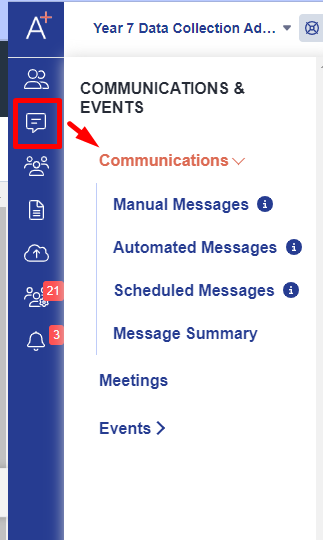
From there, you will see there are different types of email which are:
- Manual messages - these are email templates you've created and may send it to your students/parents.
- Automated messages - by default, these are the preset templates stored on your system and you have the option to use it & update the content as you wish.
- Scheduled messages - these are email templates that's being sent at a particular date and time.
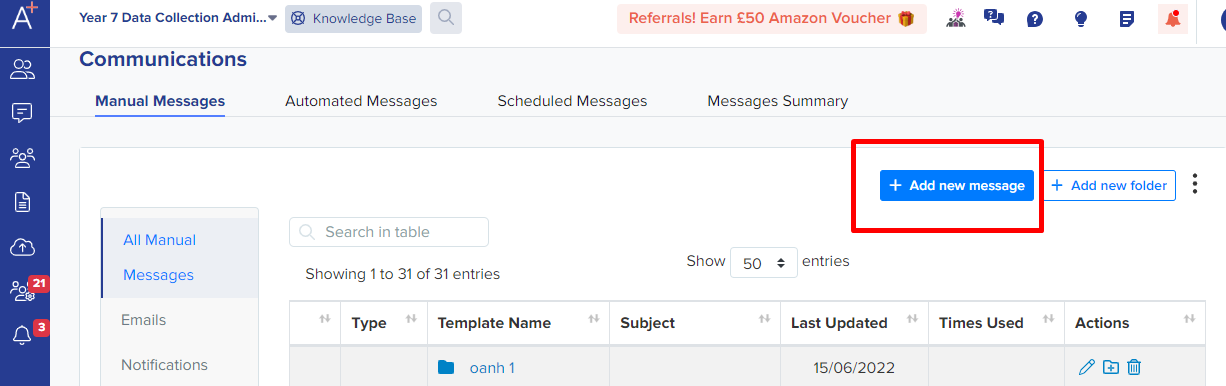
Now, to create a new email template, you may click on the 'Add new message' button on the right hand side and it will load you a fresh template view.

Note: If you are seeing “admin@applicaa.com” in the From address, this means you have not requested a DNS update. You can request this by clicking the 'i ' icon beside the Sender email field then add the details for your IT Manager - it will then mean you can send emails from your own school domain once this has been activated!
Here's the guide on How to change your default email settings for you further reference.
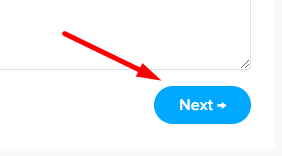
Then once all the required fields are provided, click on next button (located on the bottom right corner of the page)
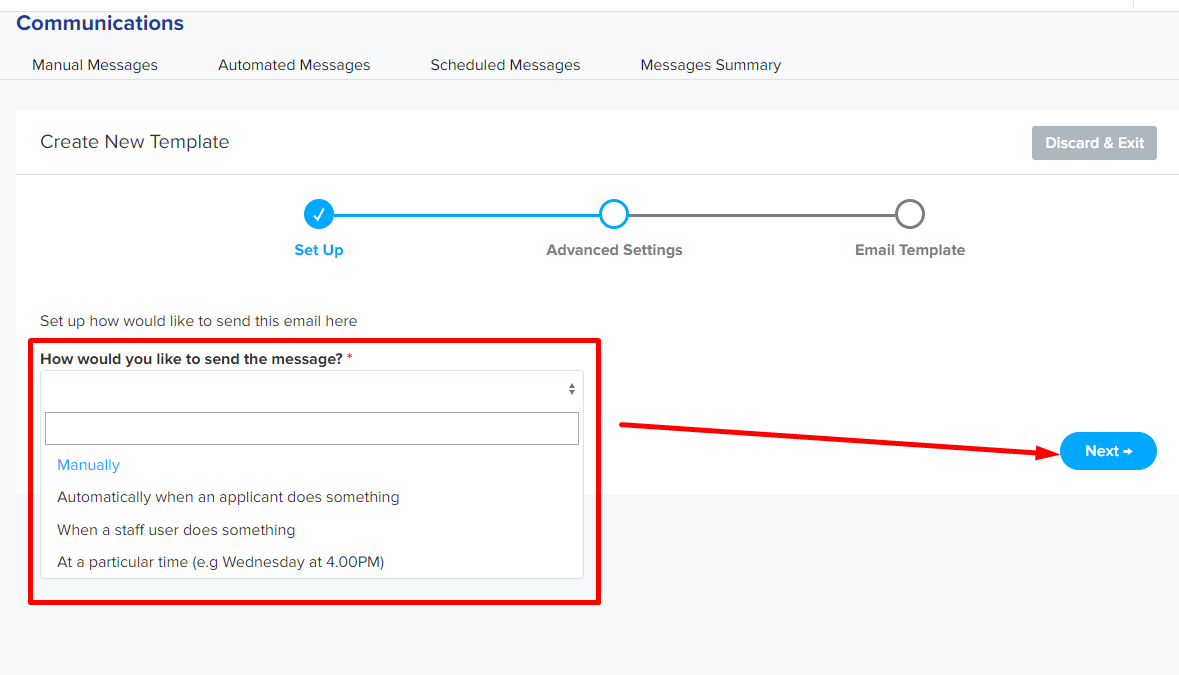
The next page would be the 'Advanced settings' - it will then ask you how you would like to send the message by clicking the dropdown menu then press next.
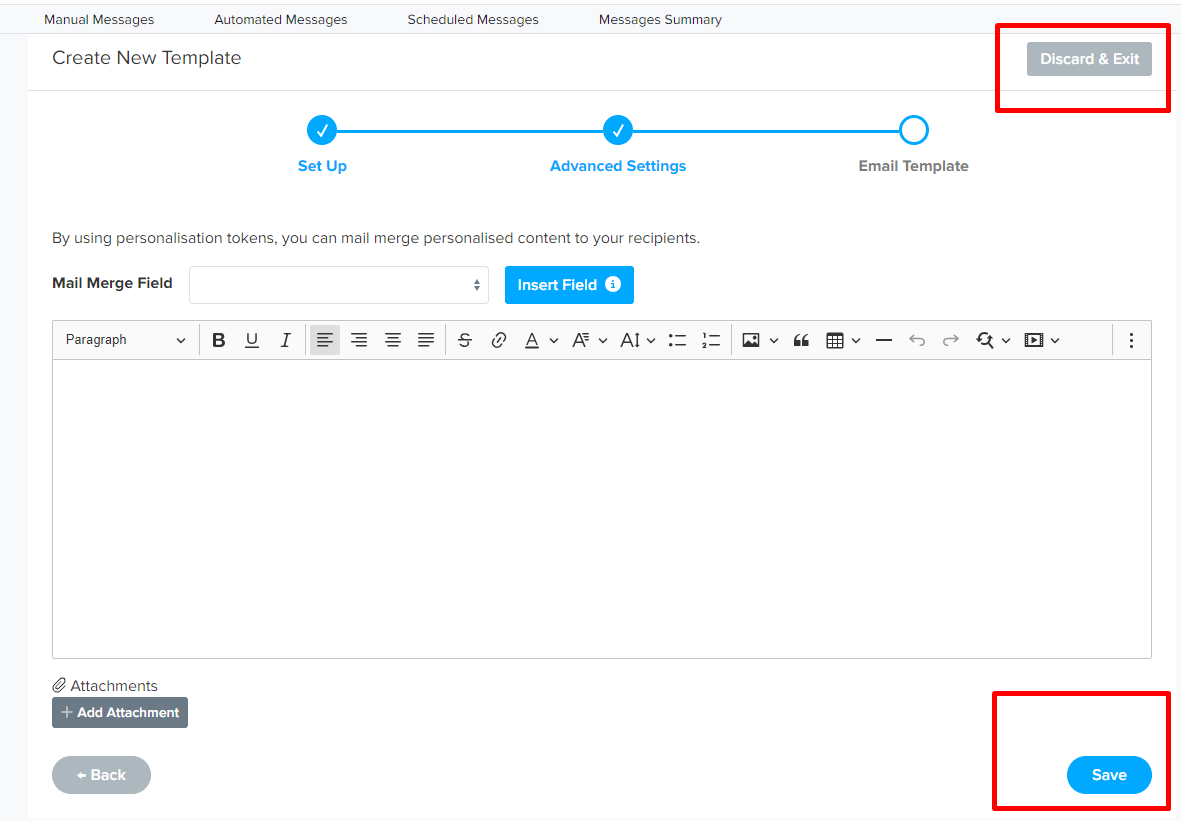
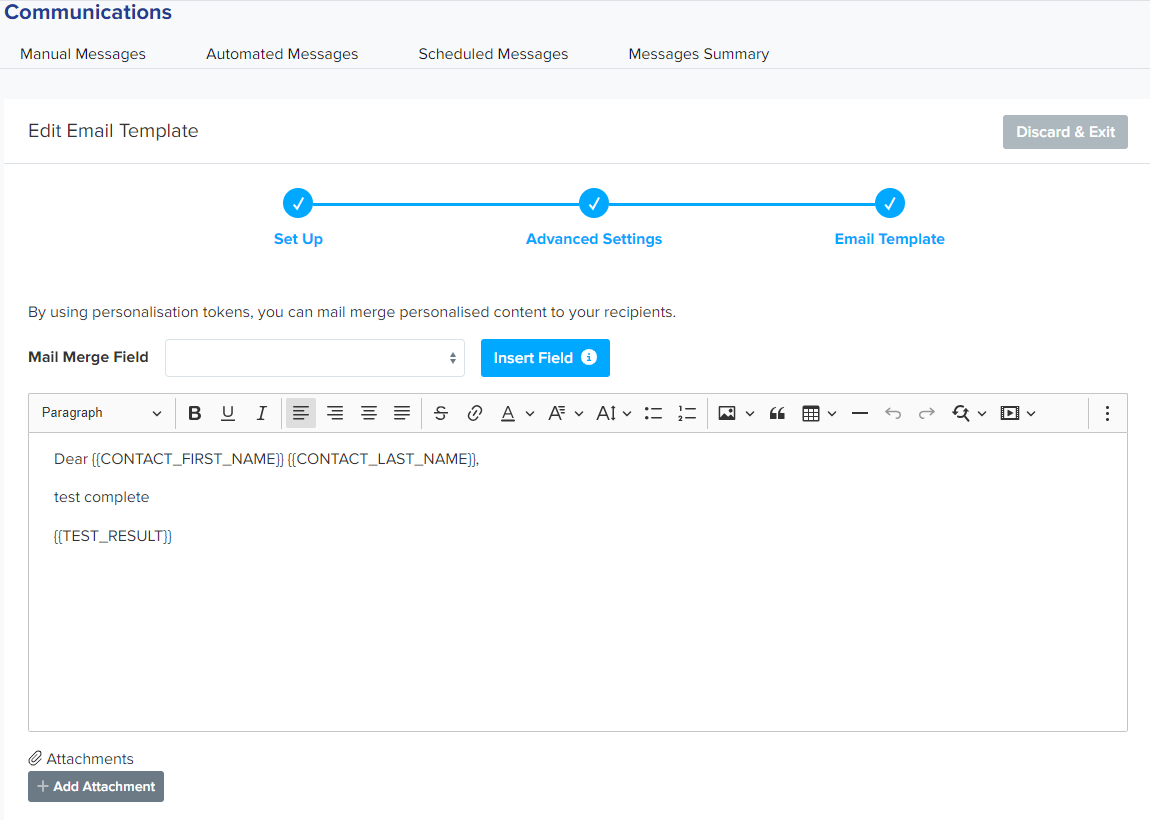
Lastly, you will now put the email content to the extra space provided then you may also add an attachment by clicking the 'Add attachment' button just below the content box.

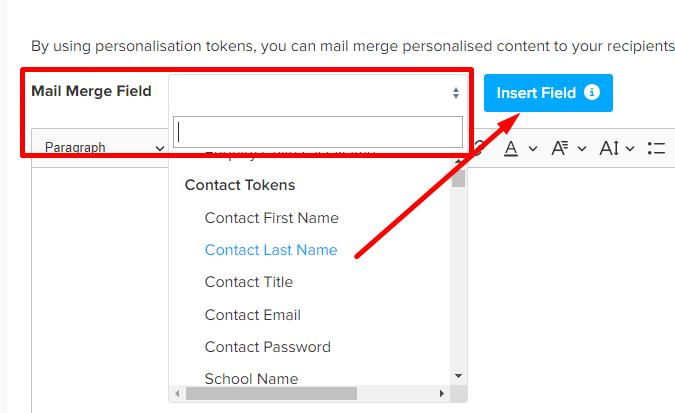
In addition, you may use our mail merge fields which then pulls through the data from the student/parents information i.e. Contact First name, Contact Last Name, Title, School Name & etc.
Once you're happy with the template you've created, you may click the save button on the bottom right corner otherwise 'discard and exit' if you wish to start from scratch.
******
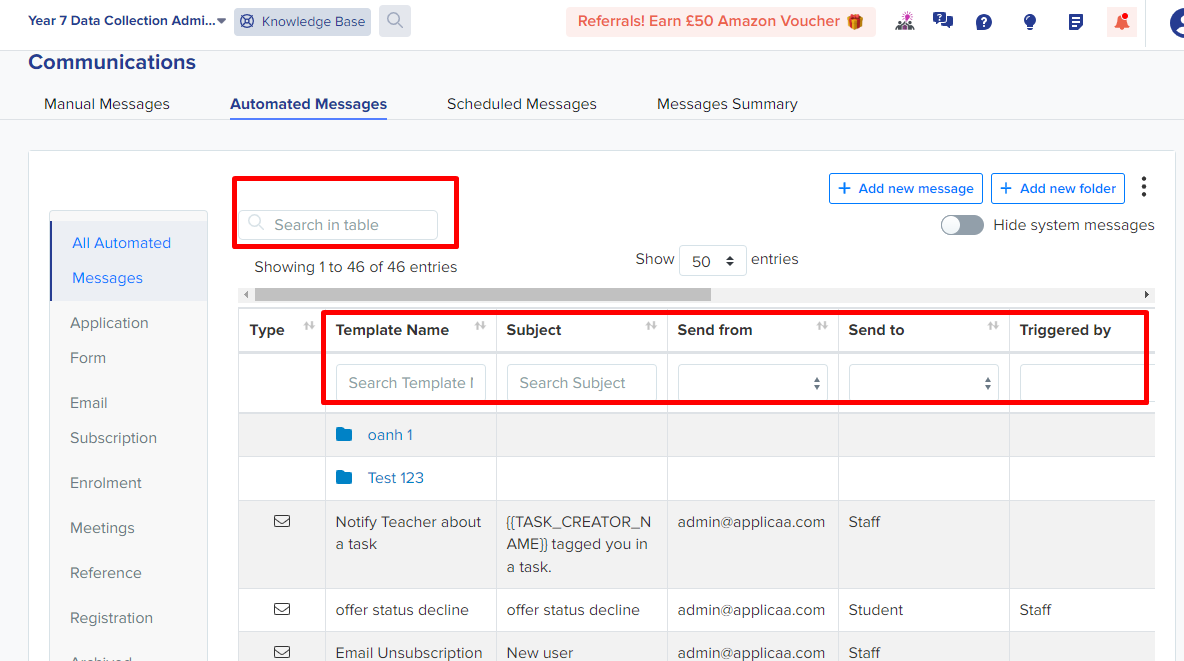
Now, to edit an existing email template - You will find your templates within your School Communications & events area & either select manual, automated or scheduled messages.
Once you're in the messages area, you can do a keyword search in the search bar at the top.
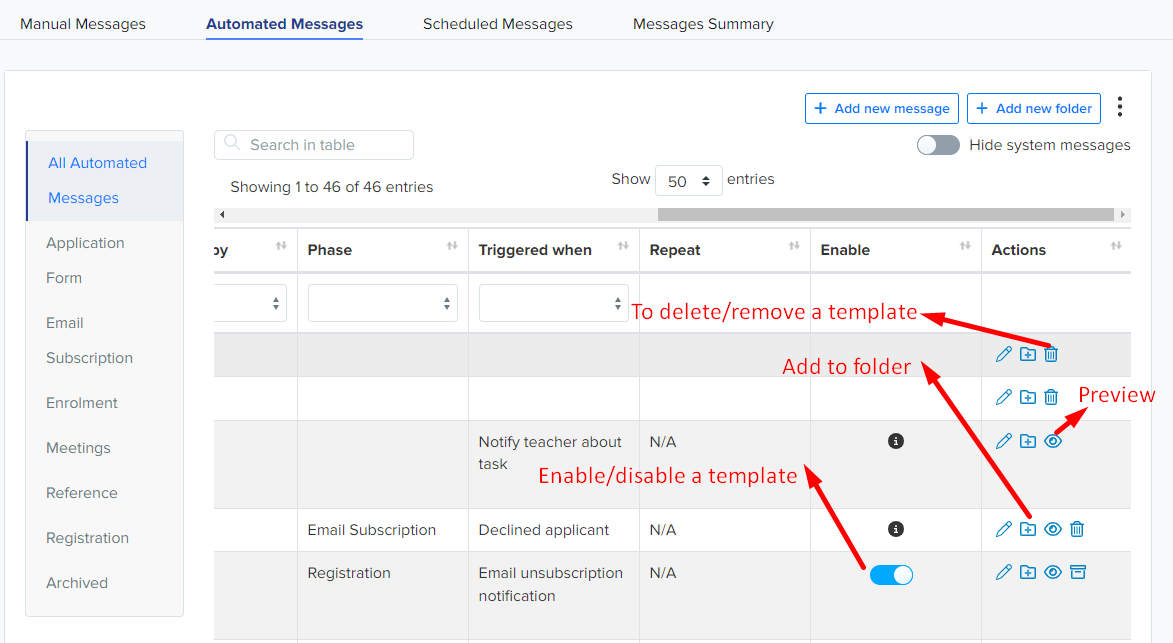
Then you can edit any existing template by clicking the pencil (edit) icon on the right-hand side of the table (you may use the scroll bar at the top of table to scroll across the page).
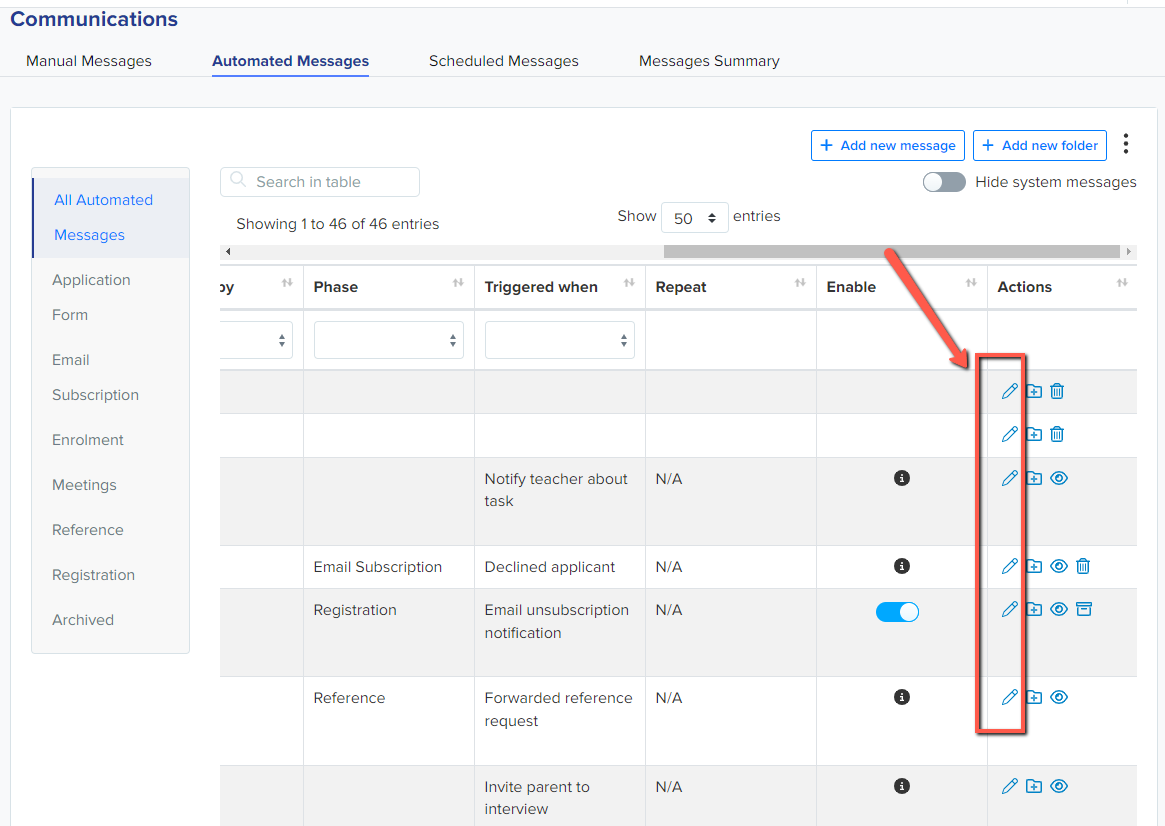
Other options would be: Preview an email template, enable/disable a template, delete a template or add to a folder to make your templates area tidy.
In the email processor stage, this is where you can edit your information and add attachments ahead of customising the body of the email.
Subject Header - this is the subject line which your recipient will see.
Template description - you may enter extra details to help you remember what the template is used for.
Target Audience - Recipient of the email
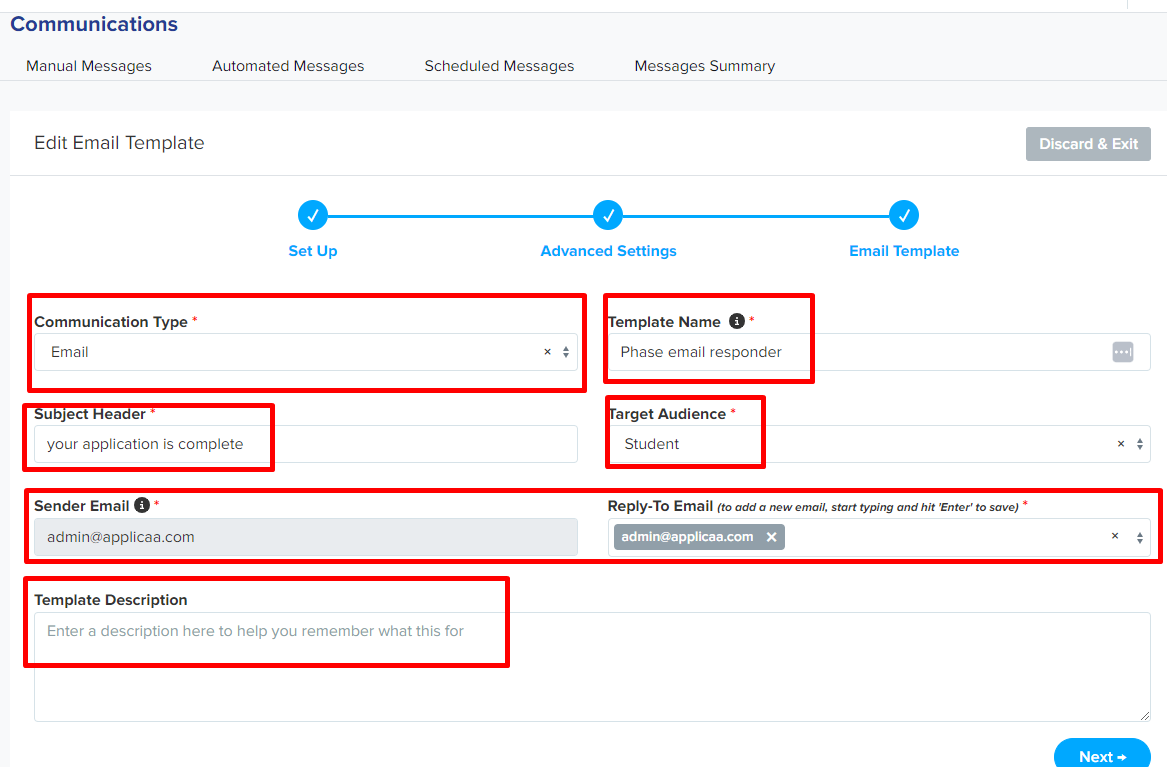
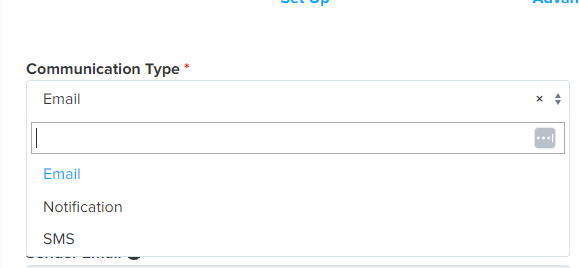
Communication type - sent via email or a notification which will only show via student/parent homepage or via SMS (How to use the SMS feature)
Once done, click on next button (located on the bottom right corner of the page)
You can then amend the existing message in the body of your email template by typing directly into the box, or copying and pasting from another source.
Remember to press SAVE once you have made your changes You can then send yourself a test email to check everything looks OK before you send it to your applicants - useful for checking formatting and spelling.
******
Sending an email to an applicant or group
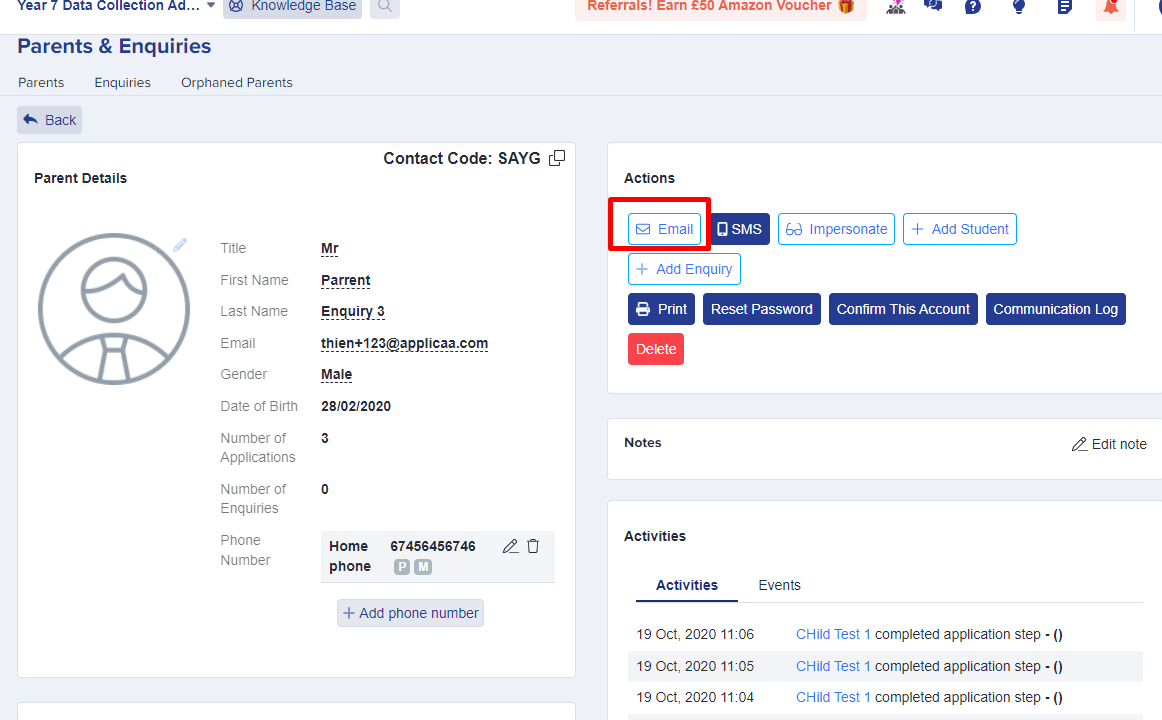
If you are emailing a single applicant/contact particularly a parent, you could load their profile and click “email” from the Actions area.
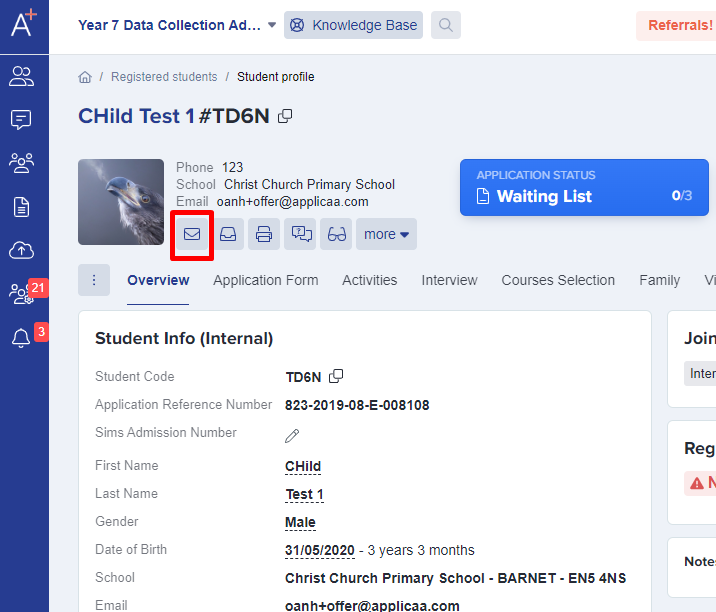
If it's a student, then you may go their student profile and click on the mail-like icon below their email address.
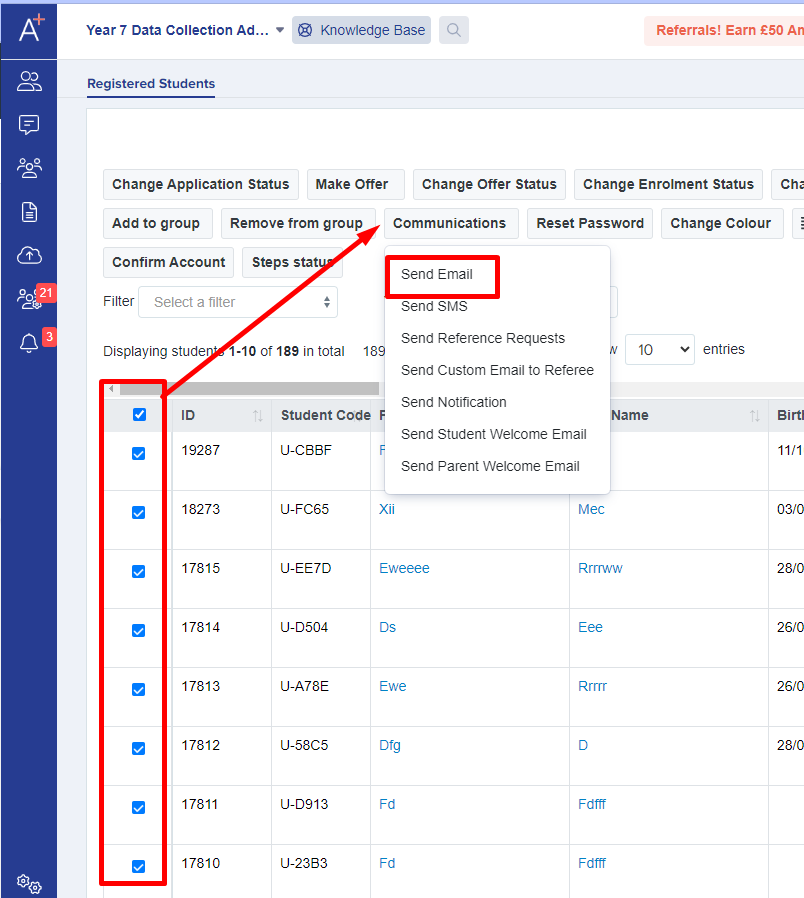
If you are emailing a group, you can email them in bulk by loading a group from your dashboard and then selecting the applicants in the list, before clicking “communications” and “send email”
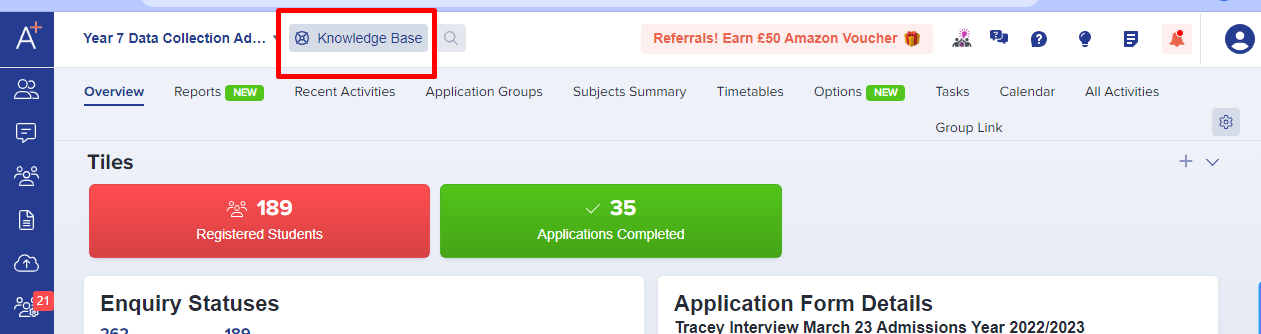
As an Admissions+ user, you are able to access our Knowledge Base 24/7 and this is regularly updated with new content, from webinars and videos to PDF guides on all aspects of the system.
You’ll find the link to the Knowledge Base at the top of your Admissions+ page however here's the direct link to our email templates area.
Should you have any concerns/questions please don't hesitate to contact out support line via this number ( 0203 667 0764 ) or contact your Customer Success Manager if you are still in your first cycle.