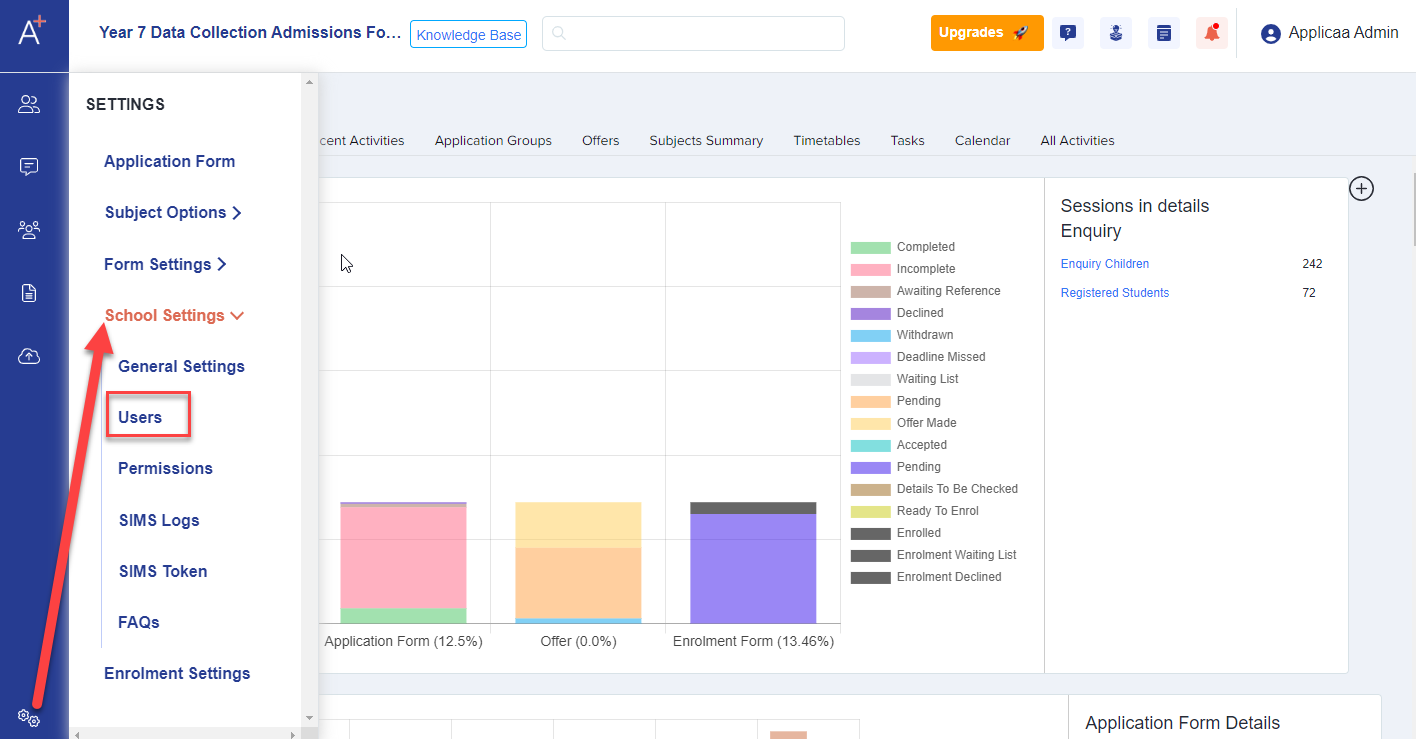
To add a new staff member, navigate to settings > school settings > users.
You have two options for adding staff members:
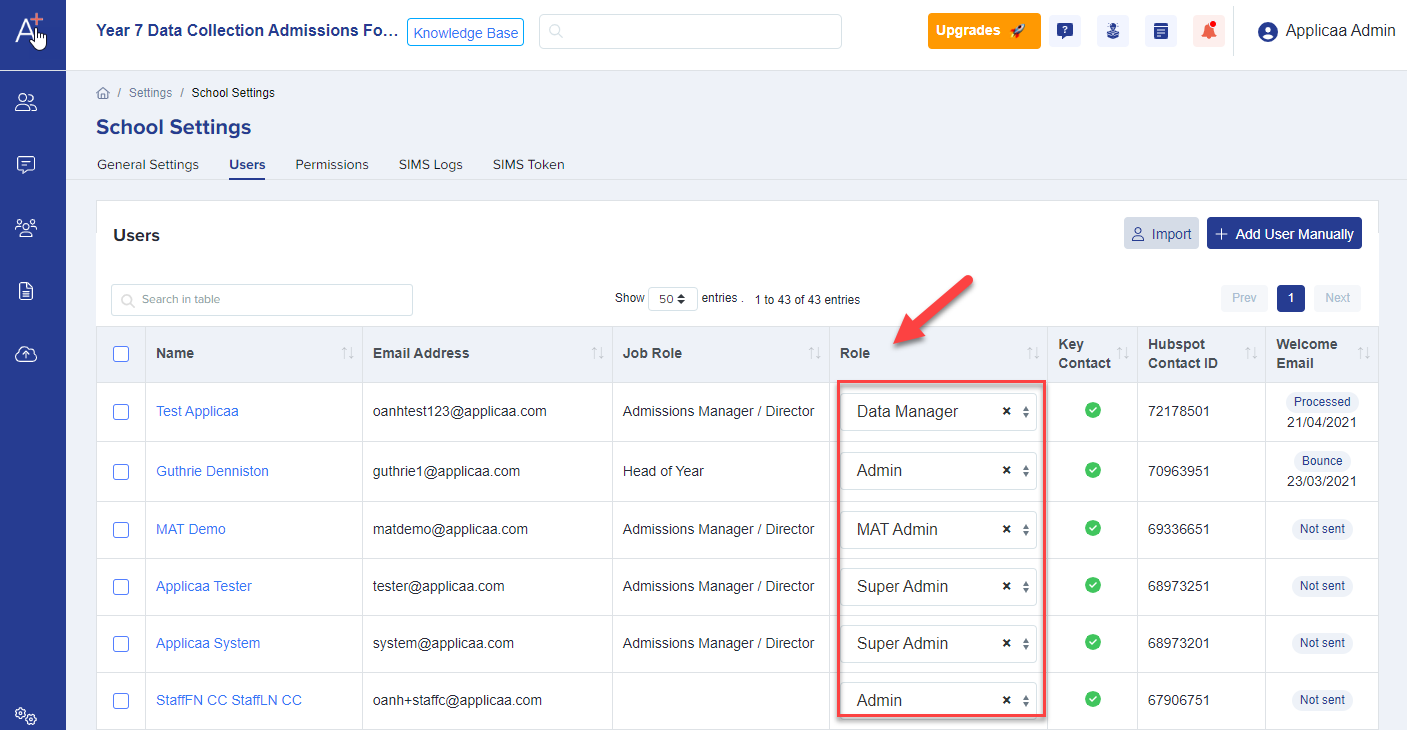
- + Add User Manually - to add an individual staff member
- Import Users - to upload a group of staff members in bulk

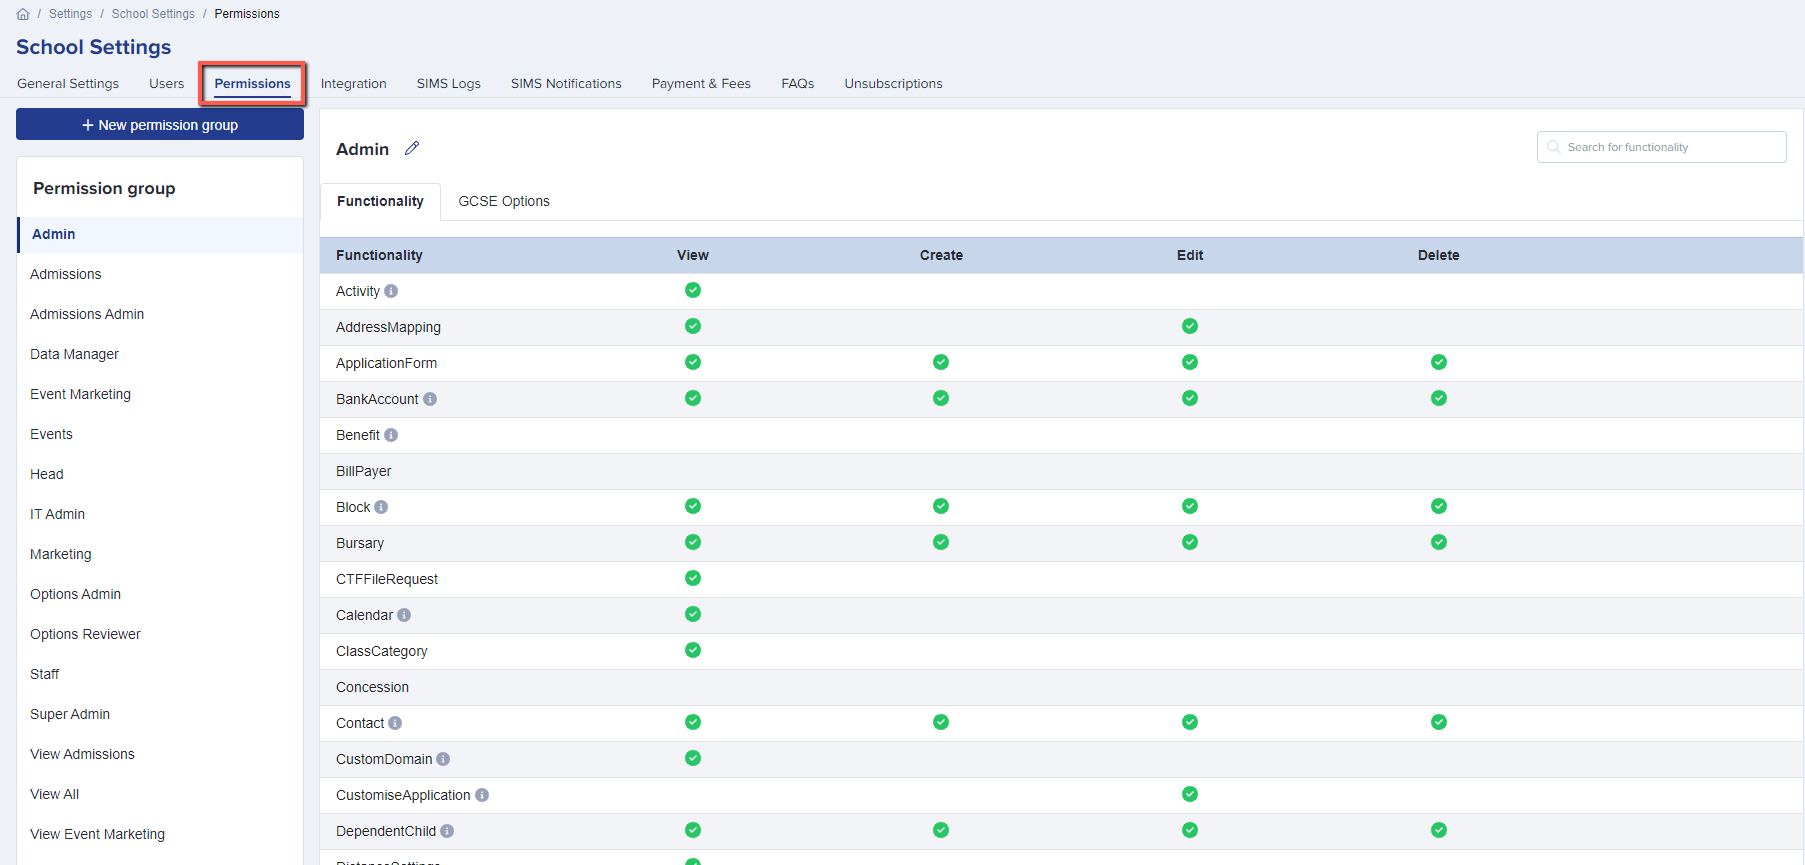
Note: Prior to adding your new users, you can also click on the permissions tab to check which role (and level of access) you want to assign to the new users. You may refer to this guide to know more about Managing Permissions
To add a user manually:
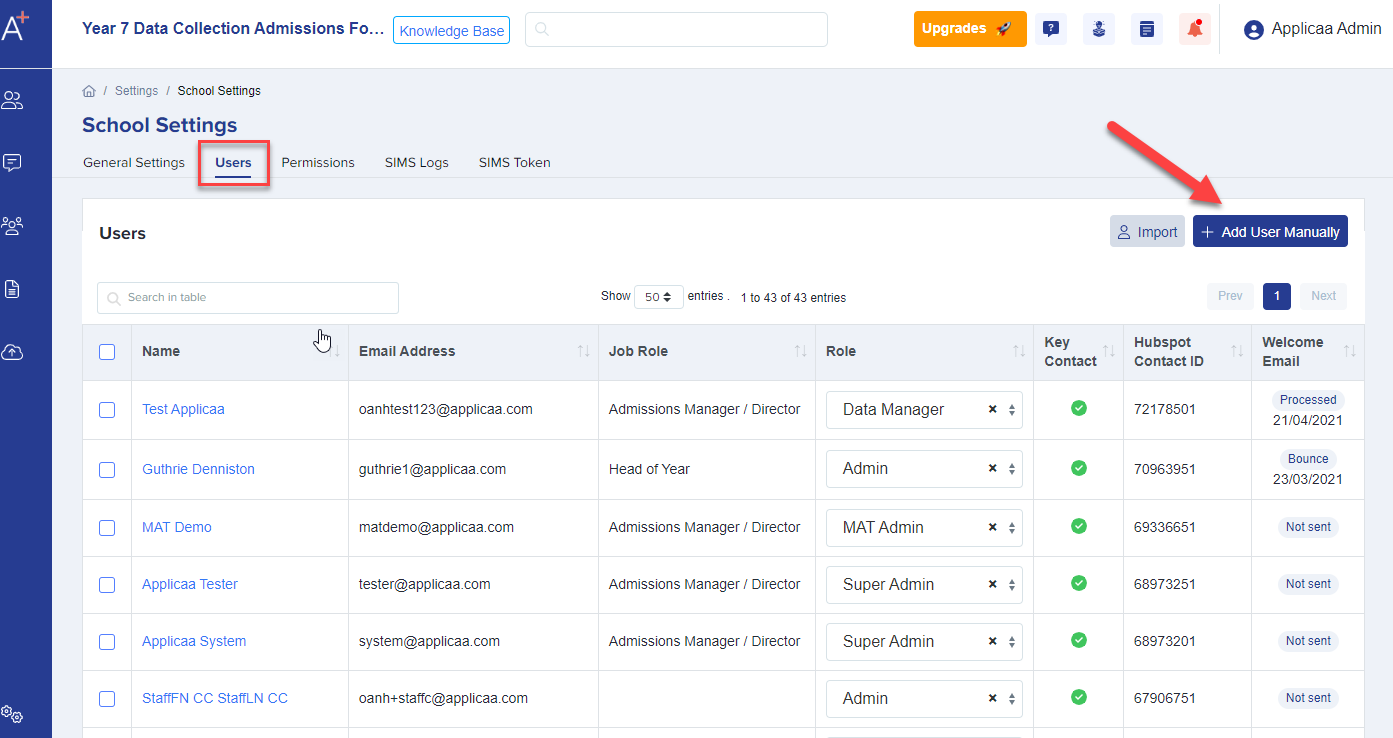
Click the "Add User Manually" button on the right side of your screen.
A pop-up box will appear and you should then complete each field. Job Role contains a pre-set list of roles and you should choose something which is closest in value to the role of the staff member being added. Permission will show the list of permissions as referred to previously.
Marking someone as a "key contact" will mean they receive communications from us regarding webinars, events and admissions news. This is the person we would contact should we notice anything you need to be aware of; it is vital to have at least one key contact per school; we recommend two.
"Enable staff" means they will be activated within your system and will be able to log in once they have been sent their credentials. There is the option to leave this unchecked - for example, if you are adding someone who will be starting in the new term; you could add them to your system now but leave them deactivated until they have actually joined your school.
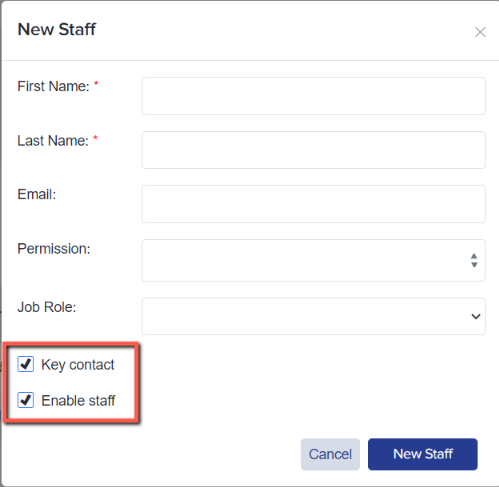
Click the "new staff" button to save the changes and add them to your site.
After successfully adding the new staff member, you can proceed to send them a Welcome email that includes their login credentials. For detailed instructions on how to do this, please refer to the section at the bottom of the page.
To Import Users in Bulk:

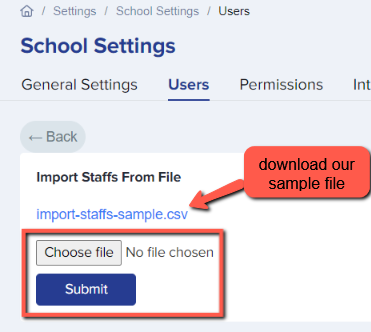
Click the "import users" button on the right hand side.
There you will see a sample file which you can download and complete with the details of your staff members.
Once you have added your data to the file and saved it (as a CSV), you can then click "choose file" and then "submit".
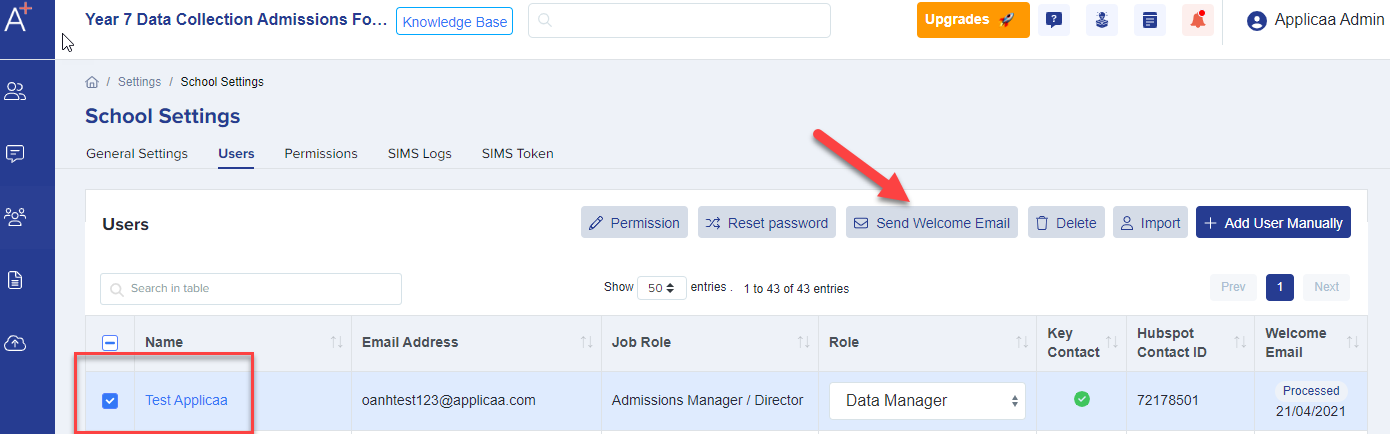
The newly added staff members' details will appear in the table below and if you want to send them the welcome email containing their password, select them using the checkbox on the left of the table and then click "Send Welcome Email".