Not all staff users will need the same level of access to your system. The permissions area allows you to determine what each level of permission means and what those staff would then be able to do within your system.
On the bottom left corner of the screen, click on Settings. Select ‘School Settings’ then 'Permissions’.

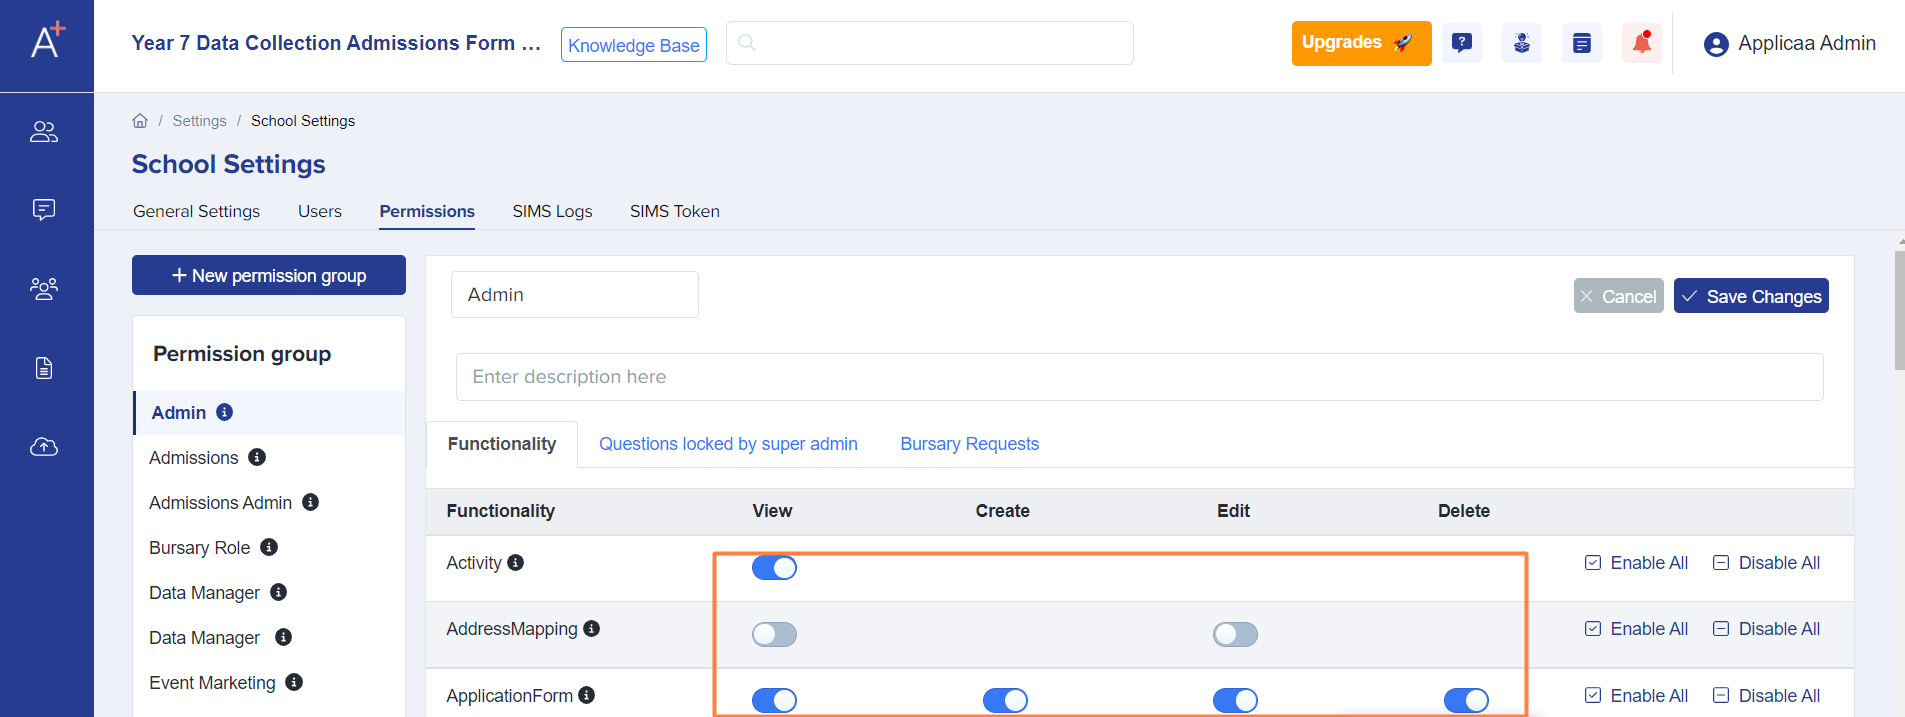
Select the permission group you want to update by clicking on the wording in the left-hand menu e.g. Admin, Admissions, etc.

Once you've selected a permission group, click on the pencil button on the right to amend the permissions/access granted to that role.

You may toggle off the fields you want to restrict and toggle on the ones you want to permit.
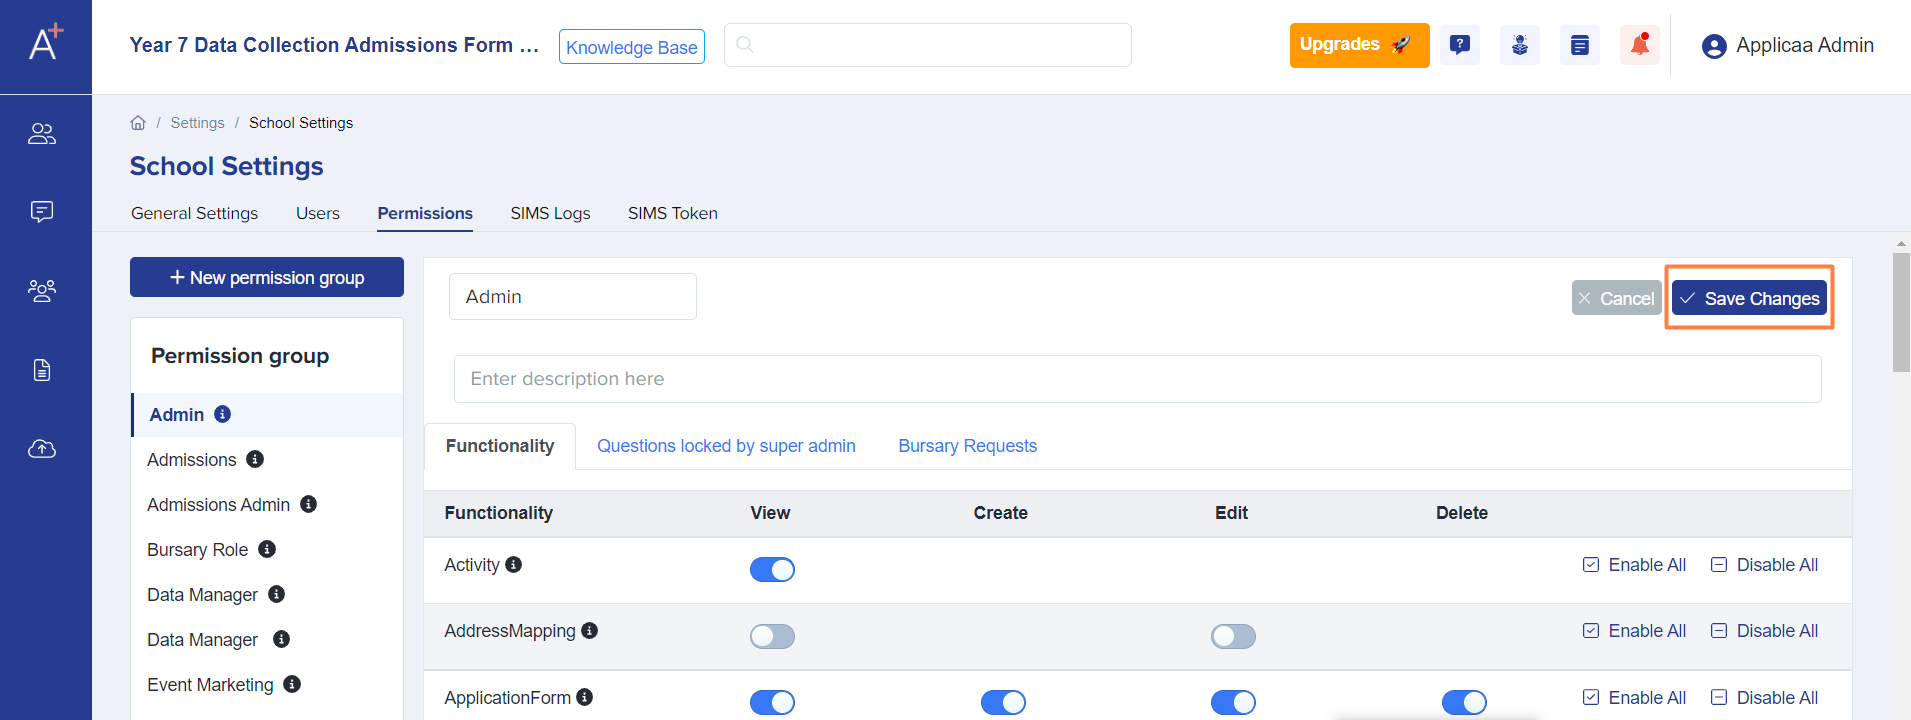
Click on 'Save Changes' to update.
In addition to editing the existing permission groups, you can also create your own permission group by clicking on '+ New permission group' if you wish, assigning it a title and selecting which permissions that role will be granted.

Each time you add a new staff user to your system, you will be asked to set their level of permission.
Note: generally, you should have as few Super Admins as possible. Super Admin is the highest level of permission and should be given only to those who will be managing the day-to-day operation and configuration of the system. The more people you set as Super Admins, the greater chance there is for someone else to change the settings you have already put in place.