Exams+ is a standalone product; it does not connect to your MIS and is also separate to your Admissions+ system.
The process:
1. A school (or consortium, depending on your setup) creates the Exams+ system and configures the questions which need to be answered by parents.
2. The school/consortium publishes the link to their Exams+ system, so parents can register, create an account and apply for their child to sit the test.
3. Children sit the test (September) and the results are processed.
4. The school/consortium receives the results and these can then be uploaded into Exams+.
5. The results can be shared with the parents in two ways; either by email (using mail merge tokens) or by turning on the "Test Results" phase and inviting parents to log in and view the results.
6. Based on the results, parents can then make a decision about whether to apply for a Grammar School place for their child, via the Local Authority.
7. Schools receive their Local Authority lists in March and can then ask parents to complete their admissions/data collection forms via their Admissions+ system.
Configuring the Exams+ Application Form:
The application form is broken down into steps; click on the name of a step to view the questions/fields within it, by navigating to Settings > Application Form > Advanced Step View.
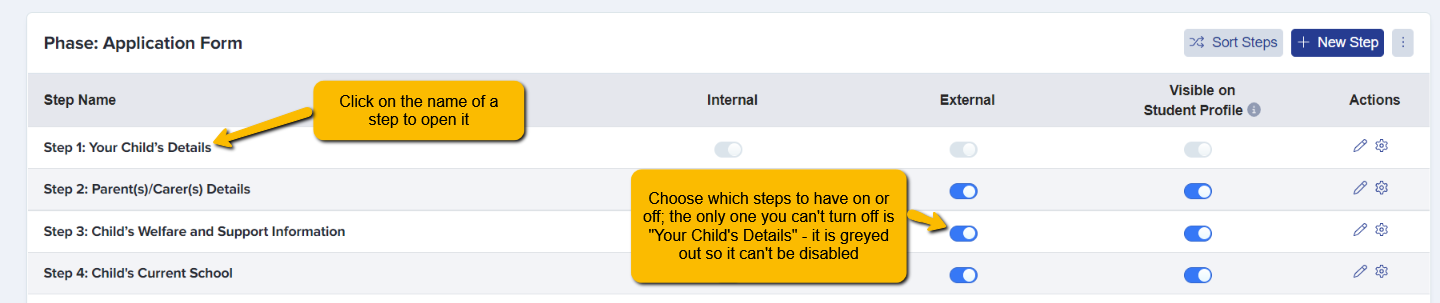
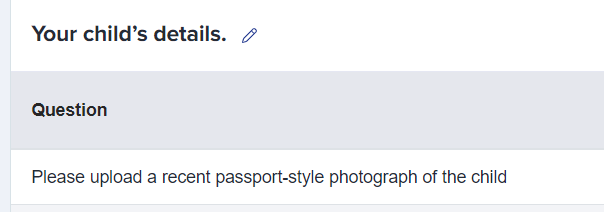
You can choose which steps to have active and which questions you need parents to answer. Do you need them to provide an image of their child, for example, for confirmation purposes on the day of the test?
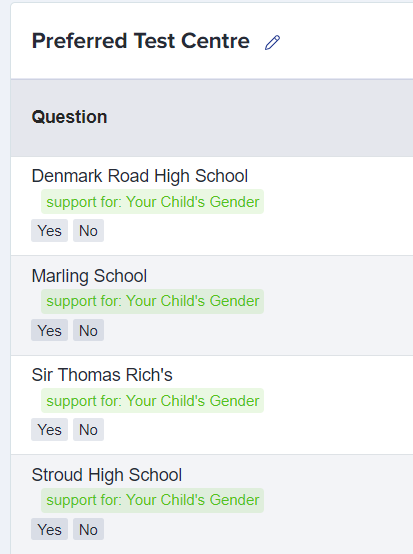
In the Preferred Test Centre step, you can give parents the option of where the child will sit their test. This will apply if you are part of a consortium, or have multiple test venues.
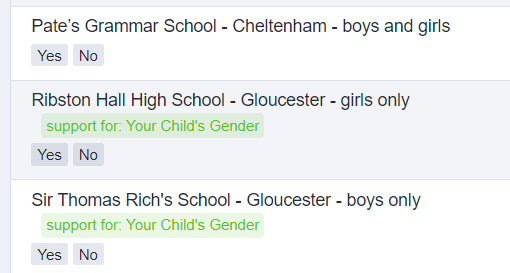
In the example below, this consortium has 7 schools and some of those are Boys' or Girls' Schools only. The use of toggleable fields in this form means that depending on the gender of the child, they can then only choose to sit the test at schools which are appropriate.
In the Sharing Your Child's Results step, you can give parents the option of which schools should receive the results for their child - as above, this can also be configured so that only the relevant schools (based on gender) are displayed to the parent (for example, so that their daughter's results aren't shared with any Boys' Schools, or vice versa).
In the Sitting Other Entrance Tests - Clashing Dates step, you can ask parents to specify if they have already registered their child to sit the 11+ exam at another centre. Technically, the child should only be sitting the exam once.

Uploading Test Results:
When you have received the test results, these can be imported into your Exams+ system.
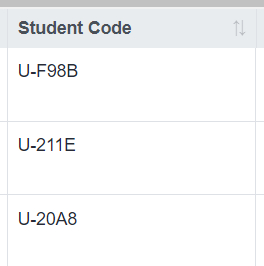
You will first need to export a list of all children who sat the test, so that you have a CSV file containing their key information, including their unique code. The unique student code is essential for successfully importing the results data.

Add your results data to the CSV you exported above.
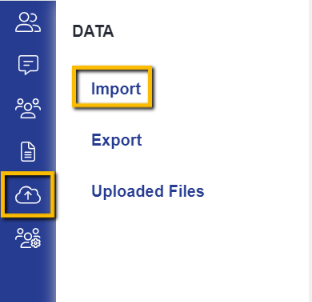
Go to Data > Import > Start an Import and name your file.
Select Users > Existing Users > Students and then add your CSV file.
Map your import as follows:

Click to complete the import, and the data will have been added to each of the children's profiles, ready for you to share with parents.
The Test Results phase:

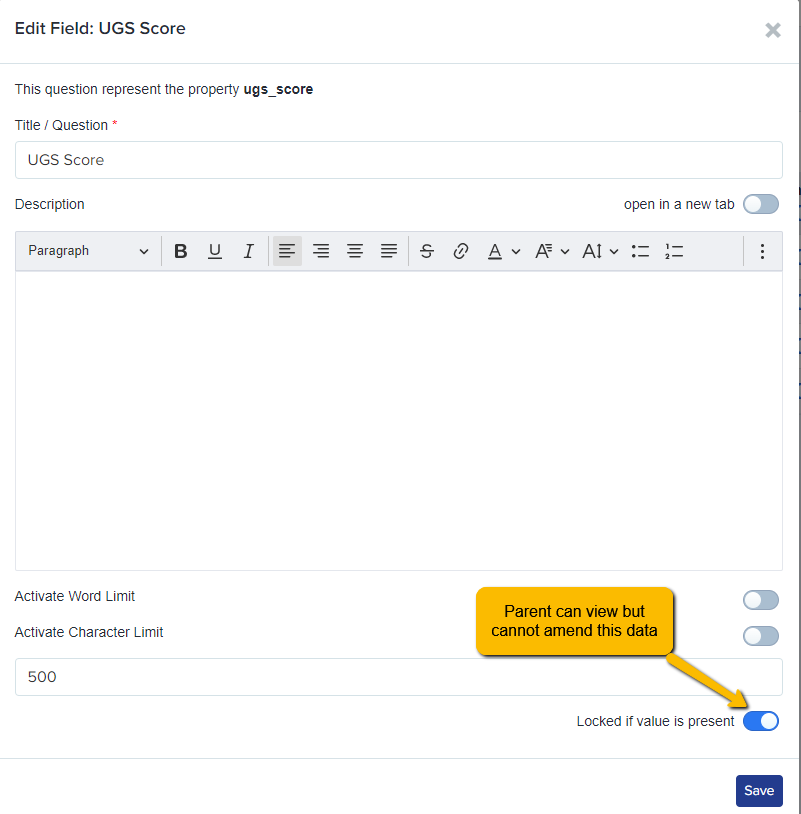
This phase is an "office use" phase; it is configured so that you can add data to it (their results) but that the parents can only view this information; they cannot make changes to it.
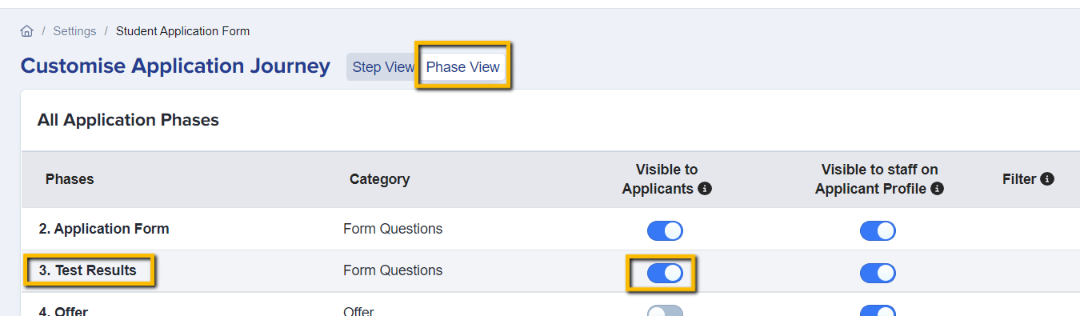
You can choose whether or not to have the Test Results phase active by navigating to Settings > Application Form > Phase View . If you activate it, you can then invite parents to log into their accounts and they will be able to click and view their child's results.
If you do not want parents to see this information, do not turn on this phase.
You can create a Manual Message email template to send the results to the parents by email.

When creating the email, ensure to use the mail merge fields for any data you wish to share with the parents. You can then send the test results email to parents of all children who sat the test and for whom you have received results.

Other Imports:
Using the process described in the "uploading test results" section above, you can upload any other data which will be of use to you in managing your exams process.
For example, if you need to allocate rooms, times, seat numbers etc to each child, you could import that information into Exams+ and then email it to parents ahead of the test.
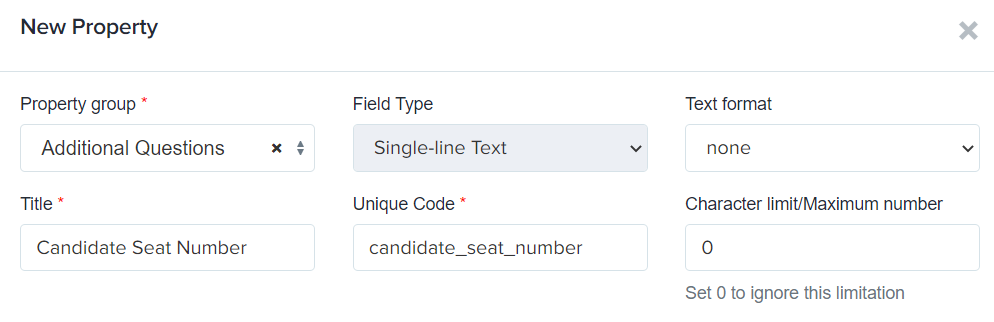
You would first need to create the fields in your application form. Navigate to settings > application form and either use an existing step, or create a new one (maybe called Test Information?).
Use the + New Question button to add any new fields as required, and then use the import method to map the data from a CSV file to the relevant fields in Exams+.
Managing your Applications:
You may receive a large quantity of registrations to sit the test, and it will be important to manage these effectively.
The use of dashboard cards and application groups will be useful to keep track of who is sitting at which test centre (if applicable), who attends on the day of the test and who requires SEN provision, for example.

Create dashboard cards by following the steps in this guide.
Create application groups by following the steps in this guide, and add children to the groups using this guide (you could create groups for "attended" and "did not attend", for example, so you know which list of students to export in preparation for uploading their results).