Read about the Enrolment Navigator here.
Navigate to Settings > Enrolment Settings
Here you can set your embargo time. When the embargo is in place, only Super Admin users will be able to log into the system. Other staff and applicants will see the message displayed:

*The embargo period allows you to lock your system so you can import internal students' grades and ensure they cannot log in and view them prior to results day. *
You can then set the Student Grade settings:

If you are importing the achieved results of your internal students, you can then prevent them from editing their own grades by locking them on the enrolment form (you will know their grades are correct if you import them in, so you don't want students being able to alter them!)
Set the minimum number of qualifications a student must have achieved and listed on their form, as well as allowing them to upload a copy of their results slip. You can enforce an upload for your external applicants (and internal if you like!) so you can cross-reference what they say they have achieved versus what is written on their statement of results.
Activate the setting below to change the messaging a student sees when they log in, from the standard welcome message to enrolment-specific information:

You can set the messaging at the bottom of the page, like so:

Here you can restrict the courses a student is able to choose, based on the requirements you have set in your specific requirements area and you can also prevent teachers from enrolling students onto courses for which they do not qualify:

You can check your specific requirements settings here.
Set your Enrolment Red Flag Settings to flag any applicants up to you who fail to meet the criteria you set. There is a separate guide on how to do this, which you can access here.

For these settings, choose the right configuration for you:

The "confirm" buttons will show on a student's profile and will enable staff to click each section and mark it as confirmed once they have checked the student's details.
You can cap the number of places available on a course or in a class; once the threshold is met, applicants will automatically defer to the waiting list.
You can set form groups up in your system by navigating to settings > form settings > form groups. Here, you can list the available groups. By turning the "form group selection is compulsory" setting on as shown above, teachers will have to allocate each student to a form group at the point of enrolling them.
You can enable the requirements key and APS display in the enrolment area of the system so teachers can see the APS of each student and can see what the colour coding and flags refer to for each student.
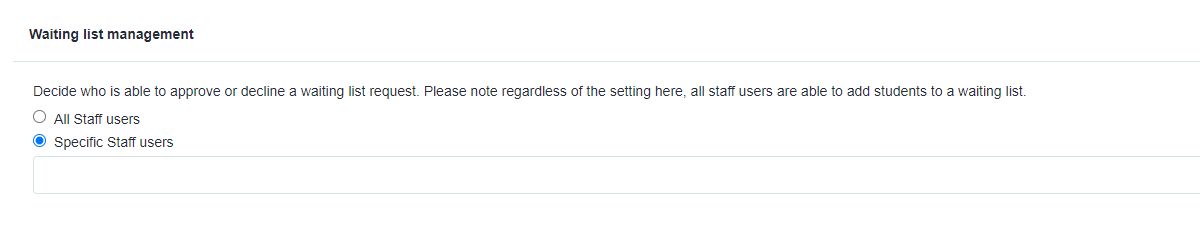
The Waiting List Management tool enables you to have control over who can approve or decline students on the waiting list. You may choose that all staff can have this power, or might choose to restrict access to this. If the latter, you can set a list of staff who will have the permission to do so. All staff can add students to the waiting list; this setting controls who can then make the decisions about whether to approve or decline their places.