Go to you Application Form area:

Then click on Phase View:

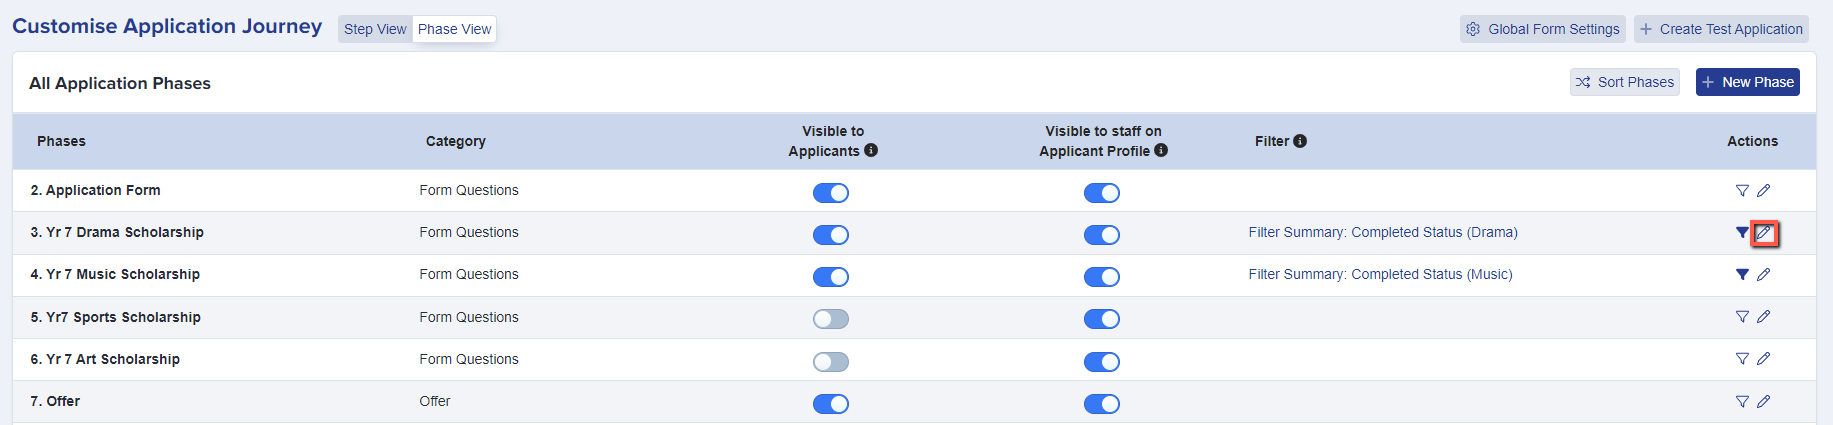
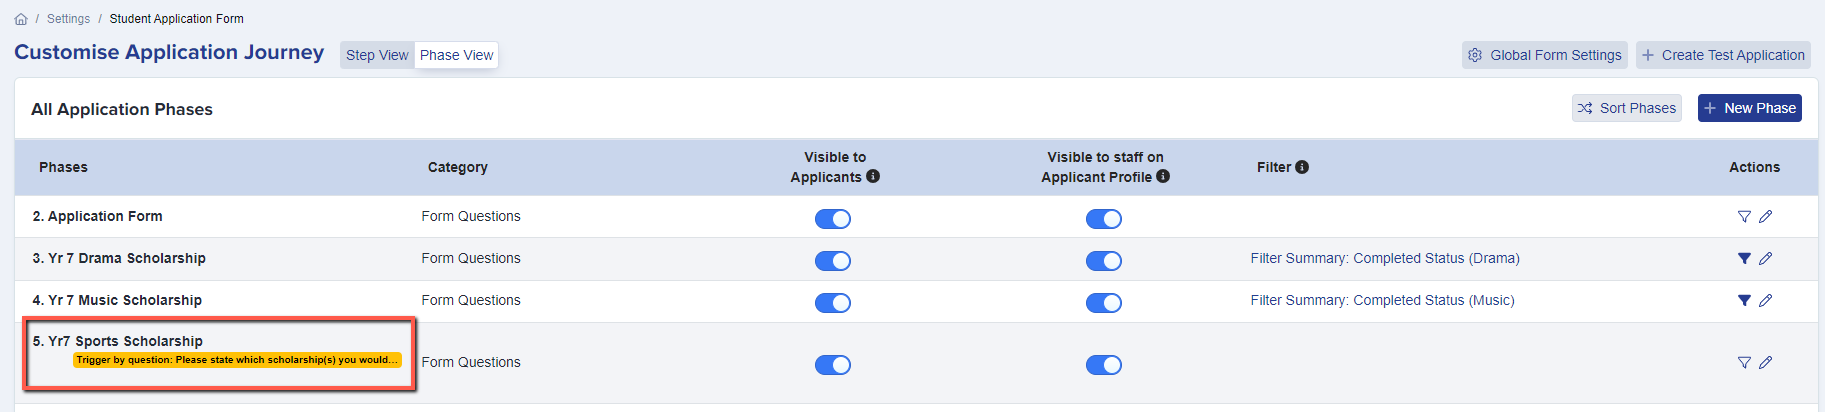
Your phases may look similar to this:

To make a phase stand alone, you need to click on the edit button in the Actions coloumn:
You then need to click on the following options:

Stand Alone
This will make the phase a separate stand alone phase that can be completed at any time regardless of where the applicant is in their journey.
For example, most schools will use a stand alone phase for scholarship applications or for bursary information.
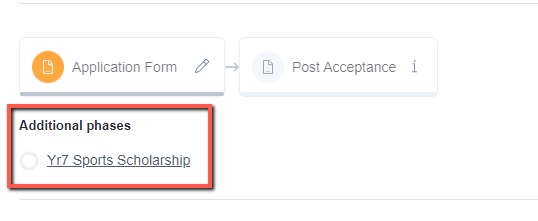
If you only choose this setting and click "Save" it will appear on the student and parent homepage like this:
This is the applicants view:
Triggered Phases (Linked Phases)
To enable this phase to only be visible to applicants if they select a specific response in the application form phase you will need to set a trigger condition. This will be the question which it relates to on the application form and then the response that the parent needs to click in order to view this stand alone phase.
For example with scholarship applications, you only want a parent to see this information once they have stated which scholarship they want to apply for.
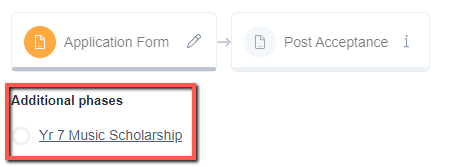
This is the applicant's view:

This is the admin view:
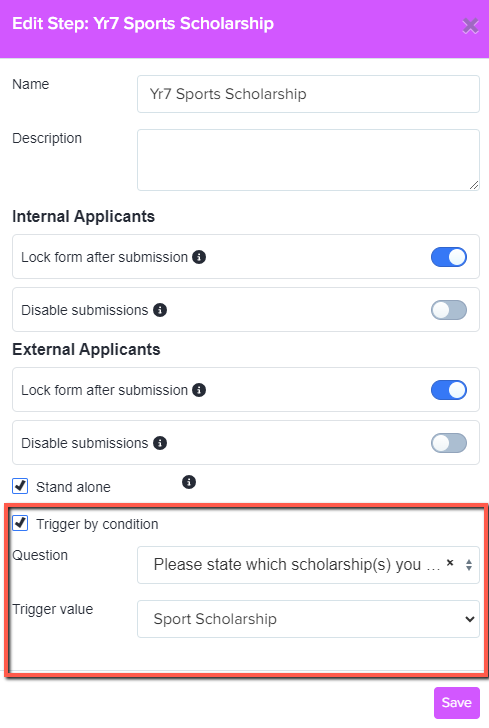
Within the image above you can see we have used the Sports Scholarship phase to example this with. In this phase we have a set of additional questions that the parent will need to complete in order to be considered for the Sports Scholarship.
Once you have clicked "Save" your phase will now show that it is linked and only show when triggered.
This is the admin view:
This is the applicant's view: