If you have just set up your system and got your lookups in, the next step will be importing your courses.
Here is a sample csv for importing courses; you can pass it on to your Data Manager to get the information needed for your courses import; please ensure the format is the same to avoid issues when going through the next steps in the import process.
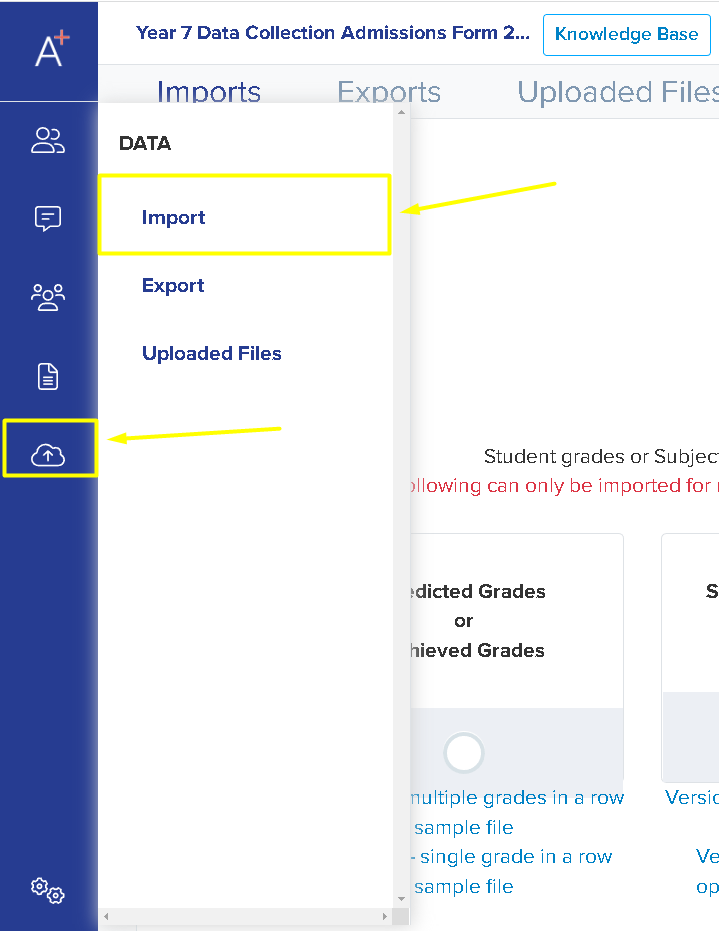
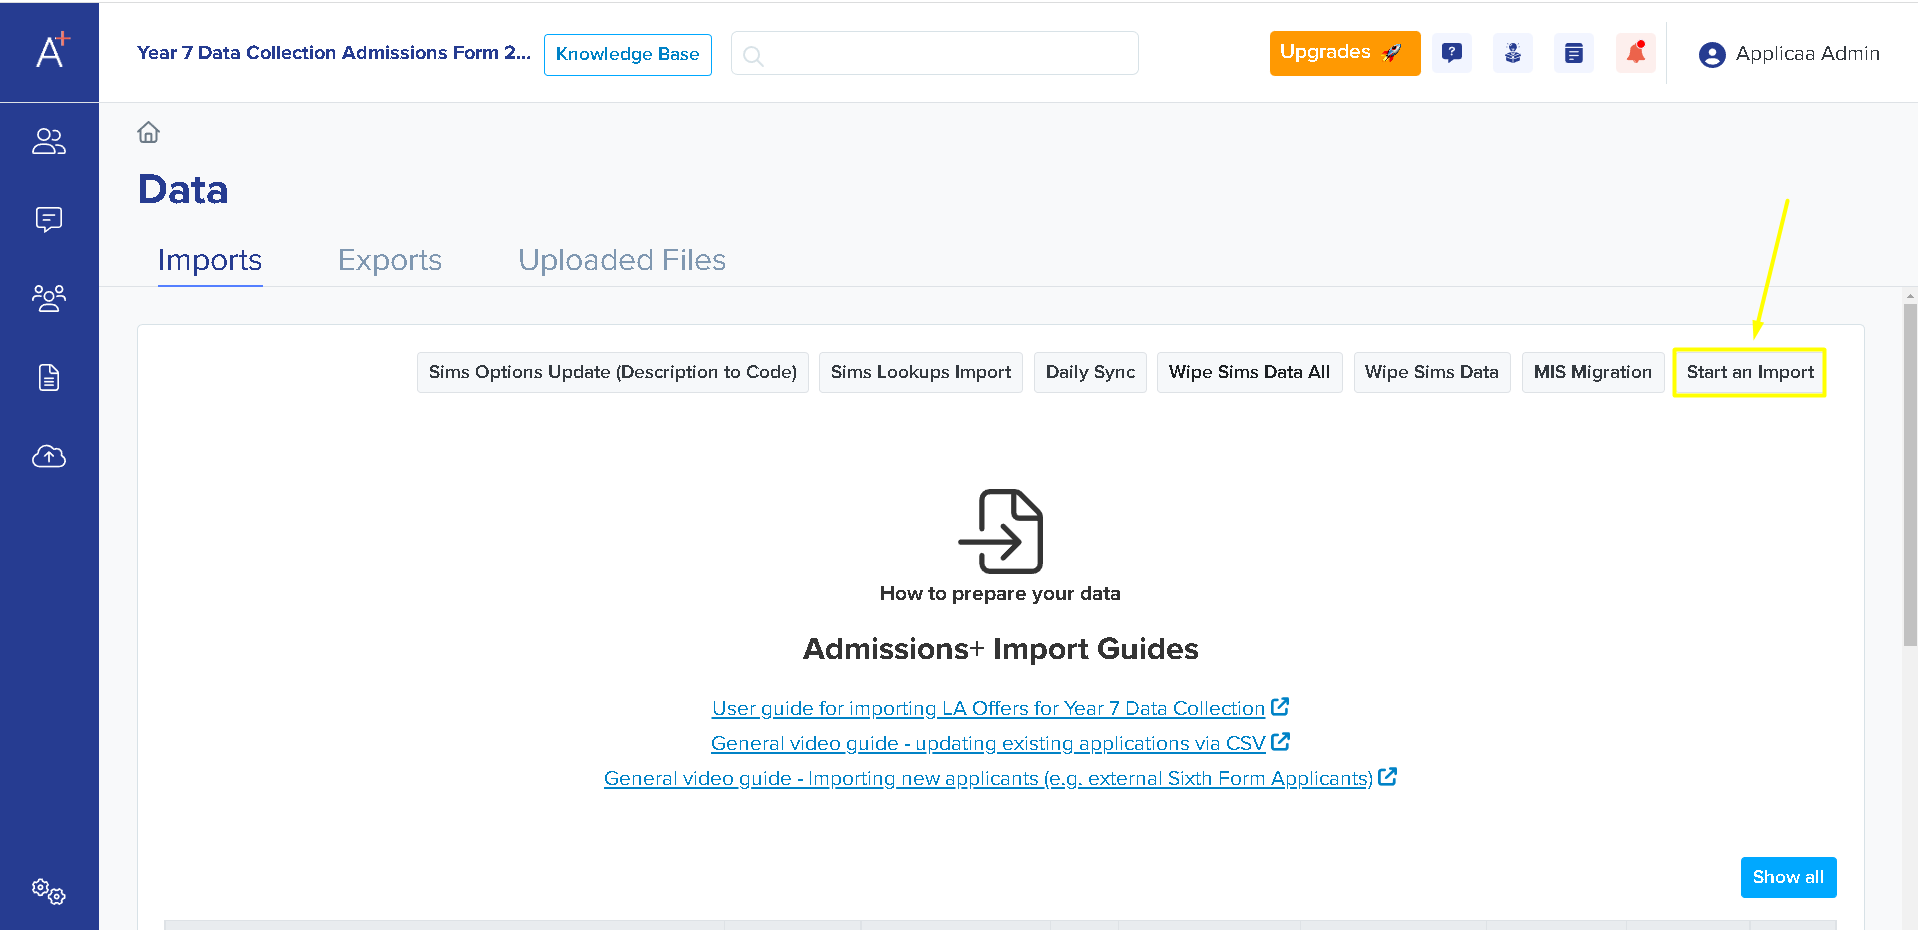
Once you've got your CSV file with the data you want to import for your courses, click on Data (This will be the cloud icon with an arrow pointing above) > Import > Start an Import.
Please name your CSV (perhaps 'Course Import Nov 2022') and then select "Timetable Subject Options" to proceed.


The CSV sample format is also available in this area.
Please proceed by clicking on Next.
Select CSV as your import method.

You can now select the file that you'd like to import by clicking on Browse Files.

Once you've selected the file you wish to import, click Next and you'll be directed to the Data Mapping stage. At this point, you will need to match the data on your sheet to what it means in the system. i.e Course Title

Most of these will be matched automatically but if not you may choose which Admissions+ property should they match. Please double-check to make sure they will sync to the right property.
Once you've done the mapping for each column, you may click on Next and that data will be imported for you.