Options to Register for an Event
Register via the Landing Page - If an event is visible on the landing/login page either as a pop-up window or within the dedicated event section, registrants can view event details and complete their event registration.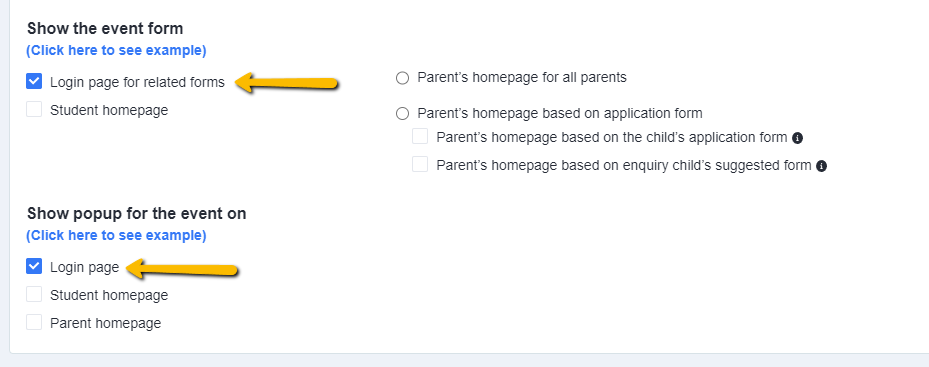

By clicking the 'Register' button, they will be prompted to enter their personal information as required by your customised registration form. 
Register via the Parent/Student Homepage - If an event is displayed on the parent/student homepage, whether as a user-friendly pop-up window or within a designated event section, registrants have the opportunity to easily access event details and proceed to complete their event registration.
Register via the Events Area on Student Homepage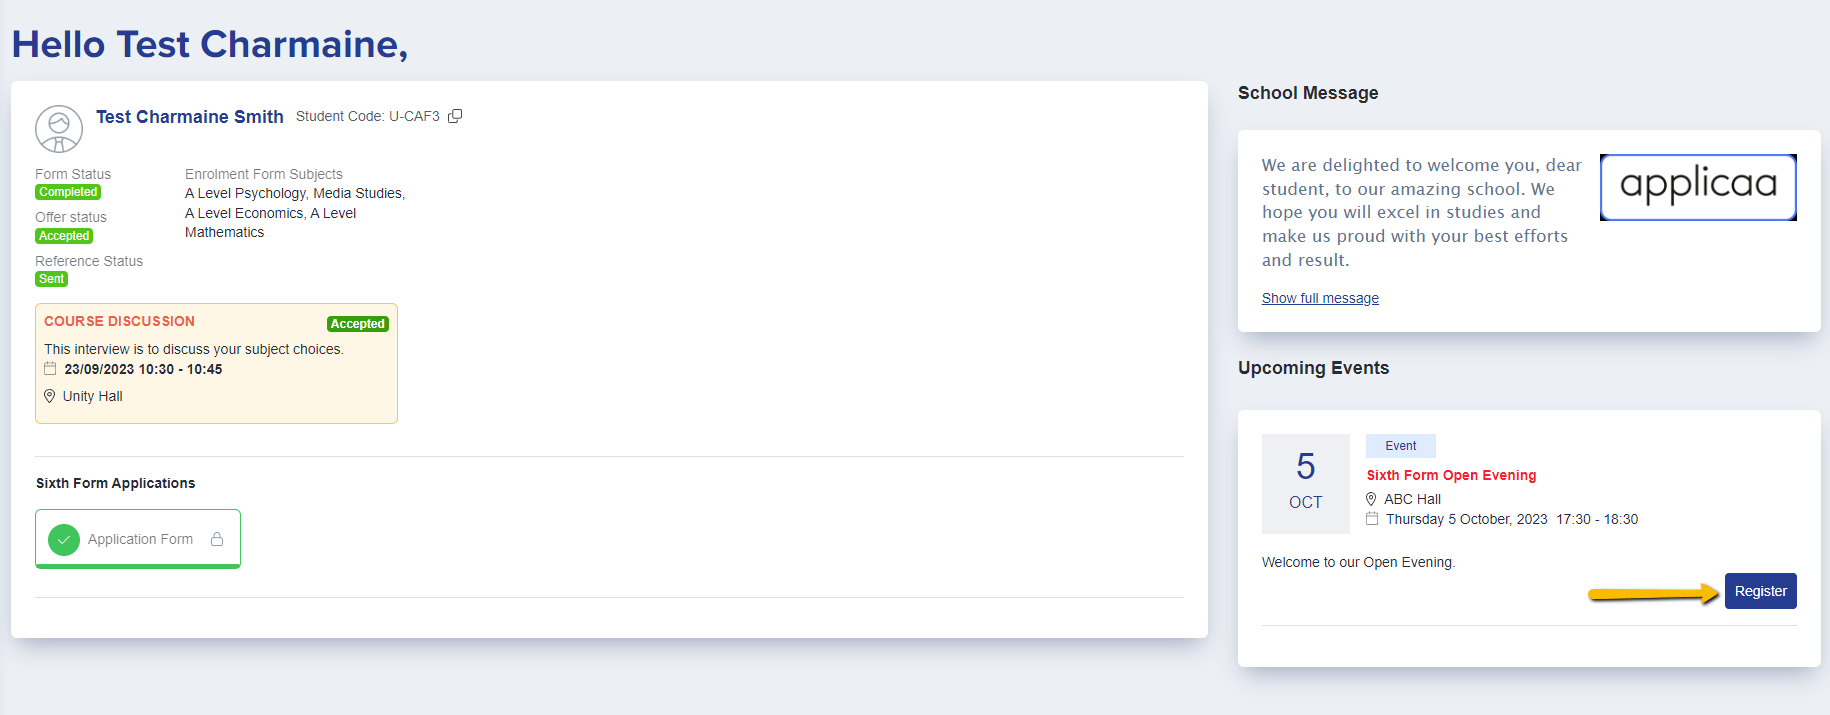
Register via the Events Area on Parent Homepage
As with the landing page, upon clicking the 'Register' button, they will be prompted to enter their personal information as required by your customised registration form. 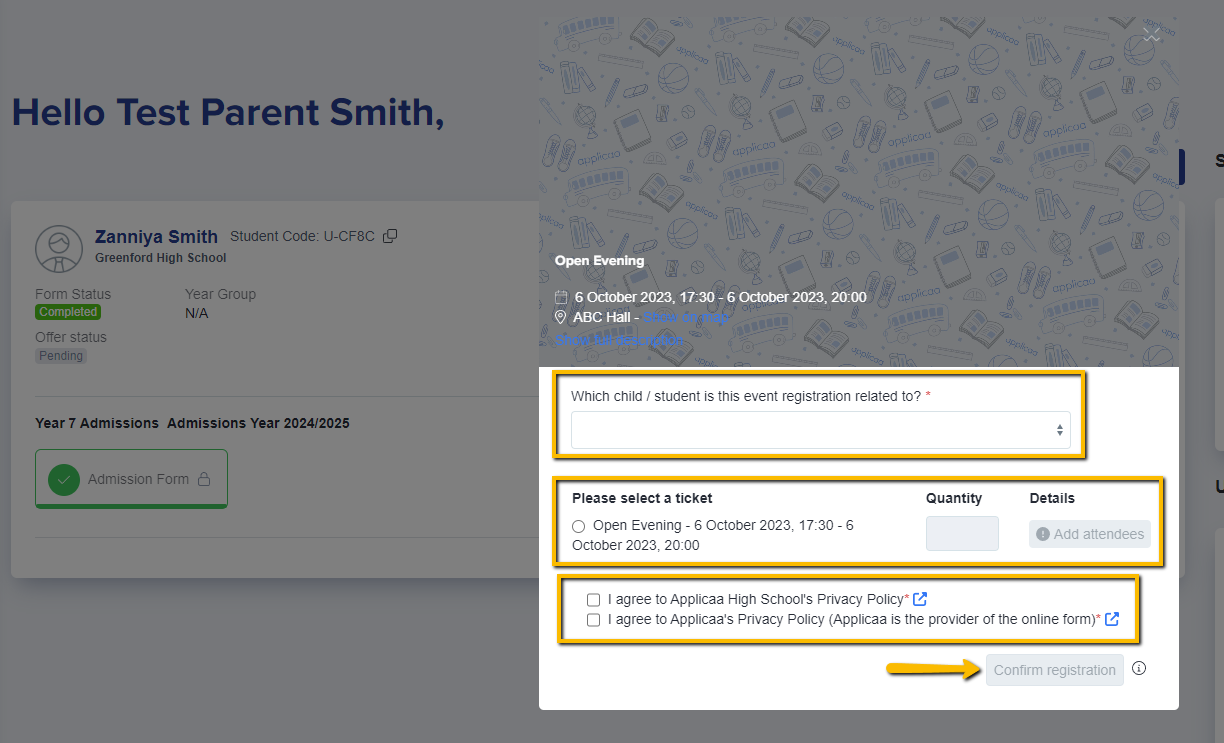
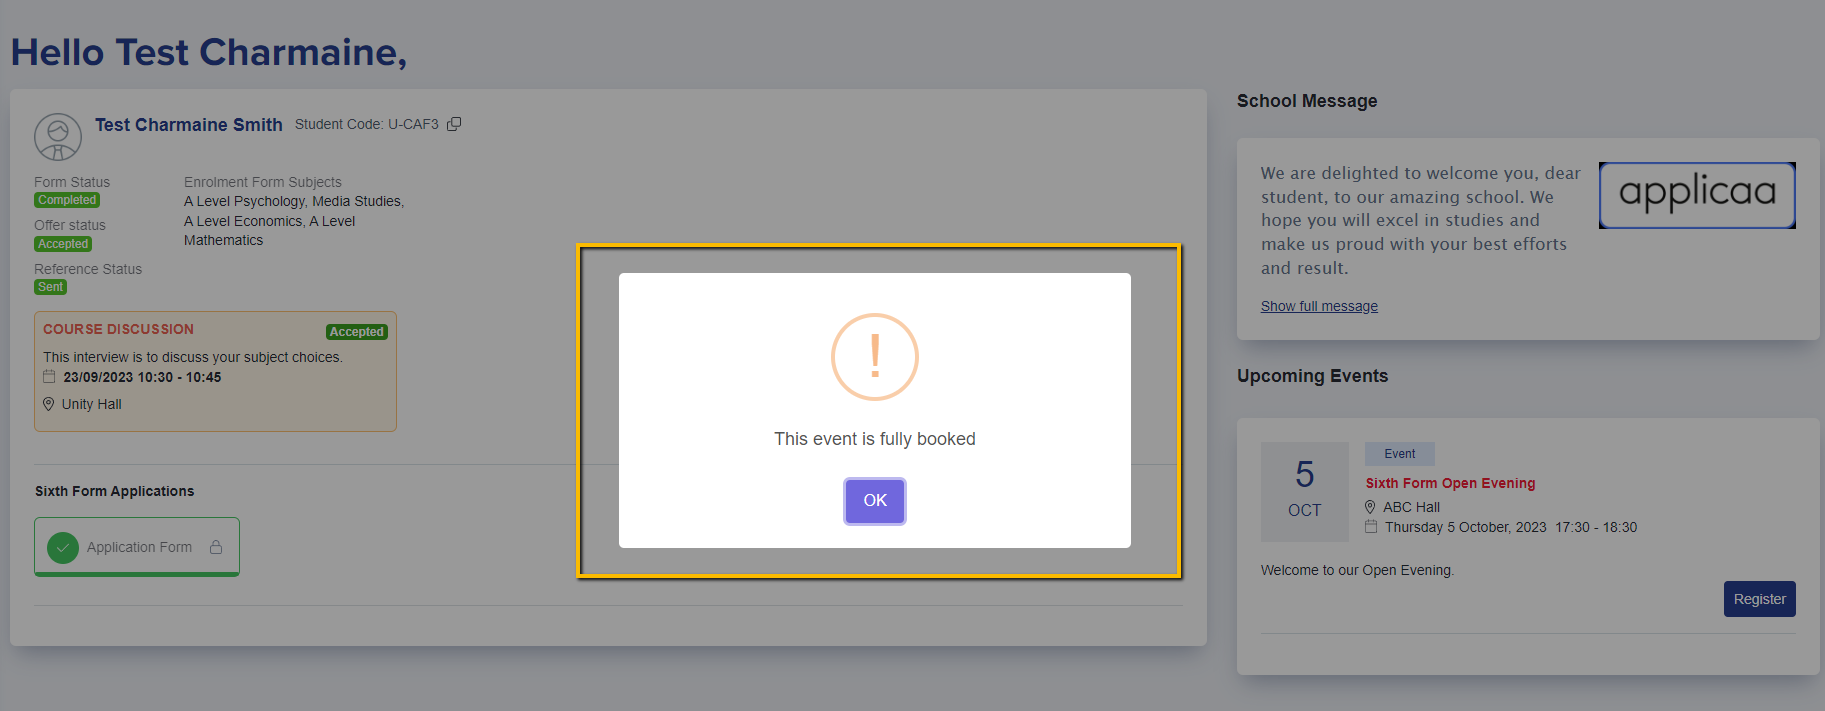
How does a full event show? (Student and Parent View)
If an event has reached its maximum capacity, students or parents attempting to register will see an error window clearly stating that the event is fully booked.
How Parent or Student can view their successful Event Registration
A parent or student can conveniently check their successful event registration through several accessible options:
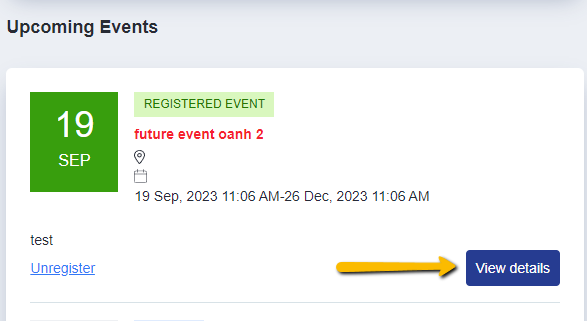
Parent Homepage - The list of events can be found in the 'Upcoming Events' column. Here, they can view both their registered events and any upcoming events.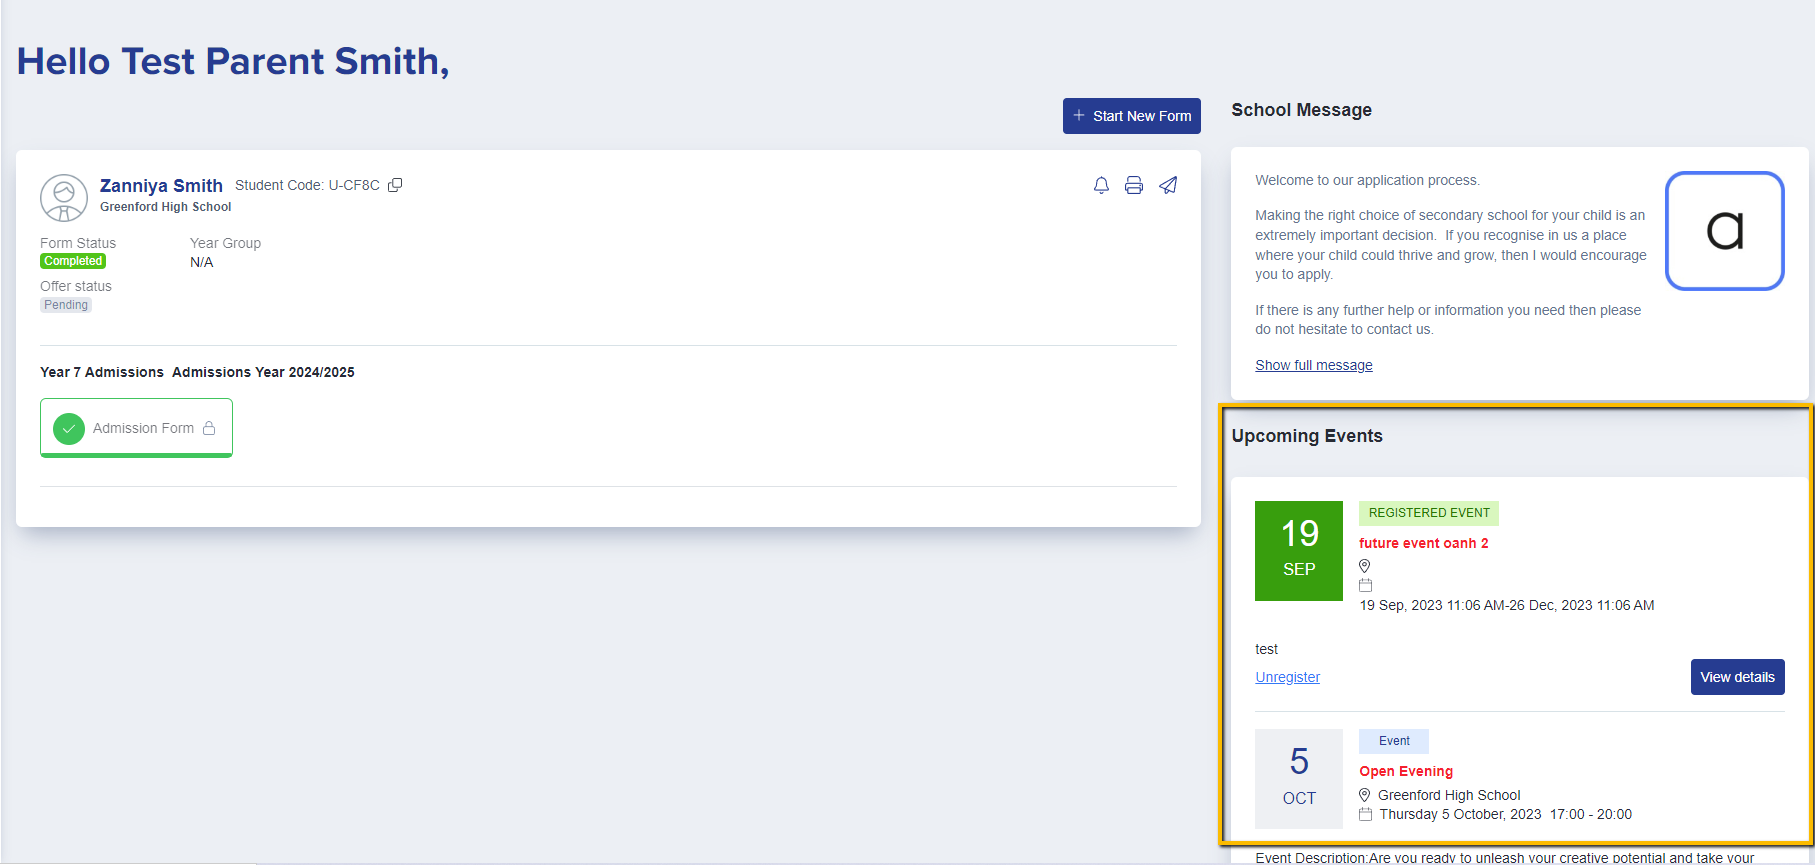
They can click on the 'View Details' button to access event information and also make edits to their registration details if needed.
Clicking the 'Unregister' button will delete their registration and remove them from the list of attendees for that event.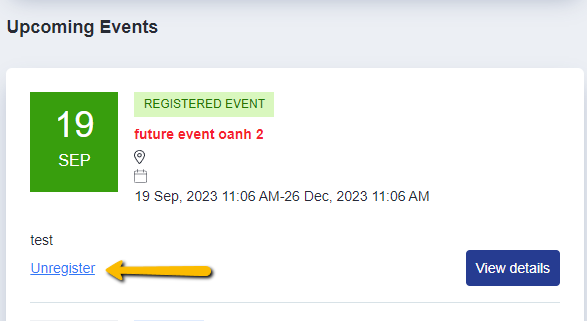
Student Homepage - Similarly, on the student homepage, students can access the events listed in the 'Upcoming Events' column. Here, they can easily view both their registered events and any upcoming events that are visible to them

NOTE: Parent and Student view of an event will now show the specific details including date of the ticket that they have registered for. This is useful for when you have an event that spans 3 days for example. Rather than seeing the event dates, they will now see the ticket details to avoid confusion.
They can also click on the 'View Details' button to access event information and also make edits to their registration details if needed.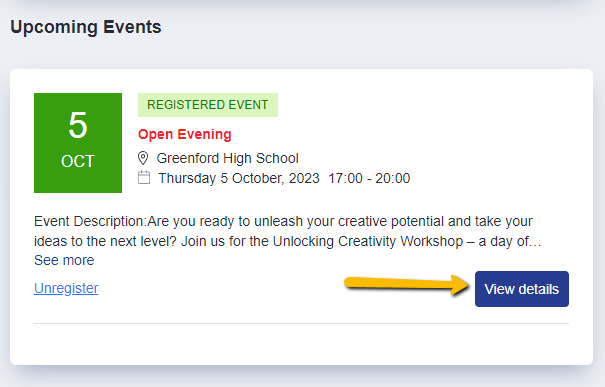
How to Cancel an Event
If you are thinking of cancelling a created event, you do this by going to your Dashboard, navigating to the Communication and Events section, selecting Events, and then choosing Events Calendar.
From the Events List, click the kebab menu and then select "cancel event"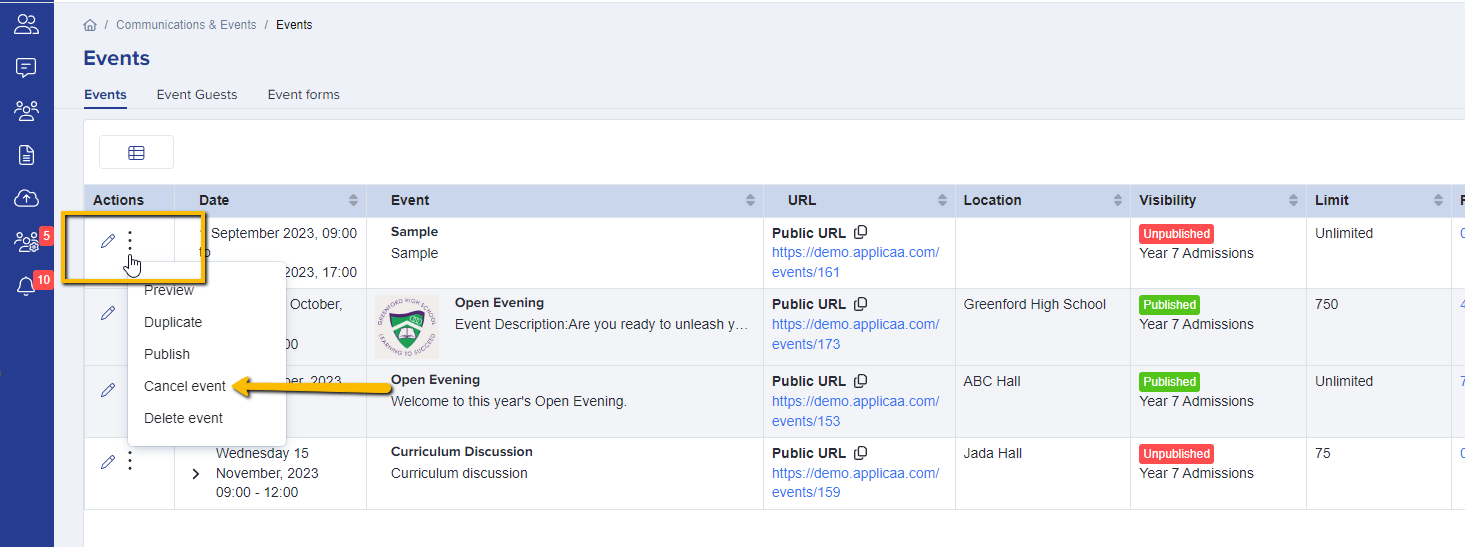
A prompt will appear asking your confirmation on how you would like proceed with the cancelation.
Selecting the "No, I want to keep this event" button will retain the event as scheduled, without making any changes.
By clicking the "Yes, send email to users" button, you will initiate the process of sending an email to attendees, notifying them that the event has been canceled.
Selecting "Yes, don't send email to users" will cancel the event without sending a notification to inform the attendees of the cancellation.
**Once the cancellation is confirmed, the system will automatically refresh and display that the specified event has been cancelled. **
- When staff cancel the event, it will disappear from the homepage and registrants will be notified via email if the staff chooses the email option when cancelling.
- Cancelling an event will not delete the list of attendees who have already registered for the event.
- If the event has been cancelled accidentally, you can easily rectify the mistake by simply clicking the "publish event" option.
How to delete an Event
You can delete an event by going to your Dashboard, navigating to the Communication and Events section, selecting Events, and then choosing Events Calendar.
From the Events List, click the kebab menu and then select "Delete event"
Deleting an event that already has registered attendees is not permitted and will prompt a banner message stating, "This event cannot be deleted as it already has registered attendees."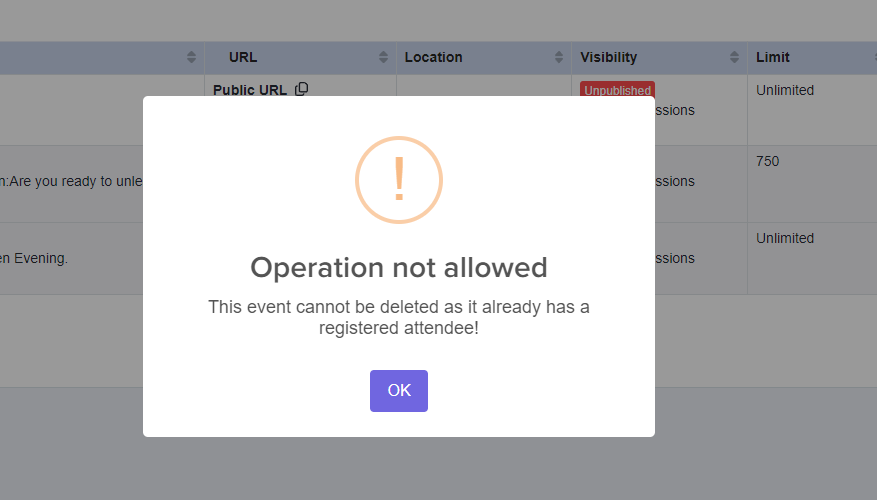
Note: When you delete an event, it will automatically be removed from the landing page, student homepage, or parent homepage where it was previously visible.
What to Consider When Removing Students from an Event
Although the system prohibits direct deletion of events with registrants, there are alternative methods available to effectively manage and handle events with registered attendees.
Begin by accessing the list of registrants through the Communication and Events > Events Calendar > Events. Locate the registrants' column and click the figure to view the list of attendees.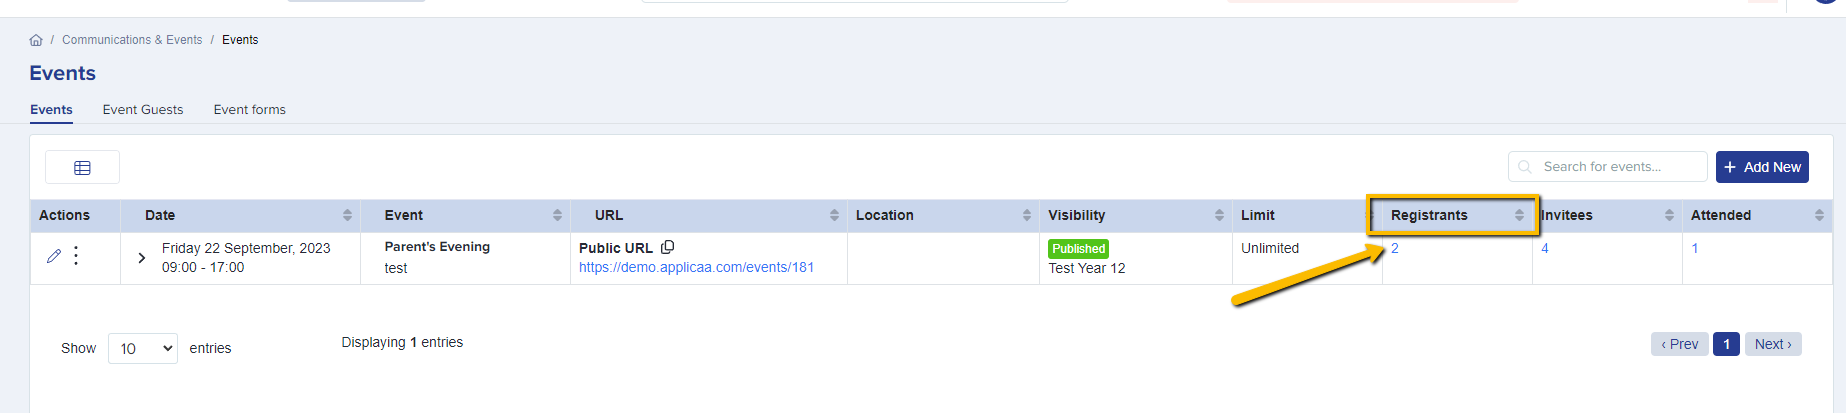
In the Actions Column, you will find a "trash" icon. Click the "trash" icon on each name to remove them manually. Unfortunately, the deletion of registrants needs to be done individually as bulk deletion is not available at this time.
Note: Please remember that removing students from the event does not offer the option to notify them of their removal.
If you still wish to proceed with deleting the event, we strongly recommend sending an email to inform the registrants about the event's removal, making them aware that the event will no longer be visible.
To do this, simply select the names of the students, then click on the 'Send Email' option to compose and send the notification.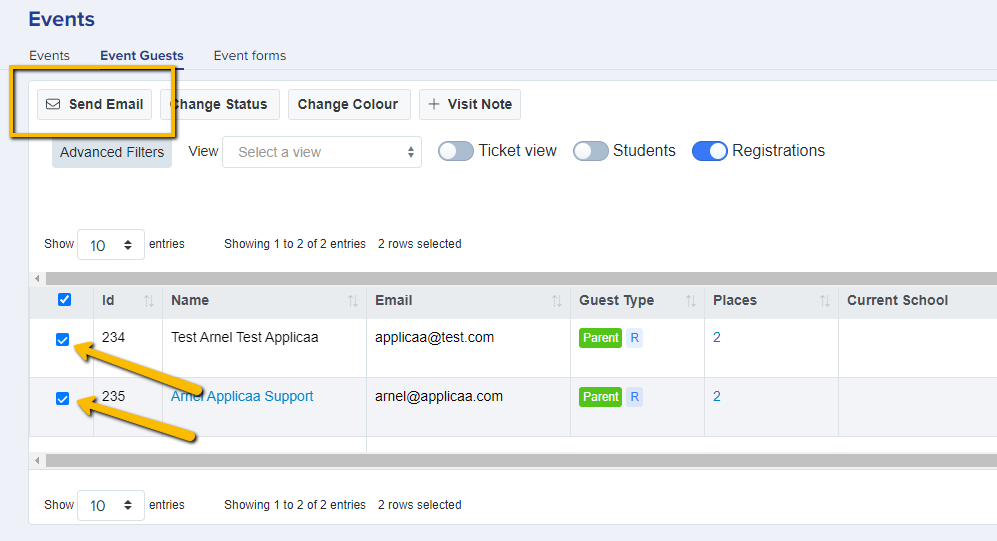
What to do If you believe the Event was created in error, yet it has registered students and deletion is not an option as you may use it at a later time?
If this happens, there are two possible solutions to address it:
Unpublish the Event:
Choosing this option will make the event invisible, but it's important to note that registrants won't automatically be notified about the event's status change.
Cancel the Event (Recommended):
Opting for event cancellation not only removes the event from registrants' view but also provides the option to notify them about the event's cancellation.
Note: Regardless of the option chosen, both enable the removal of the list of registrants associated with that specific event.