How to use the Bursary16+ dashboard features
This guide will show you the functions of your Bursary16+ dashboard
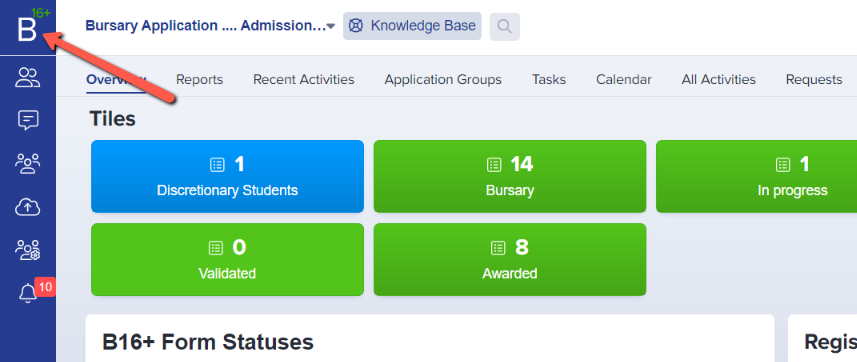
You can access your dashboard by clicking on the B16+ button in the upper left corner of the screen.
It provides an overview of key data, such as how many applications you have received, which students have been awarded a bursary and how much of their allocation has been spent or is remaining.
You can display tiles or cards on your dashboard, to easily monitor how many students are at which stage of your bursary application process.
The dashboard contains various default tiles and you may control which of them you want to be visible to you. From the dashboard, click on Settings > Form Settings > Dashboard Settings.
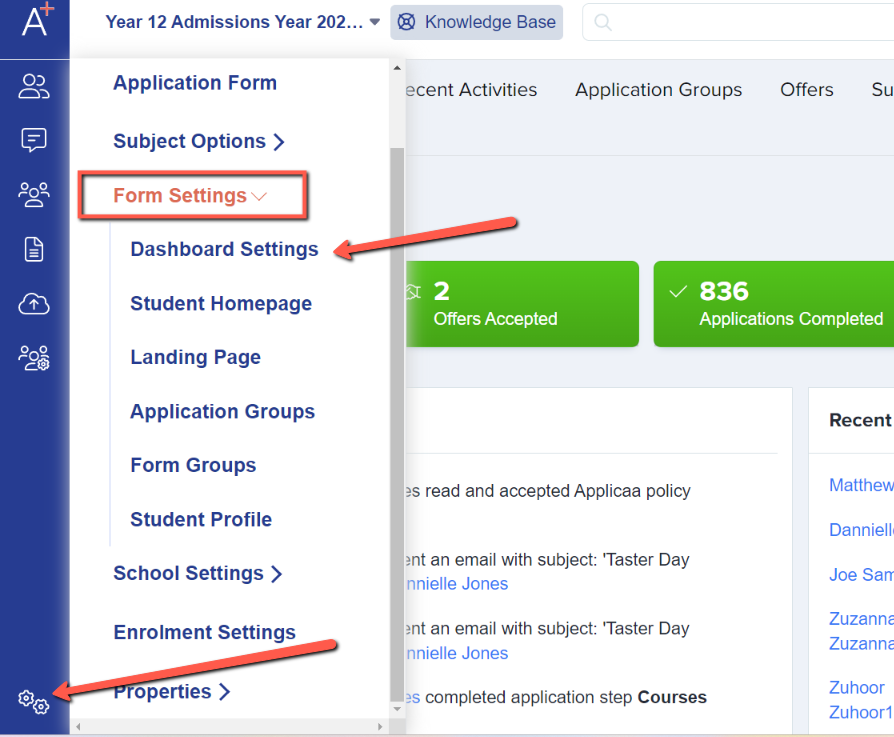
Here is where you may control which properties to display on the dashboard. Simply toggle the buttons on/off.
Note: No need to save as it saves automatically as soon as you set it.

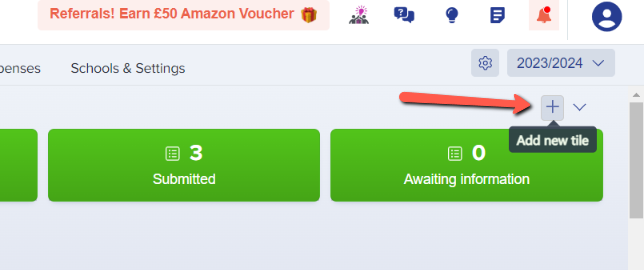
You can also create your own dashboard cards or tiles using this icon on your main dashboard.
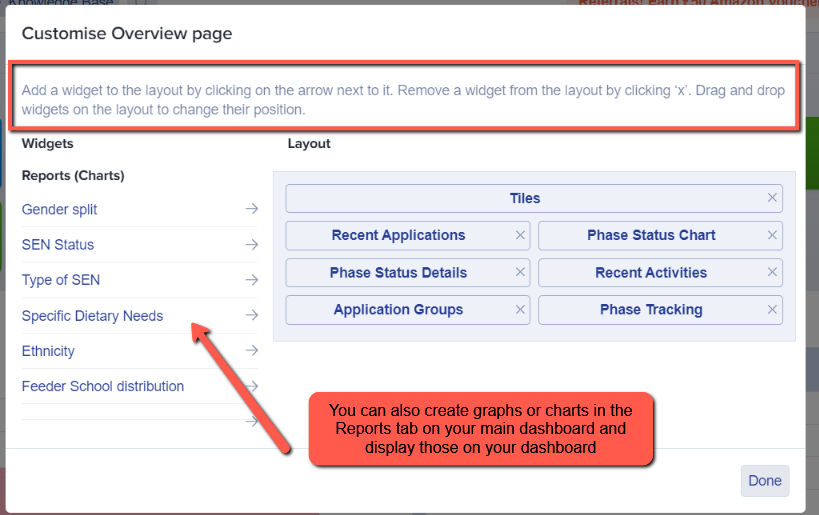
On your dashboard, there are several default widgets - things like "Registered Students", "Recent Activities" and "Application Groups".

You can control the placement of these widgets, and whether or not they are visible to you, by clicking the settings cog in the top right of the dashboard.
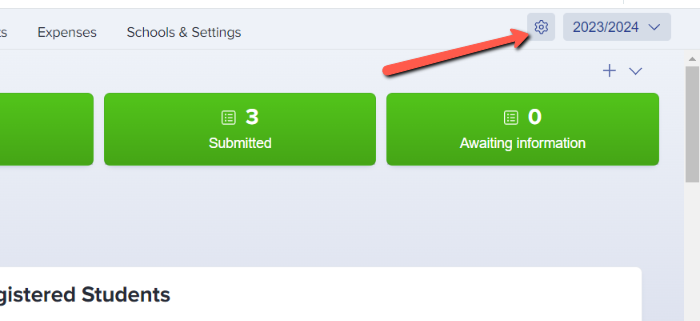
Drag and drop the widgets into the order you'd like them to appear, or click the X to remove them from the dashboard.
