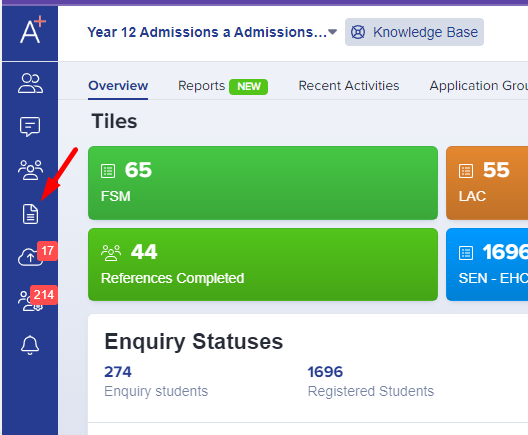
Click on the Enrolment button on the left of your main dashboard - the icon looks like a piece of paper.

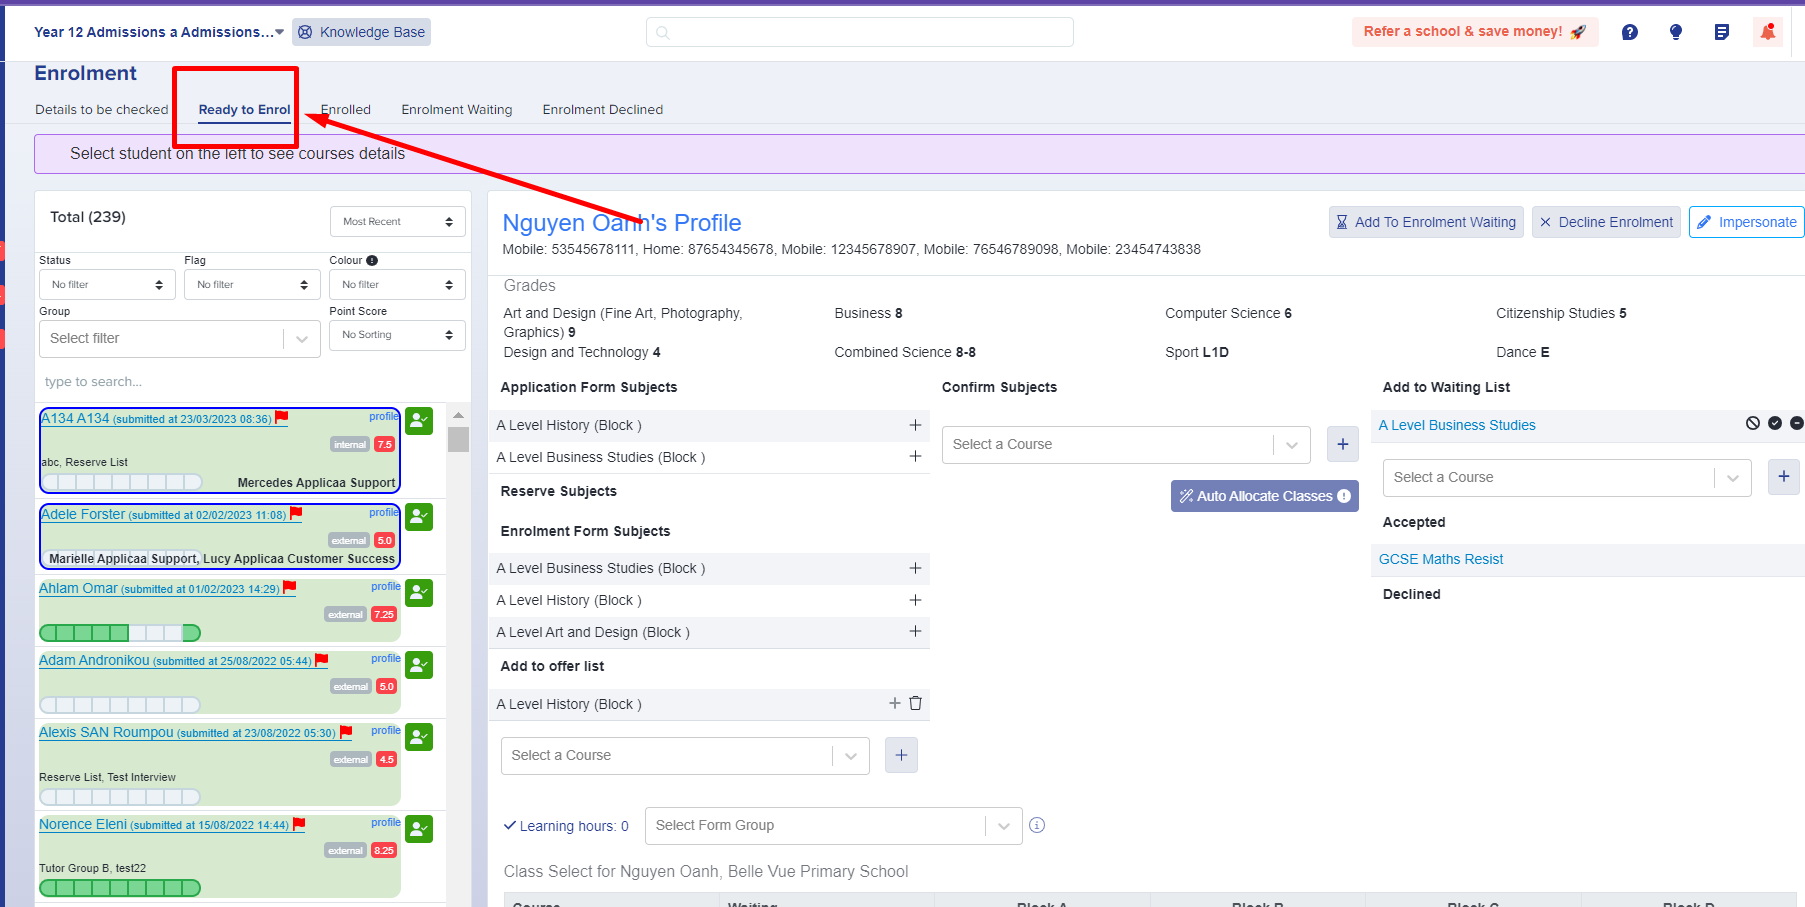
Then click "details to be checked" and you will see a list of applicants down the left hand side of the screen.

Click within an applicant's box to open their details (you can filter and sort these using the settings at the top of the list if you wish). Click on their name or the arrow next to their name only if you wish to open their profile in full, in a new tab.

Scroll through their details and you can click "confirm these details" at the bottom of each section if you want to (you can bypass these buttons if they are surplus to your requirements).


If you do use the confirmation buttons, each section will turn green in the list on the left hand side once confirmed, as shown in the screenshot above.
You will find their grade information under the "Education" tab.
You can check whether external applicants have uploaded a copy of their results and can tick the box to say whether an attachment or copy has been uploaded.

Once you have made your checks and you are ready to proceed, click "go to courses selection" and this will move the applicant into the "ready to enrol" bucket, where you will then be able to enrol them onto their courses.

Read more on 'Ready to Enrol' here.