From your main dashboard, navigate to the "timetables" area and then click on "enrolled classes management"

This shows you a list of all enrolled applicants, alongside their subjects and blocks
Each class will show the total number of allocated students and these will be colour-coded; a green class means it is neither over nor under-subscribed and classes which are outside these parameters will show in red
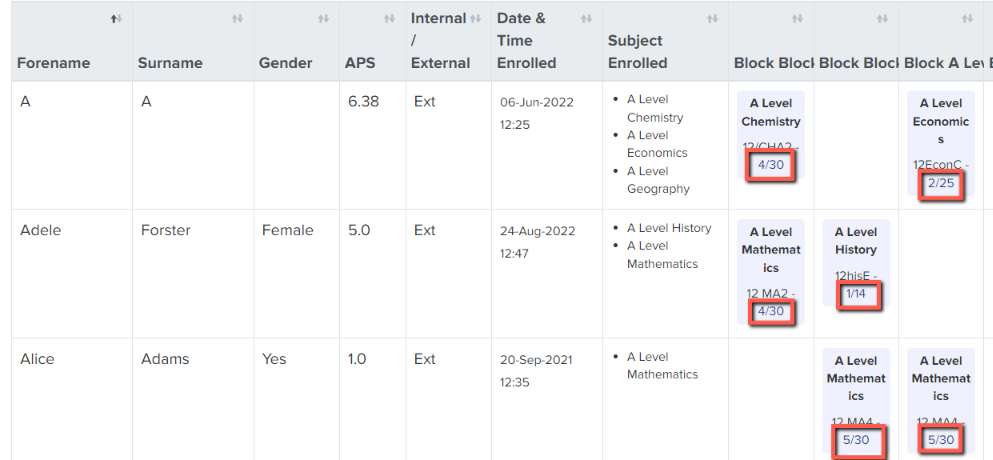
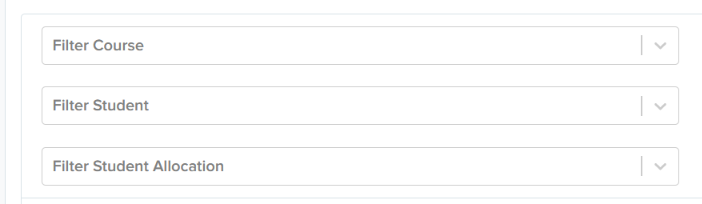
Use the filter function to filter by course or by student
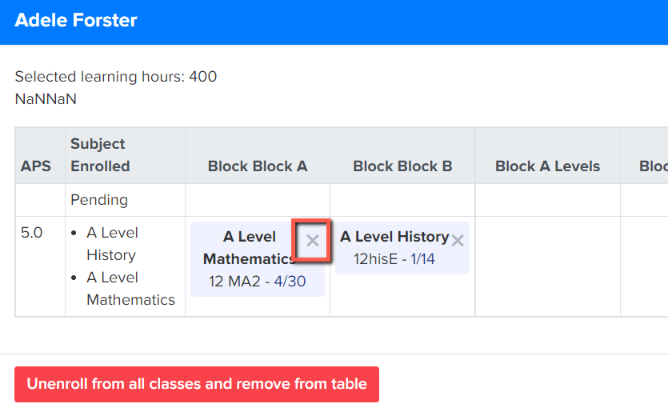
To edit classes for a student, click on one of their classes and this will open a pop-up whereby you can remove a class by clicking the X
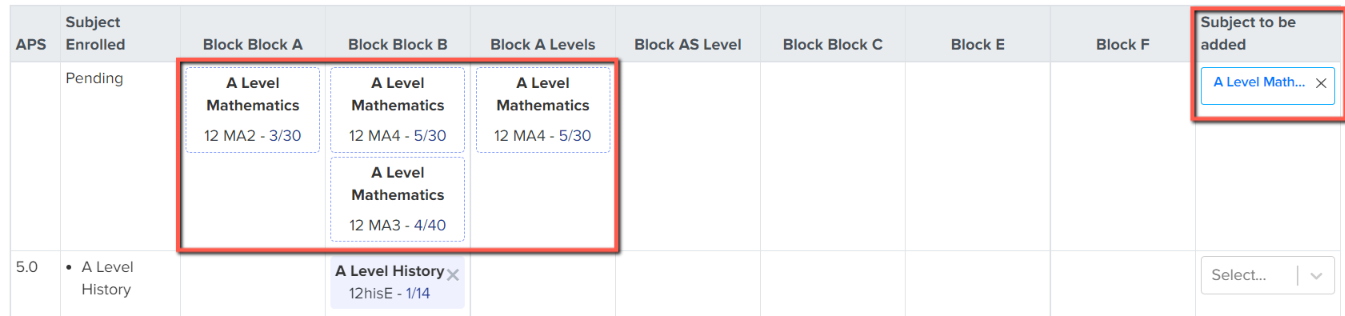
Once a class is removed, all other available classes for that course will then be displayed and you can drag and drop the name of the course from the right of the table onto the block you wish to add them to
It will not allow you to go "back to student table" until you have addressed and resolved all clashes
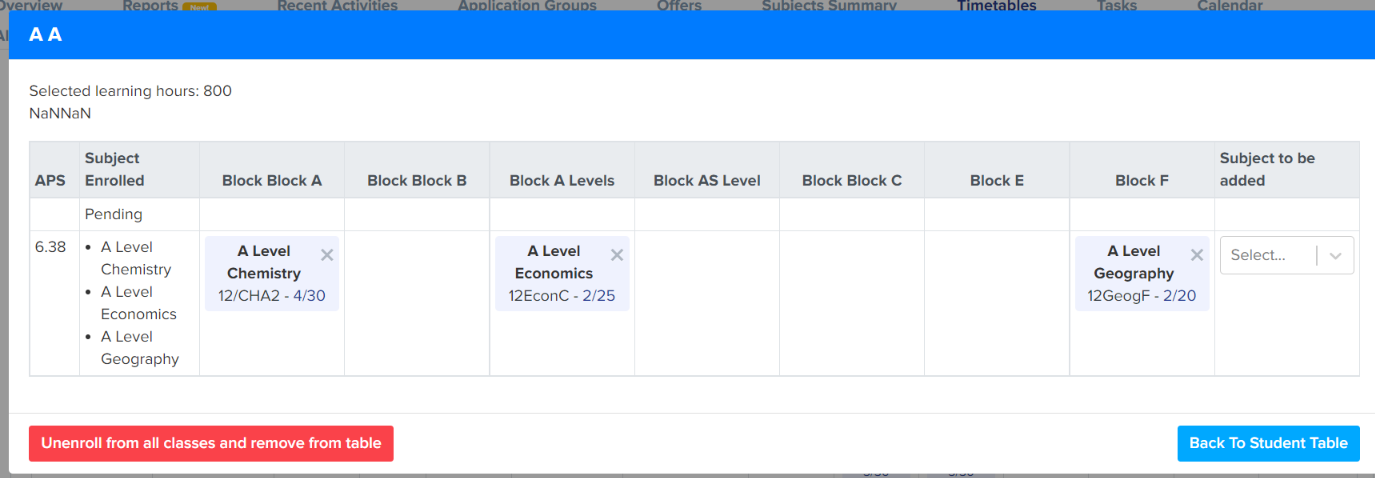
Provided no classes are over their capacity and all meet their learning hours requirement, this will then allow you to click the "update" button to save the changes
If a class is over capacity, it will show in red and you will be unable to press "update" because the system will notify you that you have a class which is over capacity
Follow the steps above to move a student into another group if available, to free up space
There is also a "free up space" button

Click the button and then select the subject and the class you want to free up space in
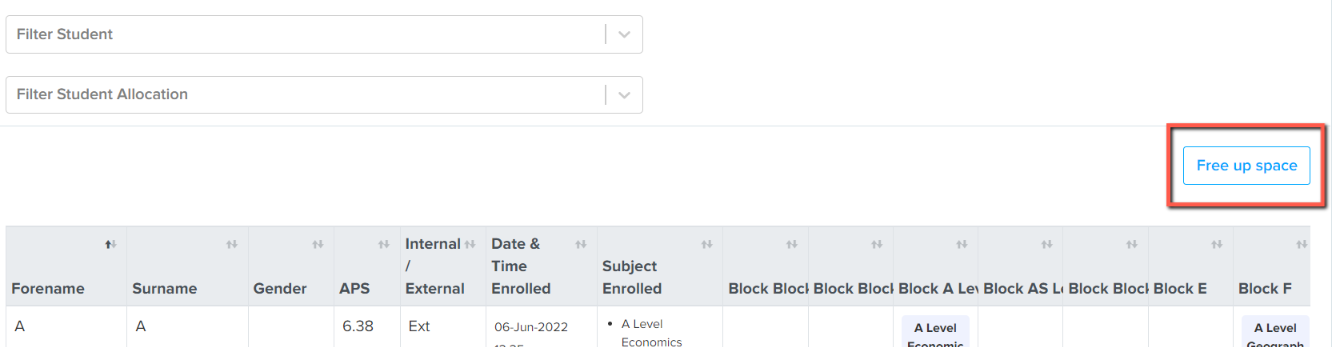
The system will then locate any students who would be able to move to a different class for that subject (whilst retaining all of their current courses)
Remember to click "save update" once you have made your changes, so these are retained or click "discard" to go back to what you had before