Schools sometimes collect payments from applicants for things like common room funds, resources/supplies or general sixth form upkeep.
The first thing that you need to remember when using the payment step in your A+ application form is that you will need to have created yourself a Stripe Account so that the payments can be collected and the stripe account can be linked to Admissions+.
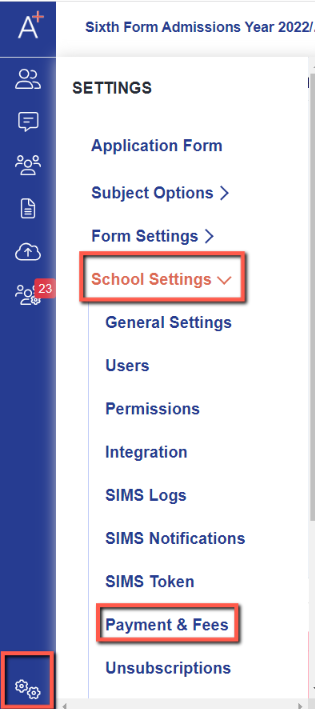
Navigate to settings > school settings > payments and fees.
Then click on “New Payment Type” and you will be directed to a new screen in which you can set the title and a description.

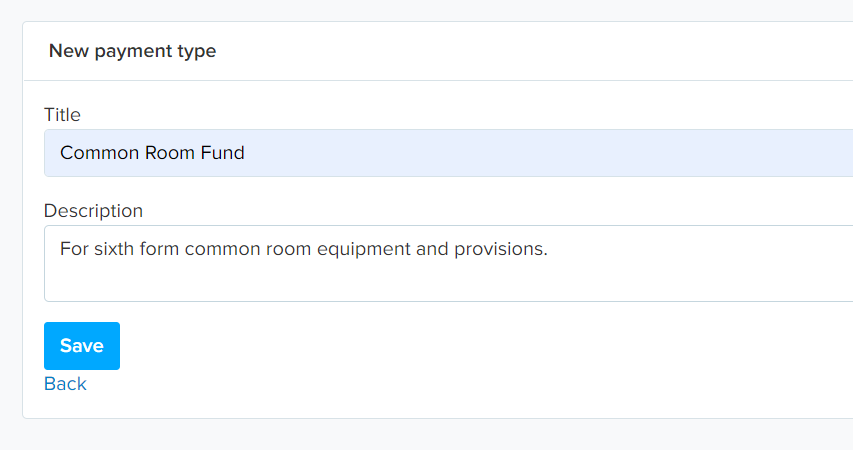
Press "save" and the payment type will show in the “All Payment Types” section which will then enable you to use it in the application fee area.

Click on “New Applicaa Fee” to set the payment up, setting the name and payment type to reflect the correct information for your intake.
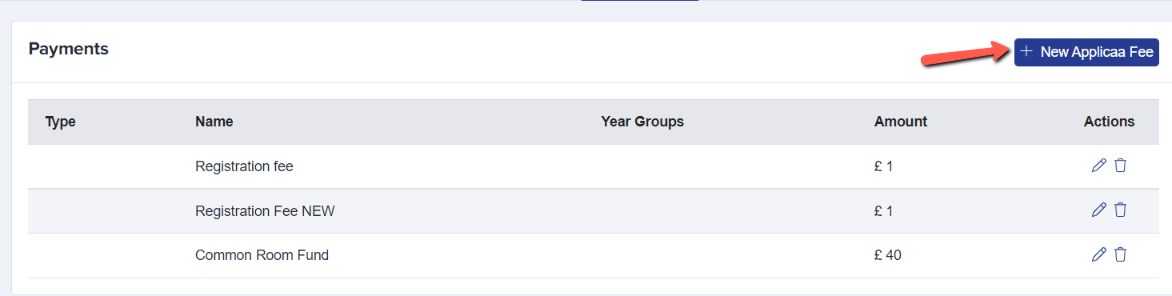
You can assign it to a year group if you only want it to be available to a specific group, or you can leave that field blank (as year group is optional). Then add the amount and admissions year, remembering to press “Save”.

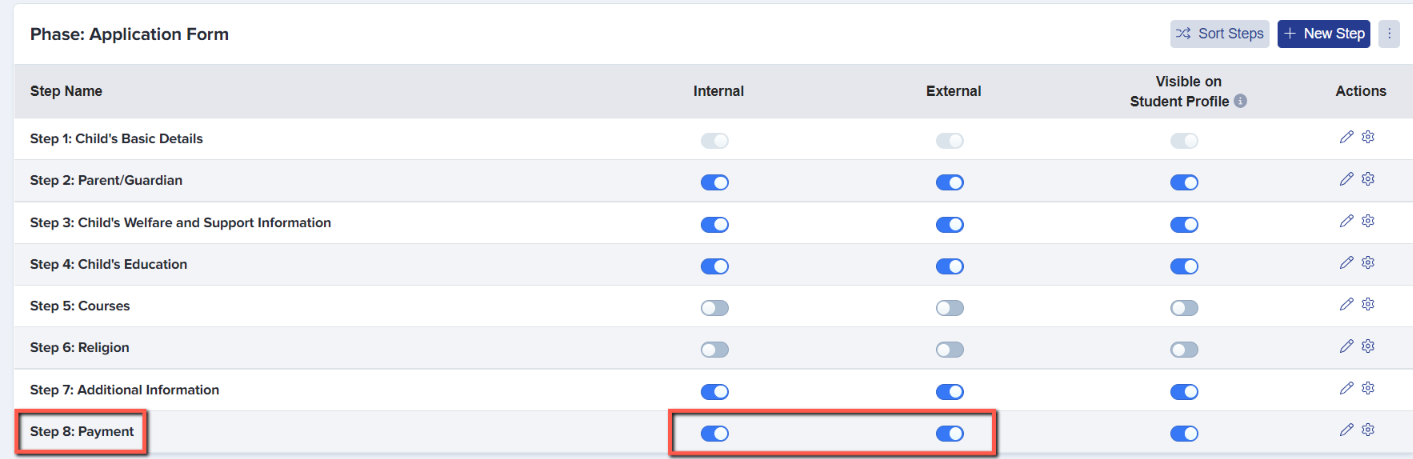
Next, navigate to Settings > Application form > Payment and ensure that your payment step is turned on.
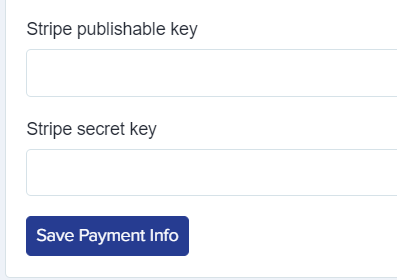
Click to open the payments step and click to Update Stripe API Info with the information from your Stripe account. This will include adding your Publishable and Secret keys, which will enable the students to make their payment through Stripe.
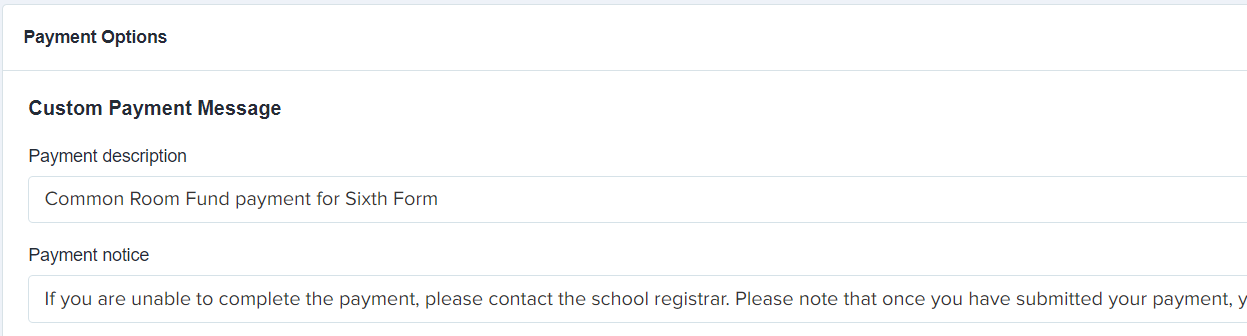
Next, add your “Custom Payment Message” information, including description and payment notice.
Click the “Add more payment” button and then select your fund.
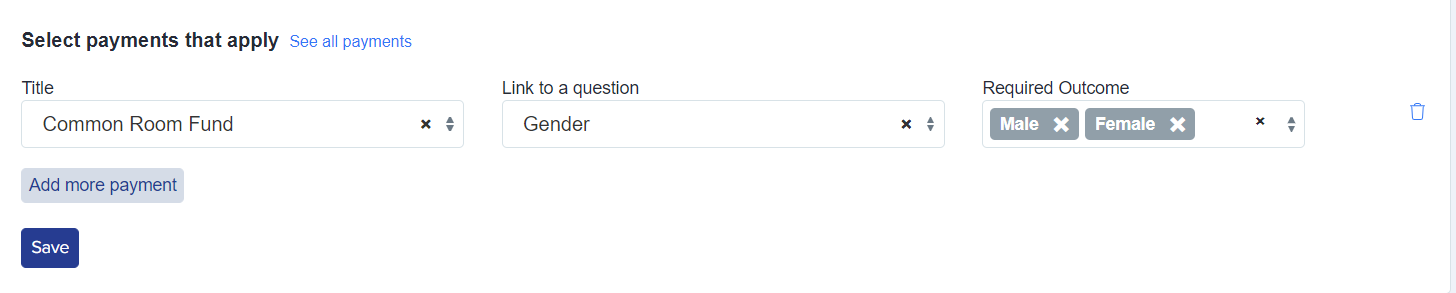
In order to make this step active, you have to trigger it using a question from the application form. What we recommend is using something that every student has to answer as it needs to be a mandatory question that forces the payment step to become active. A good example would be the "gender" question. As long as they give an answer to the gender question, which they have to do, they will then see the payment step as the final step of their application.
You can also add instructions as well, and you'll see the status of any payments that have been received down at the bottom of the page.

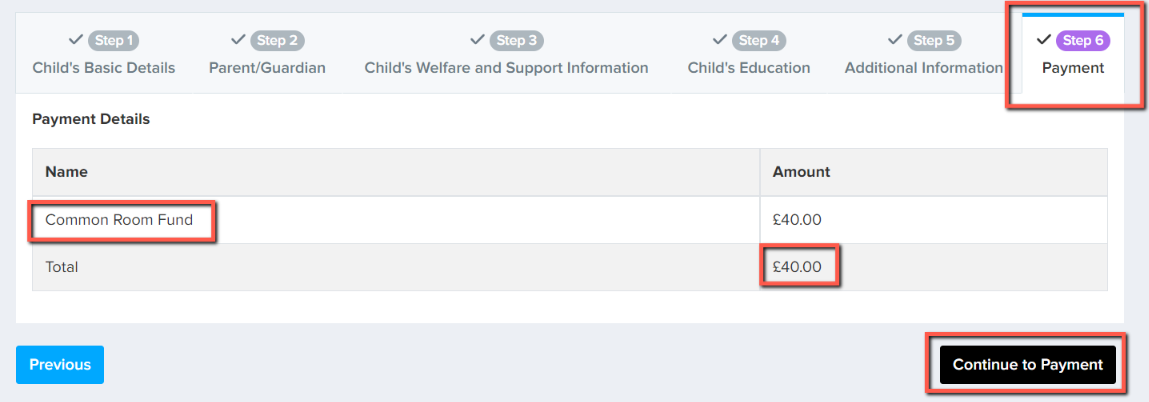
From an applicant's perspective, they will see the payments step at the end of their application.
It will tell them what payment is owed and will ask them to continue to payment, where they can then confirm their details.


Once they have added their payment details and the payment has been completed by your applicants, they will then be directed back to their Admissions+ home page where they'll see that their application form is now complete.