You should prepare your CSV file with any fields of data you wish to import, relating to the student and a parent.
Formatting is important:
- Dates of Birth must be formatted as DD/MM/YYYY
- Dates of birth must be aligned to one side of the cell.
- CSV files cannot read hyphens or special characters, so these should be removed
- In order to detect the fields relating to parental information, each column needs to be labelled with the word Parental
Here is a sample file you can use for your import:

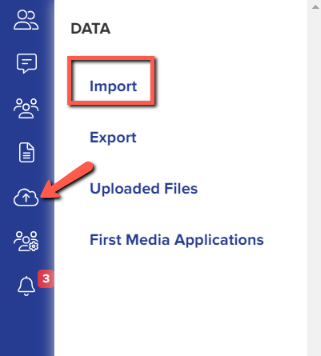
1. Navigate to Data > Import
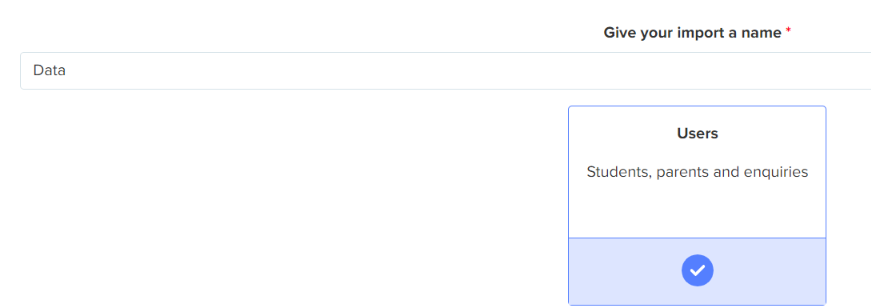
2. Give your import a name, choose "users" and click "next"
3. Choose "new users" and "next"

4. Choose "students" and "next"
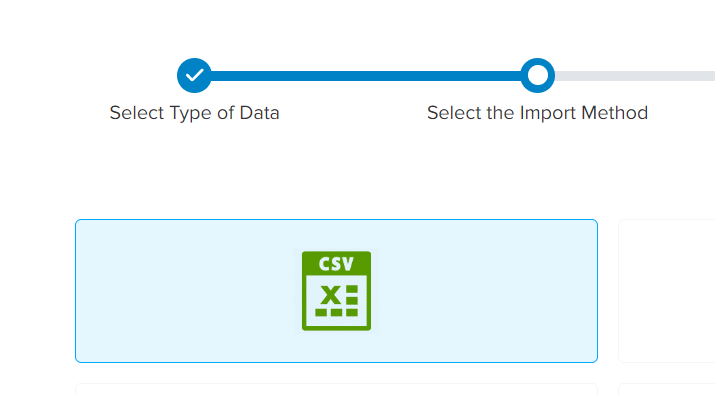
5. Select "CSV" and "next", and then attach your file and click "next"
6. Answer these initial questions:

For "Do you want to create Parent profile from Guardian/Contact", choose "yes" to create a separate profile within your system for the parent and the student - useful if at any point you need parents to be able to log into your system, or if you want to CC them into emails you send to the students (choose "no" if this is not needed).
For "You are importing Internal/External", choose "Internal" if the students are currently on-roll in your school, or External if the students are applying to you from elsewhere.
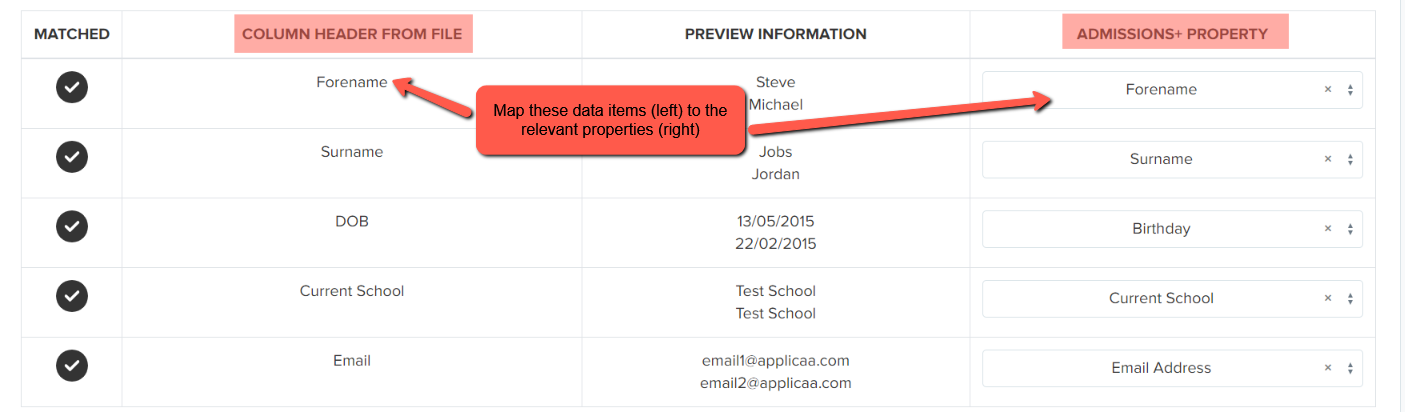
7. Map the student data from your CSV to the relevant fields in your Admissions+ system:
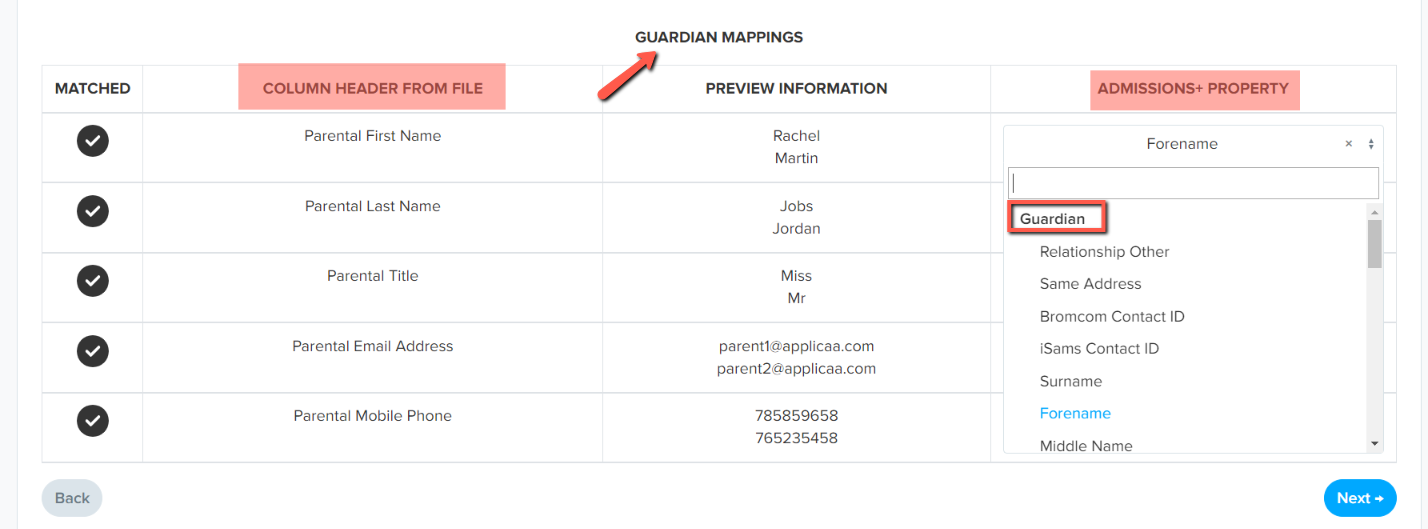
8. Map the Guardian data:
9. Click "next" to review the import, click "select all" and "next" to commence importing the data.