- Applicaa Knowledge Base
- Course 3 - Application process in detail
- Application phases & settings (the journey)
-
Course 1 - First Impressions
-
Course 2 - Profiles
-
Course 3 - Application process in detail
-
Sixth Form Only
-
Course 4 - Events
-
Course 5 - Checks, Troubleshooting & Go-Live!
-
Data & Integrations (IT & Data Managers)
-
Course 6 - Timetable & Options (Yr 9 & 12)
-
Course 7 - Interviews & Offers
-
Course 8 - Transition Features & Taster Days
-
Course 9 - Sixth Form Enrolment
-
Course 10 - Enrolment & Beyond!
-
Customer training timetable & in depth guides.
-
Bursary16+
-
MAT Enterprise
-
Independent Schools
-
Exams+
-
Applicaa Products
How to create a new form (and how to clone/copy last year’s)
This article will show you how to set up a new form when you purchase A+ for an additional intake, and also how to copy last year's form when starting a new cycle.
When you log on to your system, you will either see the forms area or the dashboard.
On your Dashboard, click on the name or wordings of your form and select ‘Forms Area’ or ‘Multiple Forms’ on the dropdown.
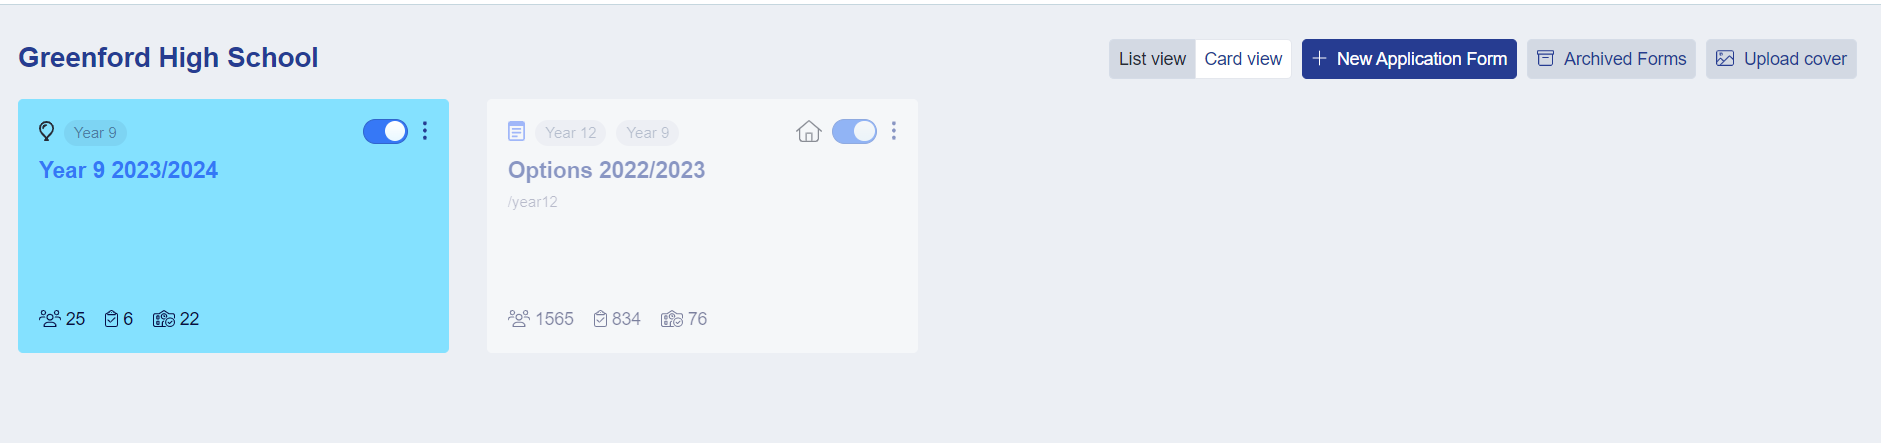
In the forms area, click on ‘New Application Form’.
If the button is greyed out, this is likely to be because your renewal is due imminently. Please liaise with your CSM; once we have a renewal quote agreed your CSM can activate this button for you.
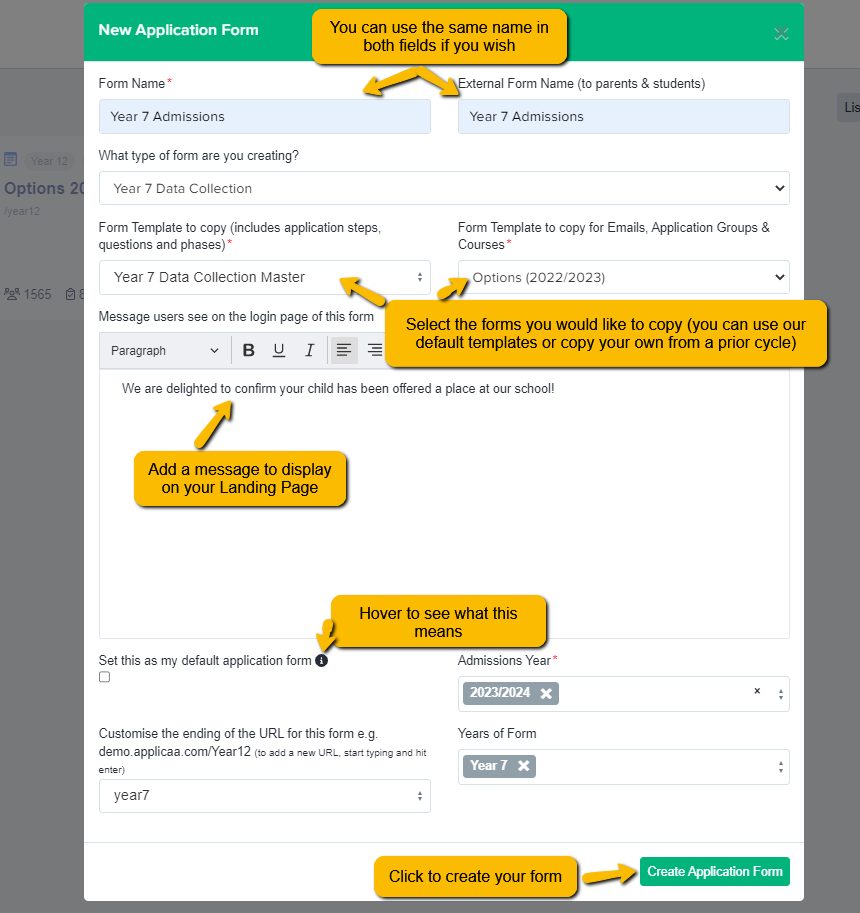
Fill out the title or name of the form and select the type of form you are creating.
*Note* Only forms which are included in your current subscription will be listed as available
You should then select the existing form you’re copying or cloning for the application form itself, and for other aspects such as email templates, Application Groups and Courses.
Select the Admissions year (e.g. 2022/2023, 2023/2024) and Years of form (Year 12, Year 10, Year 11, Nursery etc) and add your general URL (year12, year7, year12 etc).
When done, click on ‘Create Application Form’.
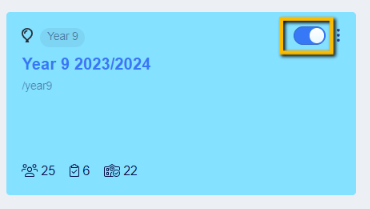
To activate the form (to ensure it can link to your MIS), toggle the switch ON like so:
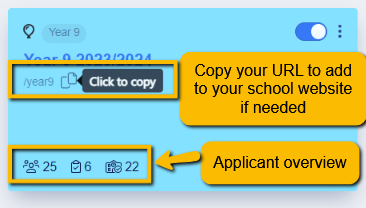
The status of applicants in each of your forms is displayed as shown:
- 25 Registered Students
- 6 Completed Students
- 22 Enrolled Students
Customising your Forms Area
You can change the display between "card view" and "list view", depending on your preference:


You can also edit the appearance of the forms, by assigning icons and colour-coding, and you can add a background image in your forms area as well:
