To get started, navigate to Communications and Events > Events, then select the Event Forms tab.
From this section, you’ll be able to view any existing templates and create a new one as needed by clicking the “Add New” button.

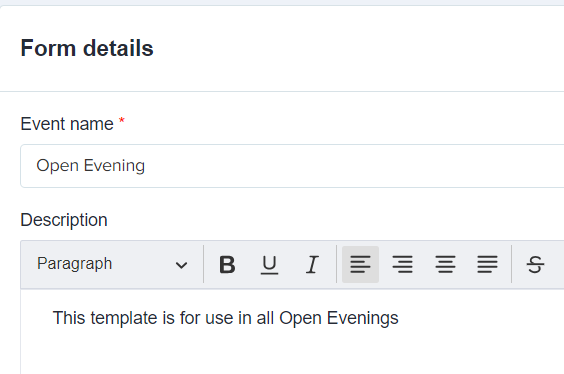
By clicking the “Add New” button, you’ll be prompted to set the name of your event and, if needed, add a brief description.
You can then proceed to configure the questions and specify which contacts should complete each field.
Some questions are pre-set and cannot be deactivated to ensure that you always capture the minimum amount of information required to contact a registrant. However, you can reorder the questions based on your preferred sequence and add new questions to collect any additional details you may need from registrants.
**Greyed-out fields indicate questions that are mandatory and cannot be turned off, while questions with blue tick boxes can be deactivated if they are not required for your event.**

UPDATES:
-
Mobile Phone Field – You now have the option to disable this field if you do not need to collect mobile numbers from your registrants.
-png-3.png?width=670&height=366&name=image%20(6)-png-3.png)
-
“Is this attendee an adult or a child/student” Field – You can now deactivate one of the options (either Child/Student or Adult), depending on your event’s audience. Additionally, you can edit the label — for example, change Child/Student to Applicant.

Customising Your Event Form with Additional Questions and Instructions
You can include additional questions or insert text within your event question form to provide further information, instructions, or guidance to registrants as they complete the form. This allows you to customise the form content and ensure that attendees have all the details they need while filling it out.
-
Click + New Question Button.
-
Select the question type to begin.

Text Input – A free-text question type where registrants can manually type their responses.
Single Selection – A dropdown question that allows registrants to select only one option from the list.
Multiple Selections – A dropdown question that allows registrants to choose two or more options from the list.
Value Input (Number) – A free-text question type used for entering numerical figures (e.g., amounts or numbers).
Value Input (Date) – A date picker question type where registrants can select a specific date from a calendar.
Adding Text Block - You can use this option to include additional text in your event question forms to provide further information, instructions, or guidance for registrants.
-png.png?width=653&height=620&name=image%20(6)-png.png)
Note: The Question Title does not appear on the form and is for your reference only.

-png-1.png?width=472&height=440&name=image%20(8)-png-1.png)
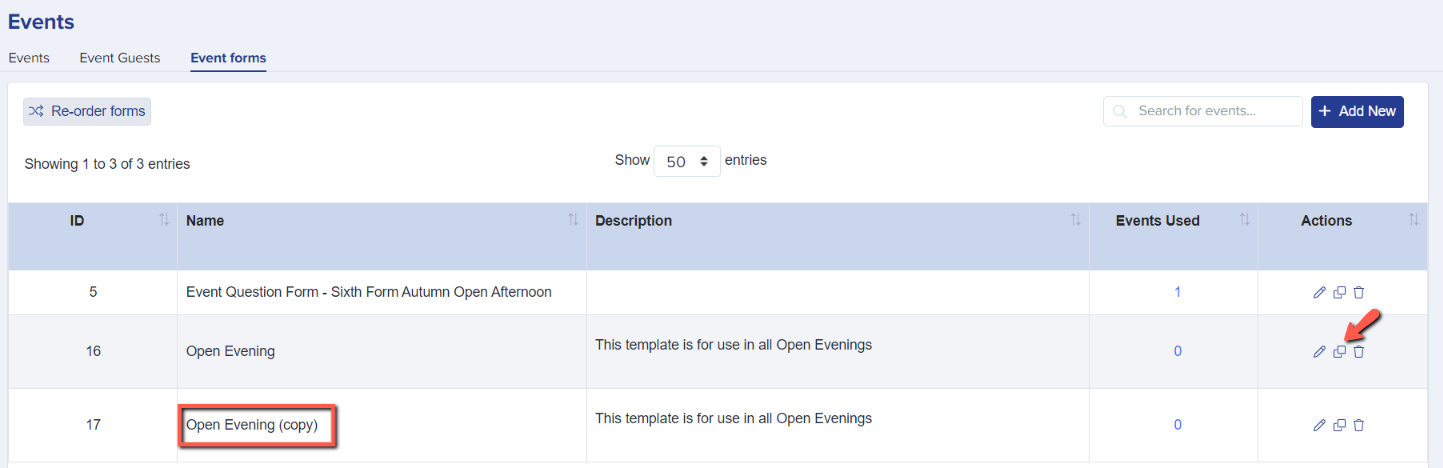
Make sure to save your template once you’ve finished setting it up. In the future, you can easily create a copy of your existing template if you need to build a new one without starting from scratch — saving you time and ensuring consistency across your event forms.
Assigning Your Created Form to an Event
Once you’ve created and saved your form template, you can set it up for use in a specific event. This allows you to apply your customised questions and instructions directly to the event registration process, ensuring that attendees complete the correct form.
You can do this by navigating to Communications and Events > Events > Actions Column, then selecting the pencil icon of the specific event you want to edit.
In the Emails and Questions section, go to the Questions tab. Here, you’ll have two options:
- Use this question template for newcomers (user without an Applicaa profile during registration)
- Use the same template for users who already have an Applicaa account

