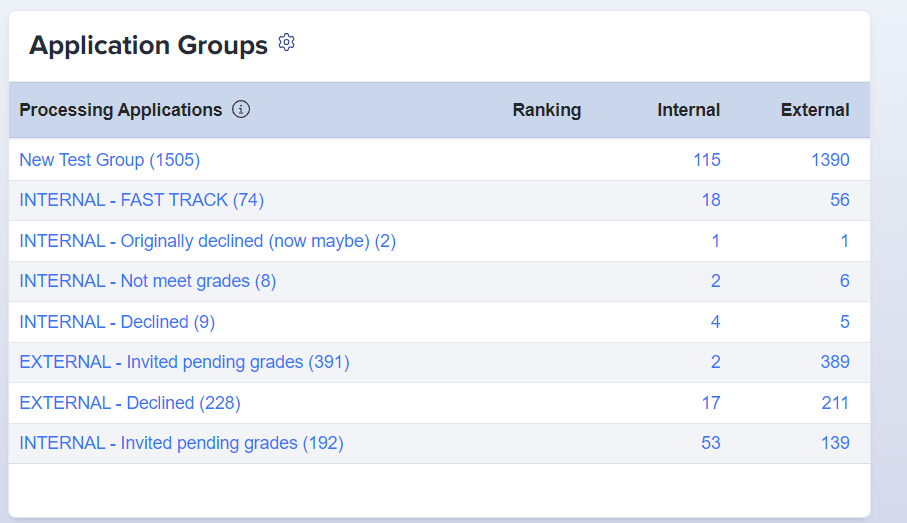
From your main dashboard, you can load a list of applicants by clicking on a tile, an application group you’ve created, or one of the pre-defined status groups.


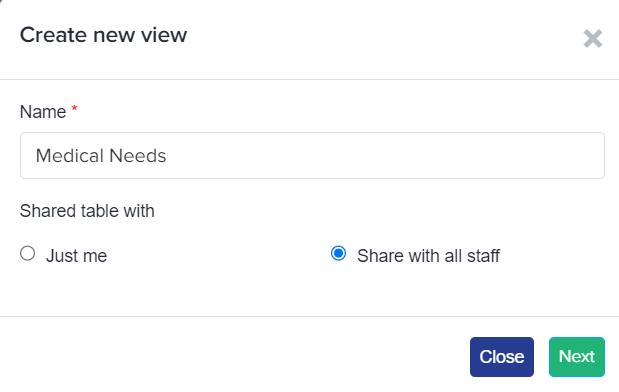
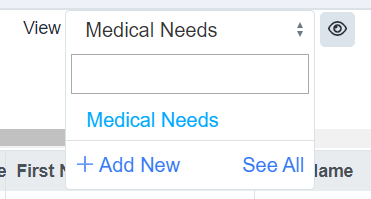
Once the list appears, customise the columns using the 'View' feature.

Click 'Add New' to open a menu where you can select additional columns to display. Name your new view and choose whether it is visible only to you or shared with all staff (allowing others to use your view).
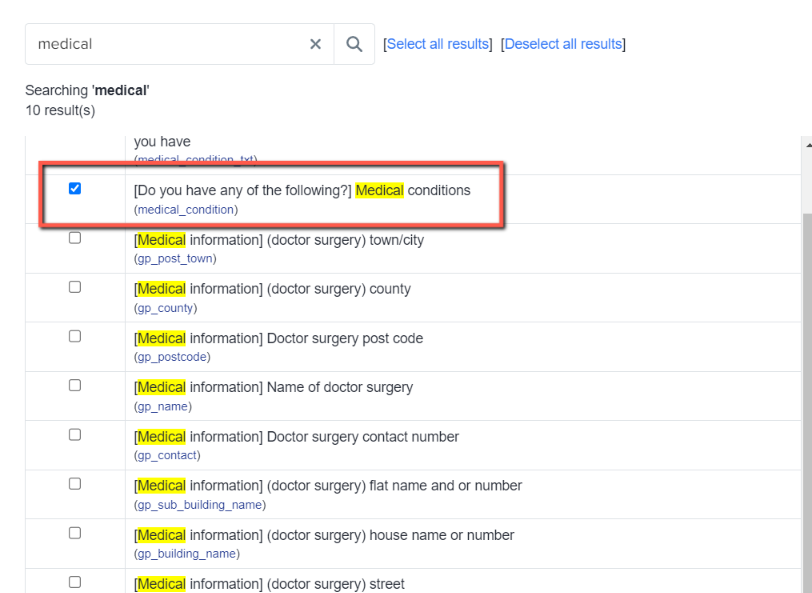
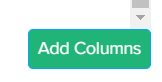
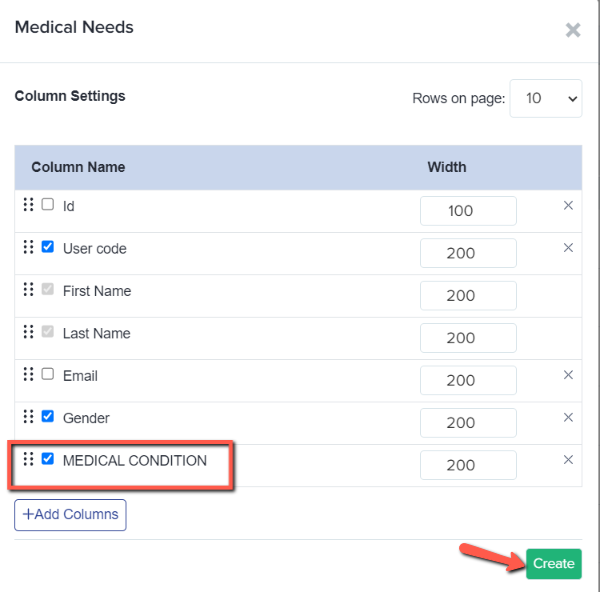
Customise your settings: remove any properties you don't need (except first and last names) and click 'Add Columns' to choose additional fields.
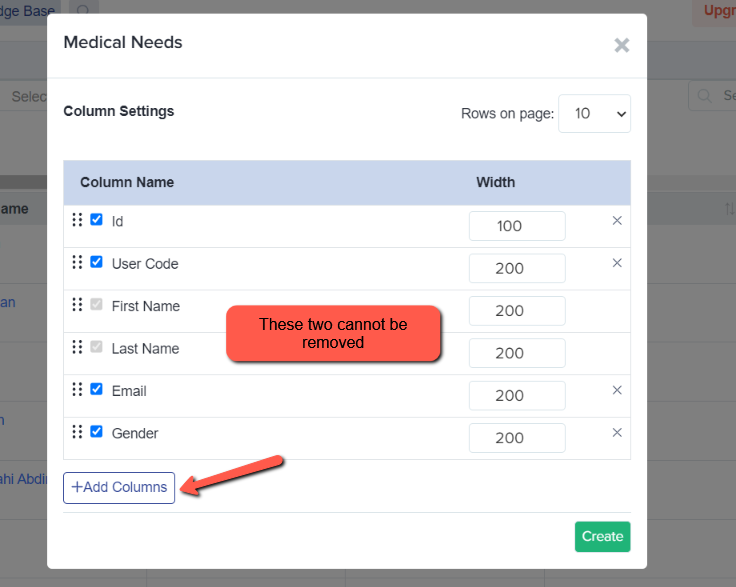

Review your settings and click 'Create'.
Your customised data will now display in the table. Any saved views will remain accessible under the 'View' menu for future use.

NOTE: With the views you have created, you can customise the number of students displayed in your table.
The 'Show' dropdown feature defaults to 10 entries, but you can choose to display 25, 50, 100, 200, or 500 entries.

Please note that the 'Show All' option on the student table has been removed.