Content:
-
Adding Subjects/Courses one at time
-
Adding Subjects/Courses by bulk via CSV import
-
How to Hide/Unhide Subject Options
-
How to remove Subject/Courses
Adding Subjects/Courses one at time
First, to add courses one by one, you need to go to settings > Subject options > then select subjects.
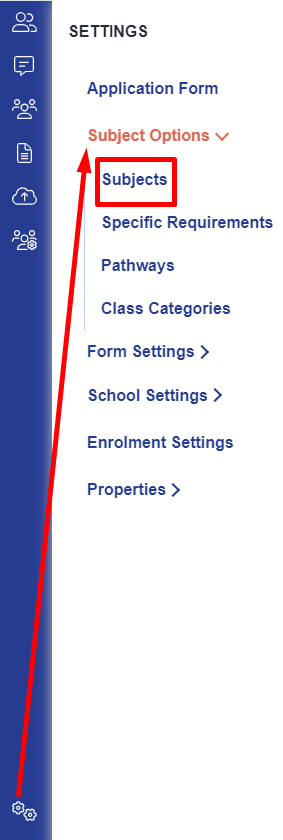
Once you're on the subjects area, click the 'Add new' button.
When adding subjects, you are able to fill out the details about the course you are adding. This includes, Course title*, Learning hours*, Course Summary, Qualification level as well as marking a subject as compulsory or not.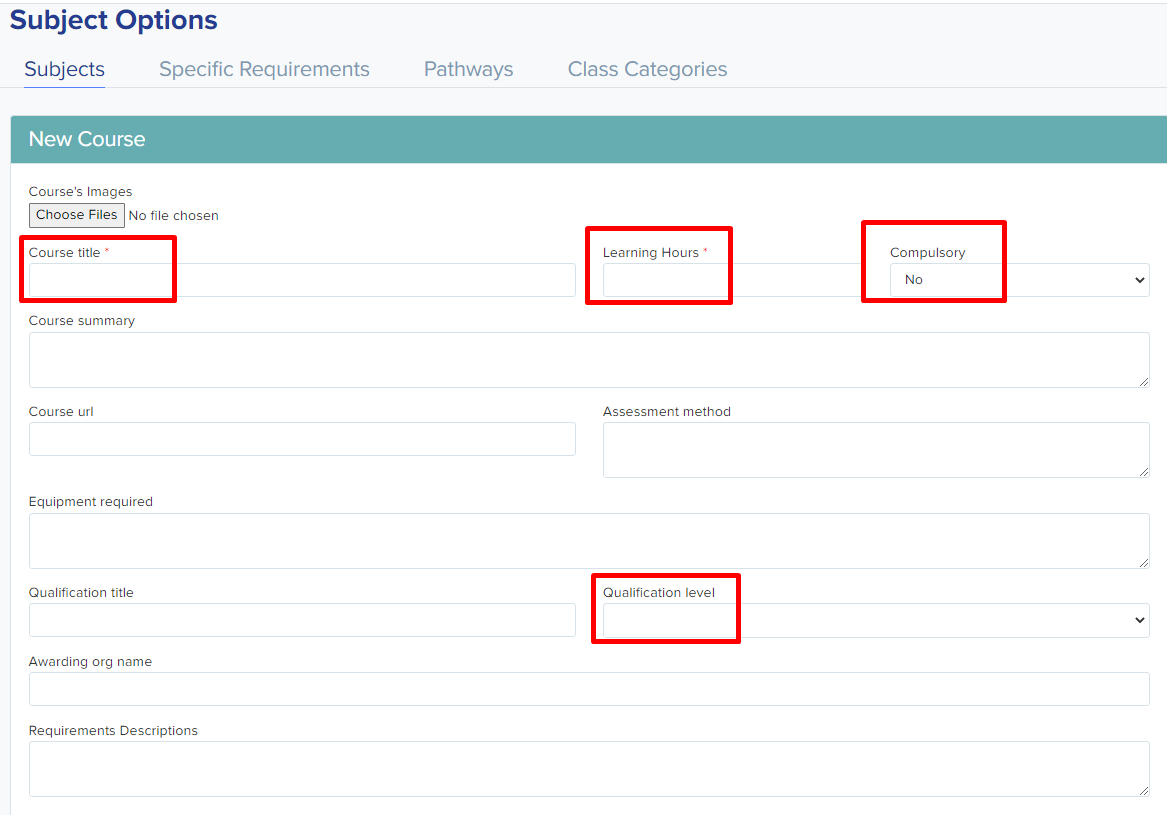
Dependent courses
To set a dependent courses, let's use Further Maths as an example. If you click the 'New dependent courses' button, you will be able to see the list of subjects from the dropdown.
And here we select Mathematics, meaning if the students are applying and they haven't already selected Mathematics then further maths will be greyed out for them.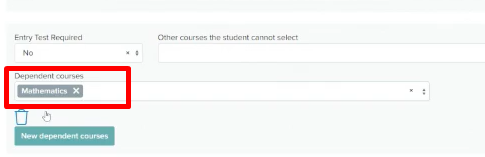
When adding a subject, you can also add a class if you will be using option blocks in the courses selection; once done you can now save it by clicking the 'Create course' button.
You can also add the specific requirements if you have created some. You may use this guide if you need it.
And if entry test is required you can change it to Yes, more info on that in this guide.
'Other courses that students can't select' is when a student selected a specific subject a correlative subject will be greyed out.
Adding Subjects/Courses by bulk via CSV import
Aside from adding your courses one by one, you can also import your subjects into system via CSV file.
First, you may use this sample CSV file when you are importing your qualifications.
Note: When importing, course ID numbers need to be different to any subject you have already imported, otherwise it will overwrite. For example: if you already have courses on with numbers 1, 2, 3 you should import other subjects using higher numbers.
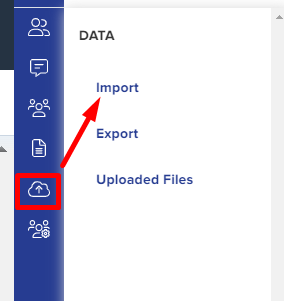
Then go to Data > Import Area and select 'Start an import'.
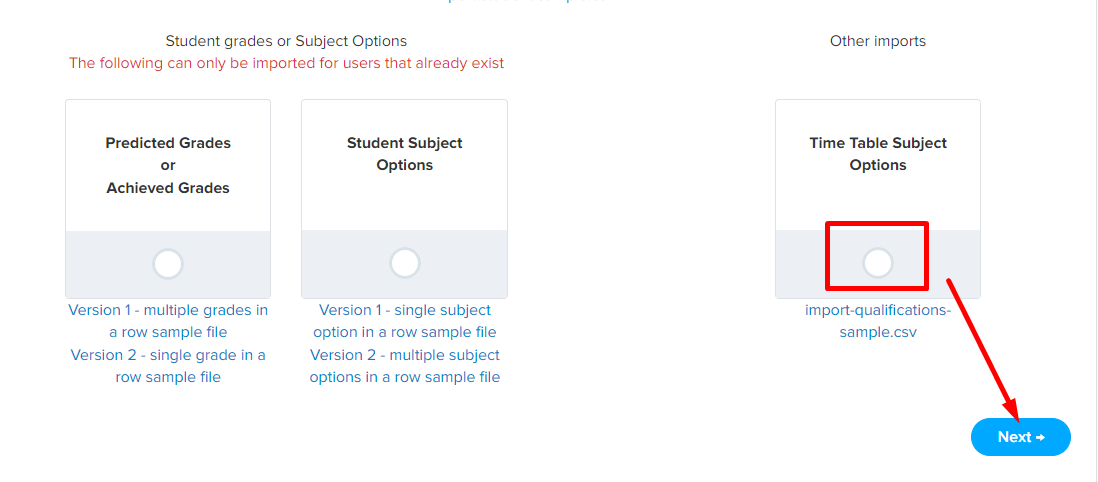
Give your import a name, then please select Timetable subject options.

On the next step select CSV, and click on next.

Upload your CSV file by clicking on the browse files button, then click next.
In this mapping, you will have to match the column header from your CSV file to Admissions+ property by selecting on the dropdown then proceed to the next page.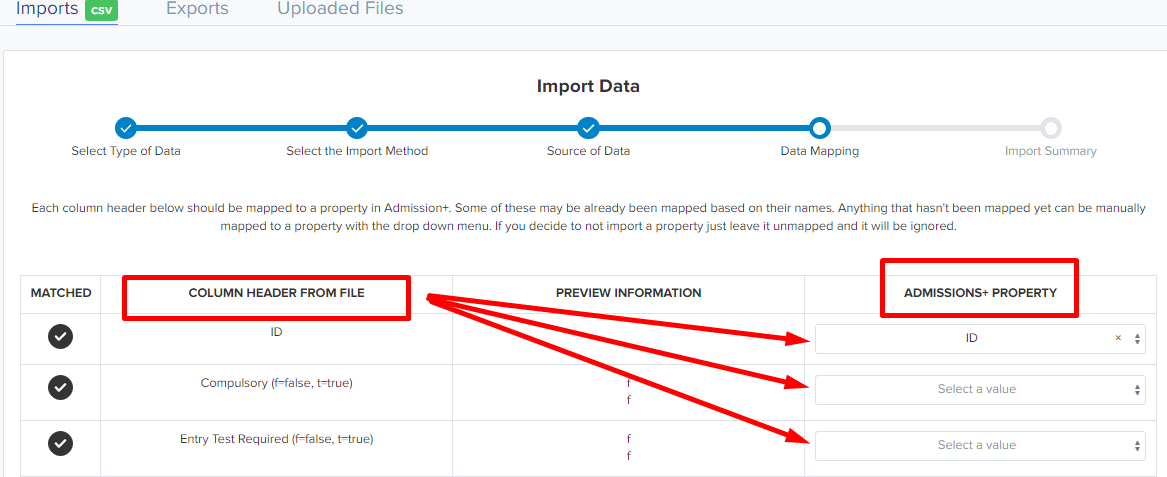
Review the summary, and click on the next button to begin the import process. 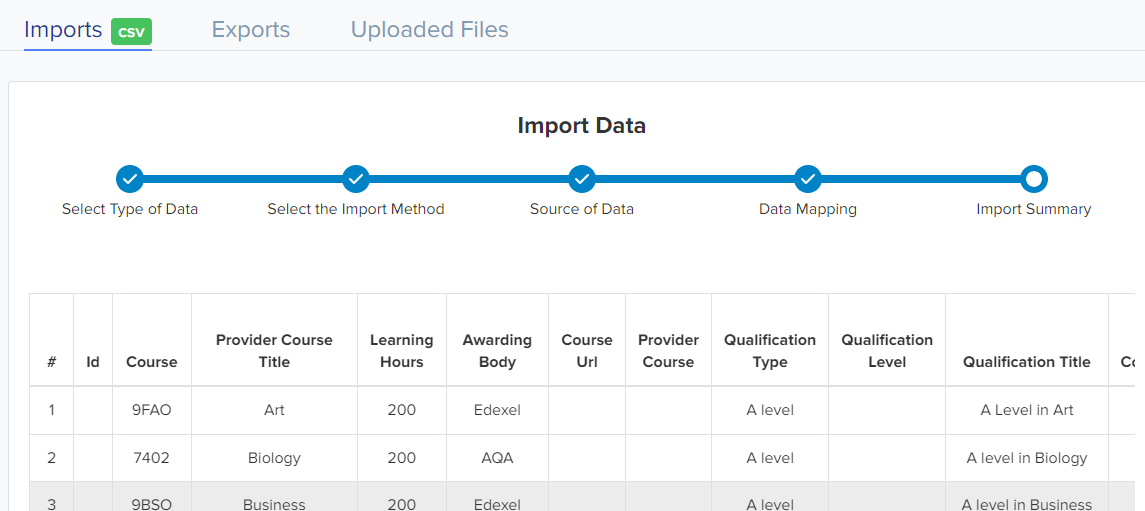
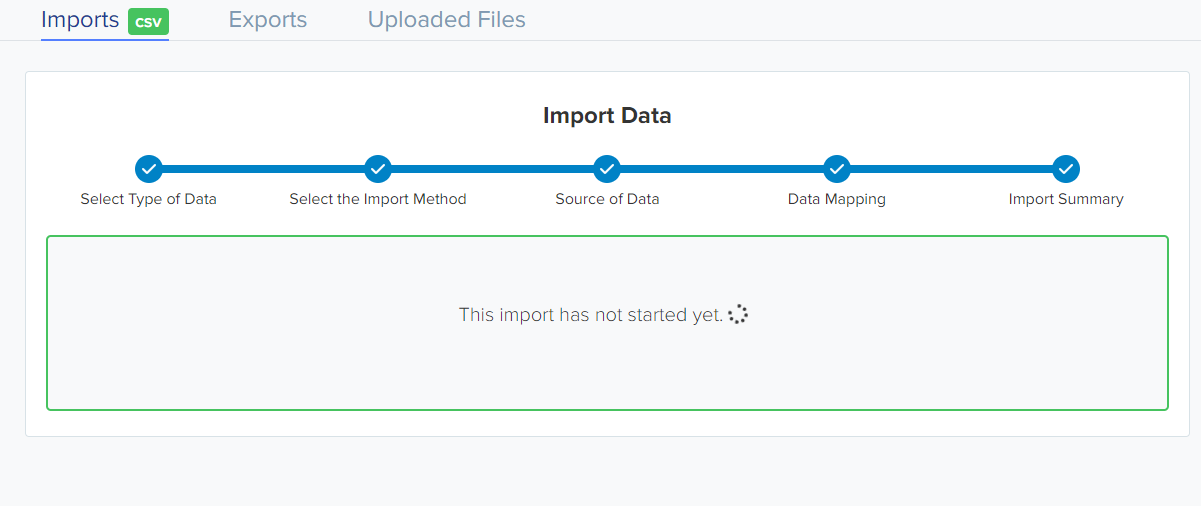
Shortly, you may view your successful imports then go to Application form, Courses step & preview your application form to see how it looks.
If you are starting with A+ partway through your admissions process, you also have the option to upload pre-selected subjects by your students so that in their application form they won't have to select their courses again. In addition, you may use different versions in importing your pre chosen subjects. See highlighted in yellow.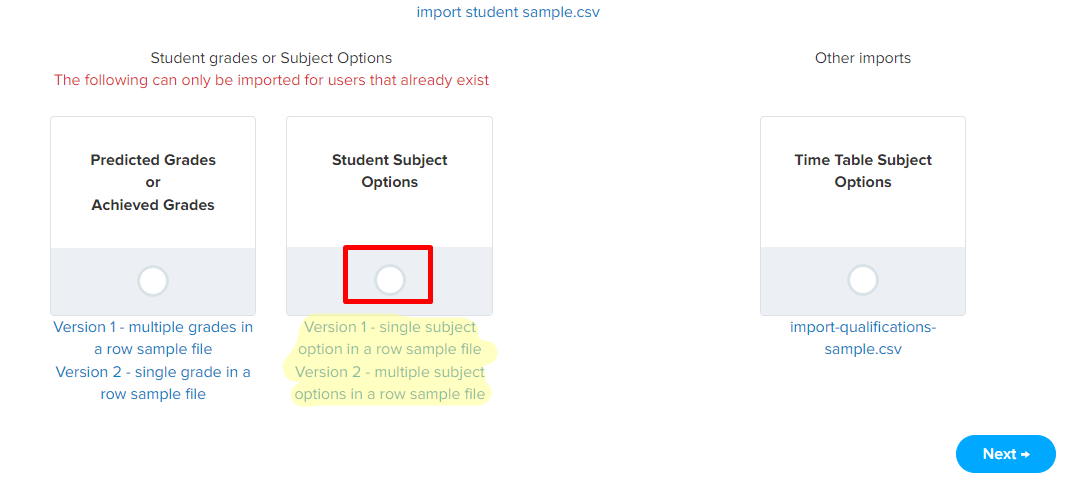
How to Hide/Unhide Subject Options
If you don't want to permanently delete a particular subject option, but need to temporarily prevent students from selecting it on the Application or Enrolment form, you can simply hide the subject. This can be done by toggling the visibility switches on and off within the subject management area. Hiding a subject removes the option from the student’s view while retaining all associated data and configuration. When you’re ready to offer the subject again, you can unhide it with a simple toggle, making it available for selection once more. This approach provides convenience and flexibility to manage your subject offerings without impacting your existing records.

How to remove Subject/Courses
To permanently remove a course, select the trash icon next to the course you wish to delete.
Please note that deleting a subject is permanent. If you need the subject again in the future, you will need to add it back manually.

All existing subjects will be automatically included and carried forward to the new cycle form. For detailed instructions on editing an existing subject or course option, please refer to: How to update a qualification or course.