Tags can help you to improve how you manage your students and searches on your Admissions+ System. You can apply tags on students to easily filter them or group them.
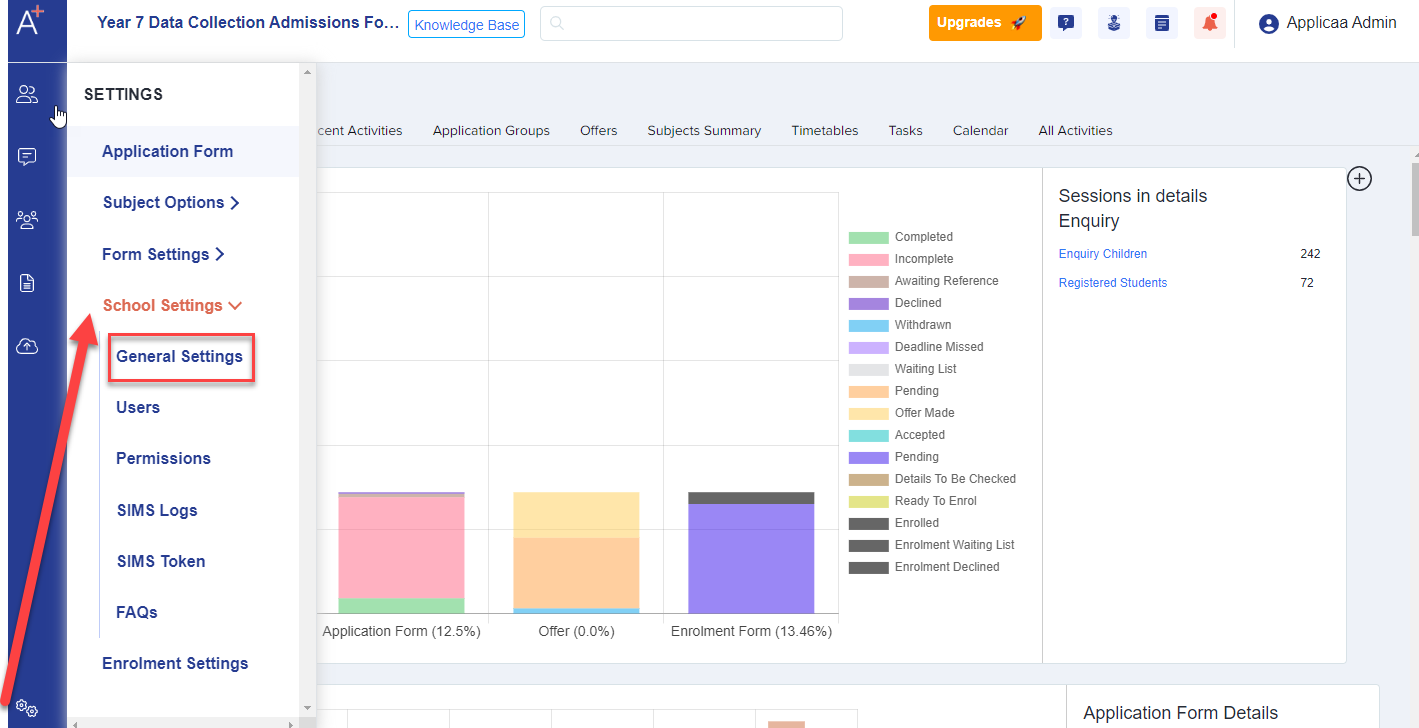
To use this feature, first you need to set up your tags by going to settings > school settings > general settings.
Then look for the "Tags for Students" field which you can find here:

Click Edit to make some changes then go to the Tags for students field to create or add more tags. (You need to type in the field to add or create a tag.)
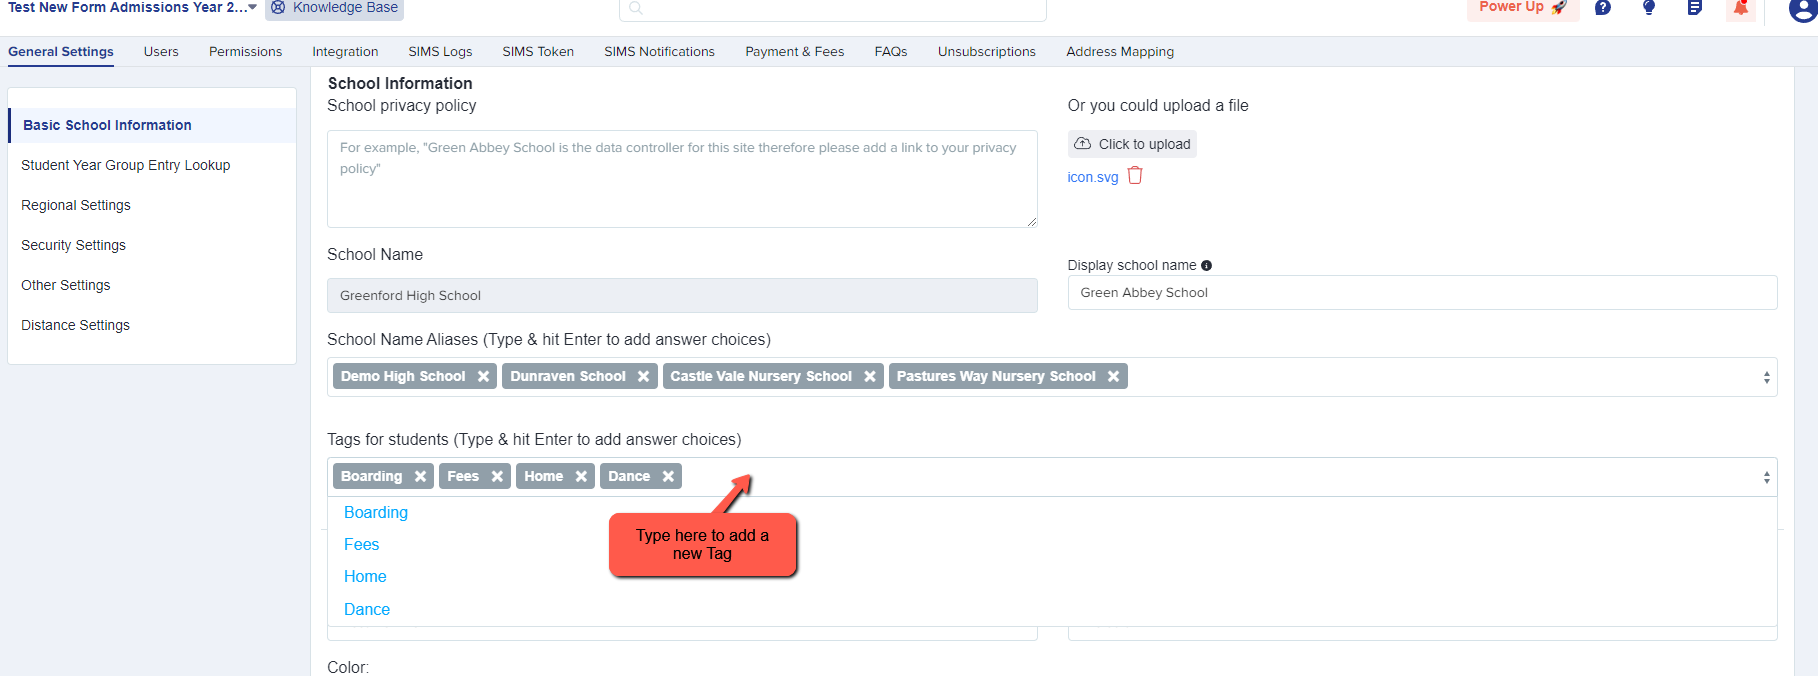
Once you're done adding a tag, don't forget to click "Save".

Now that you've created your tags, you may go to your list of students to apply it. You can either add a tag manually or by bulk.
To manually apply a tag to a student, go to their profile and navigate to the tags field on the student's Overview area. Click on the field and select your tag from the dropdown and Save it.

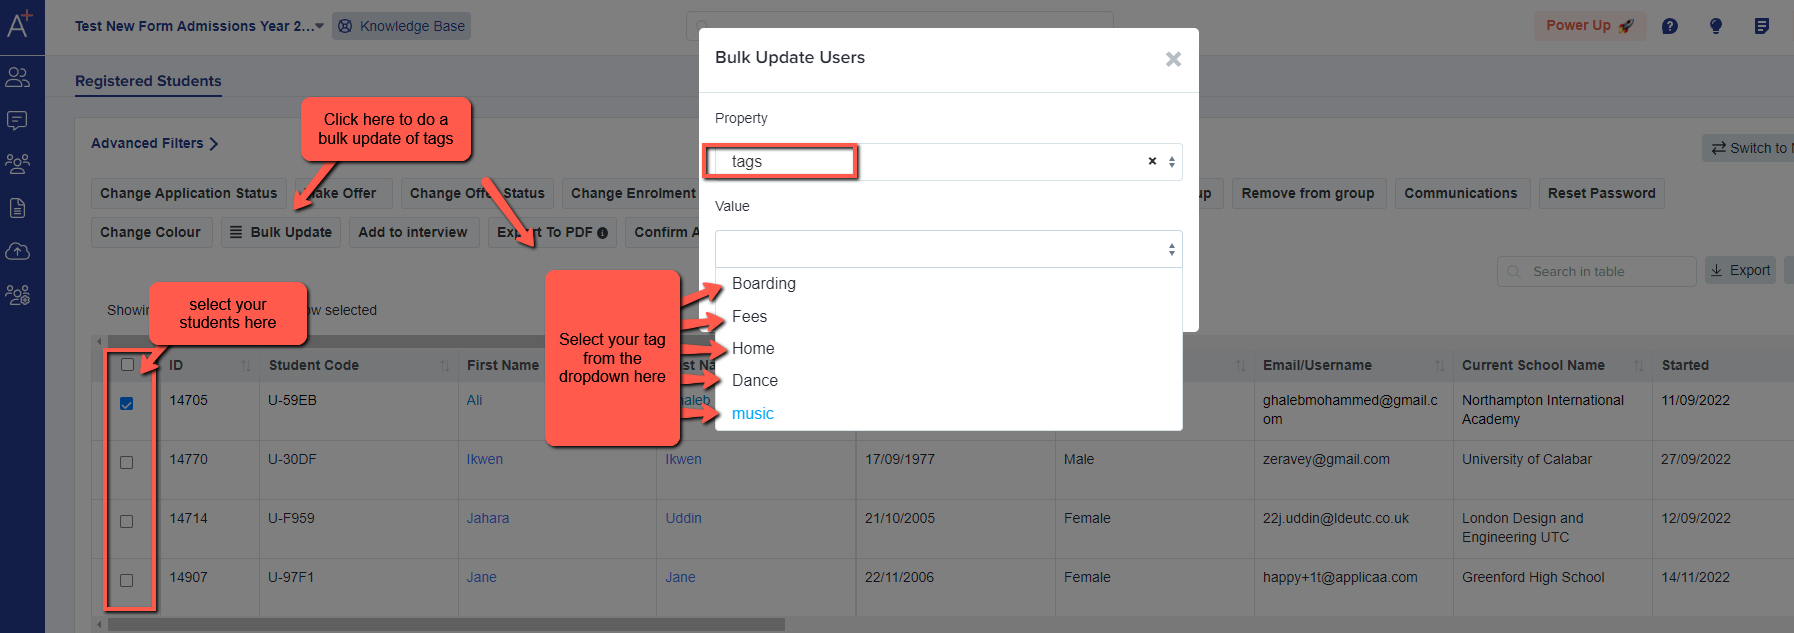
Here's how you can save it:

To Bulk update the students to apply their tags, go to your list of students > click on the tick box to select the student/s and then click "Bulk Update".
A pop up page will then appear for you to choose "Tags" on the property Field and to choose their corresponding Tags on the "Value" field. Once done, press Save for the tags to be applied.
Now that you have applied the tags to your students, if you need to do some checking or reports, you may now filter them by their tags.


Or even create a dashboard card for each tag.