How to import students into your platform from a CSV
If you join us part-way through the year, and your applicants' data is held elsewhere, you can import it into your system from a CSV to manage their applications moving forward
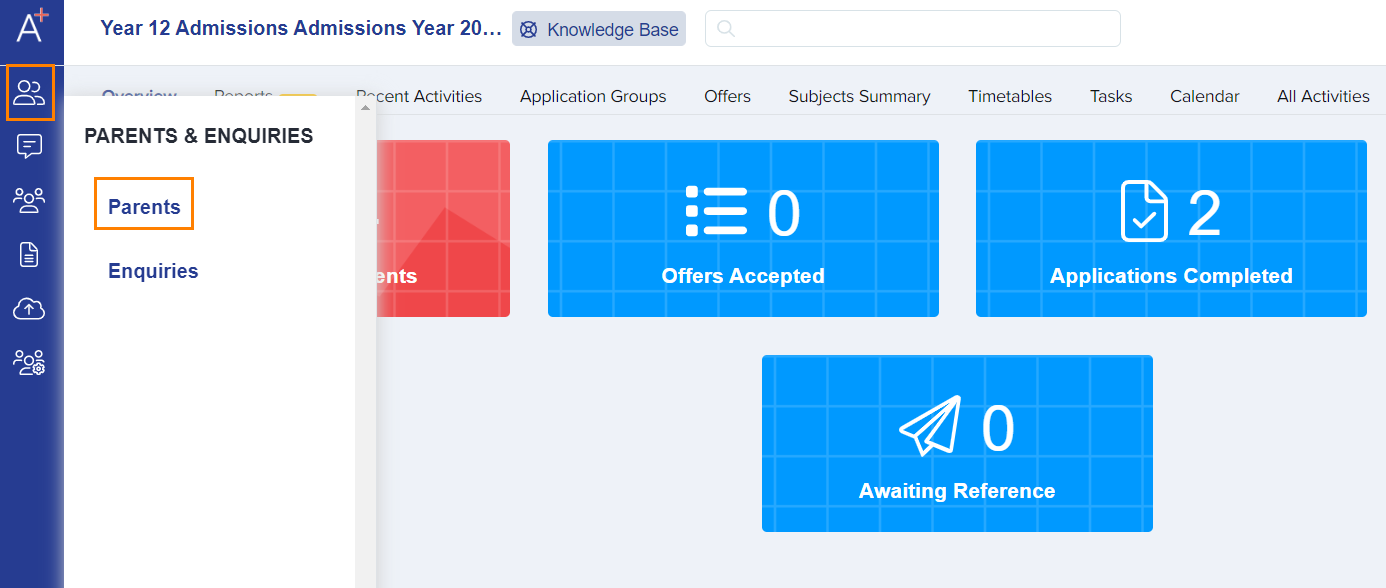
1. From your dashboard you will see the 'Data' tab on the left of your screen (as per the screenshot below). When you click onto this, it then shows the 'Import' and 'Export' fields for you to select from. Please select Import.

2. Click on the 'Start an Import' button.

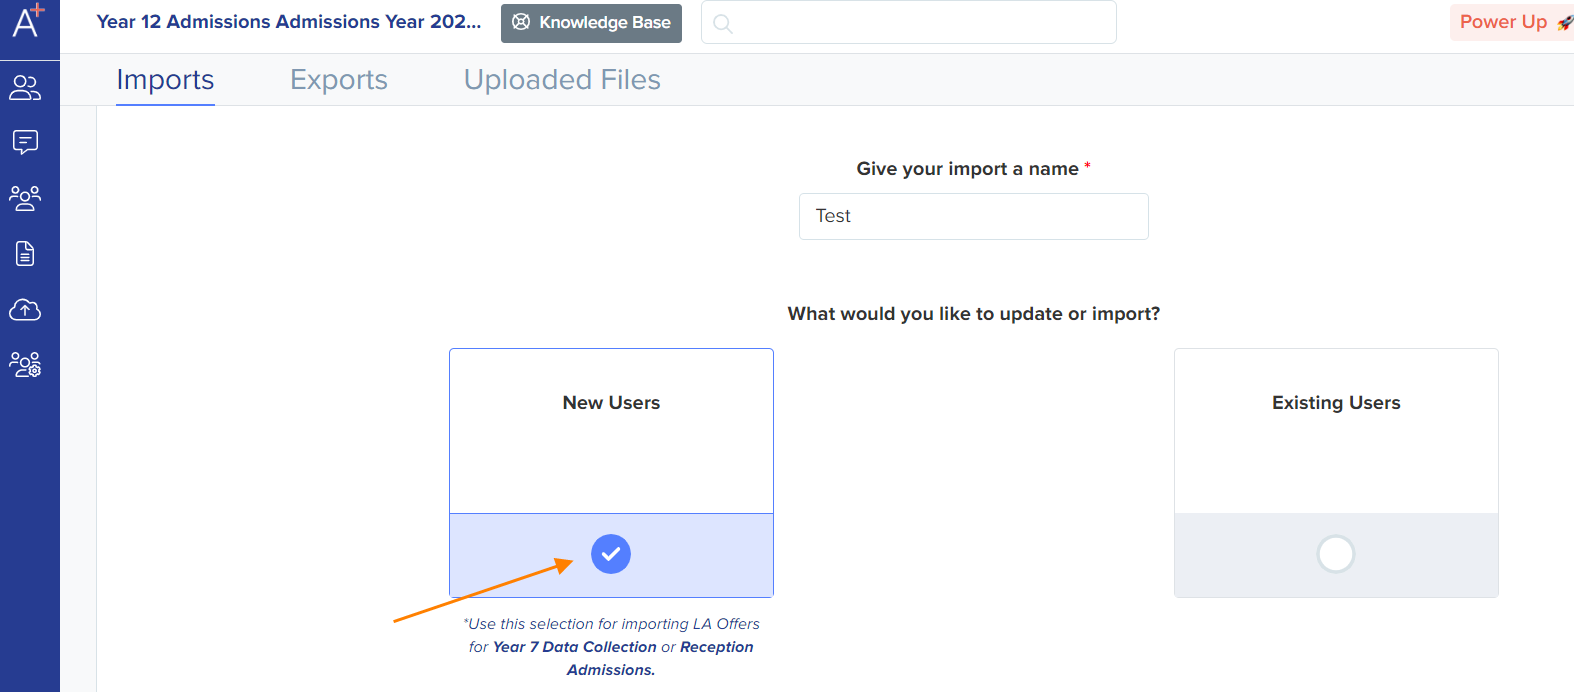
3. Name your file, select "Users" and hit Next.
Note: There is a sample file below that you may download. You will need to make sure your file matches it.

4. Select New Users and hit Next.

5. Select Students and hit Next.

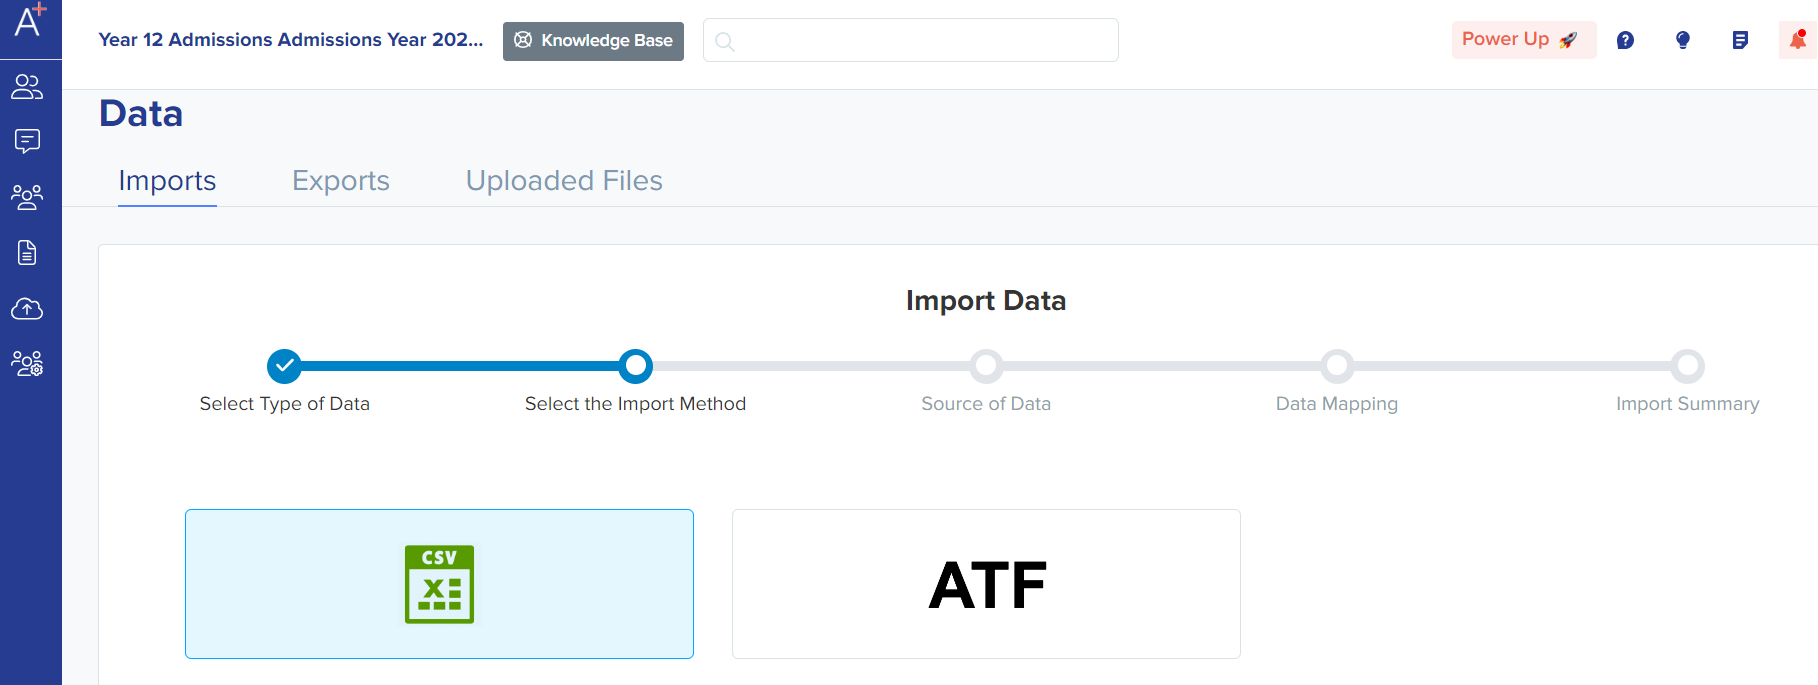
6. Select CSV and hit Next.

7. Click on the Browse Files button, find & upload your file and hit Next."

8. Answer the questions presented - are you importing the details of parents/guardians at the same time and if so, do they need a login? Most Year 12 applications are handled solely by students, so the answer is typically "no".
Internal students are those already in your MIS, externals are new students from other schools.

9. Match the data from your CSV (column header from file) to Admissions+ (Admissions+ Property) in the columns. Most of the time, they are pre-matched for you.

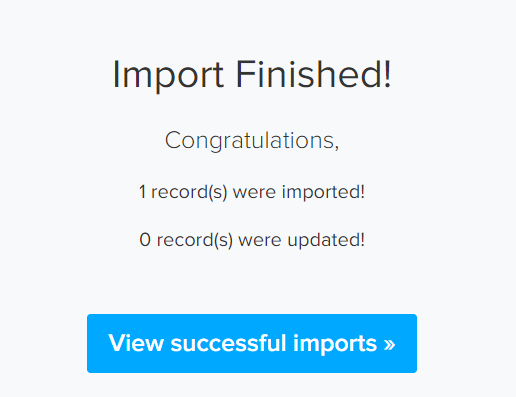
10. Once you have clicked Next, you can "select all" and the import will be initiated. Once done, you will be able to 'View Successful Imports'.


Note: You may then send all students a 'Welcome Email' with their login details. You may also click on 'Edit Email Template' before sending the Welcome Email.

Students will be added to the Registered Students area.

