How to Auto-Allocate Classes
The Auto-Allocate Classes feature enables you to auto-balance classes, to ensure even numbers across different classes and blocks.
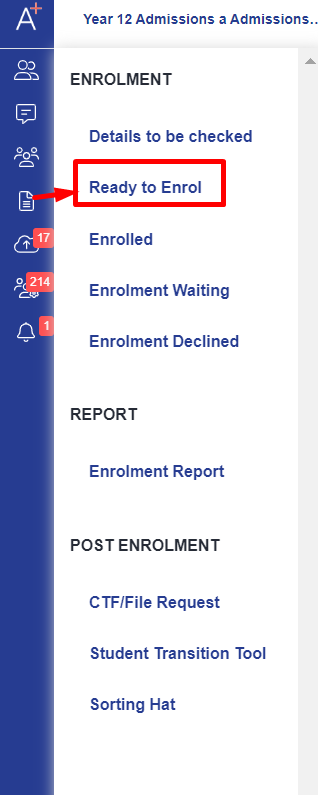
On the Ready to Enrol area (enrolment > ready to enrol) you will see the courses for an applicant by clicking on their name to load their choices - this is where you will see the "auto allocate classes" button.

Once you have selected the courses a student needs to be enrolled onto (they will show in the "confirm subjects" column, you can then click the "auto allocate classes" button.

Click "ok" and then scroll down to see the classes in their option blocks; the classes which have been auto-allocated will show in blue.
If you are happy with the selections made, press "submit" and this will bring up a summary window which confirms the student has now been enrolled.

The system takes clashes into account and also looks at class sizes to see if any are already full.
If any classes are already full and the system cannot detect any remaining spaces, you will see a message to notify you that the auto-allocation has been unsuccessful.

In this instance, it gives you the option to "find space" by looking at the students who are already enrolled to see if any of them can move to other classes and free up some space.
A list of students with available swaps will show and you can tick to select the students you want to move to different blocks in order to "free up space".
Once you have freed up the space, you can then click the auto-allocate button and this time it will be successful!