Navigate to Settings > Form Settings > Parent Homepage.
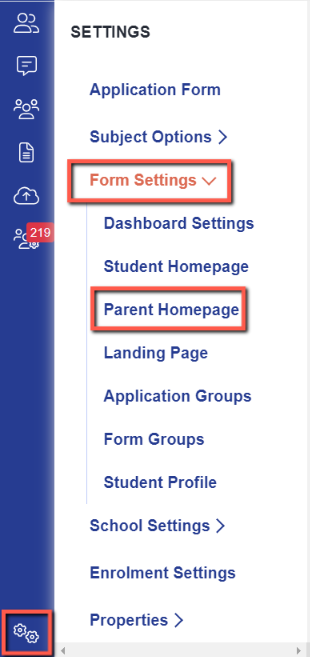
Depending on your intake, you may or may not use this area; it is typically used for Reception, Nursery, In-Year, and Year 7 forms (Year 12 intakes tend to use the student homepage instead).
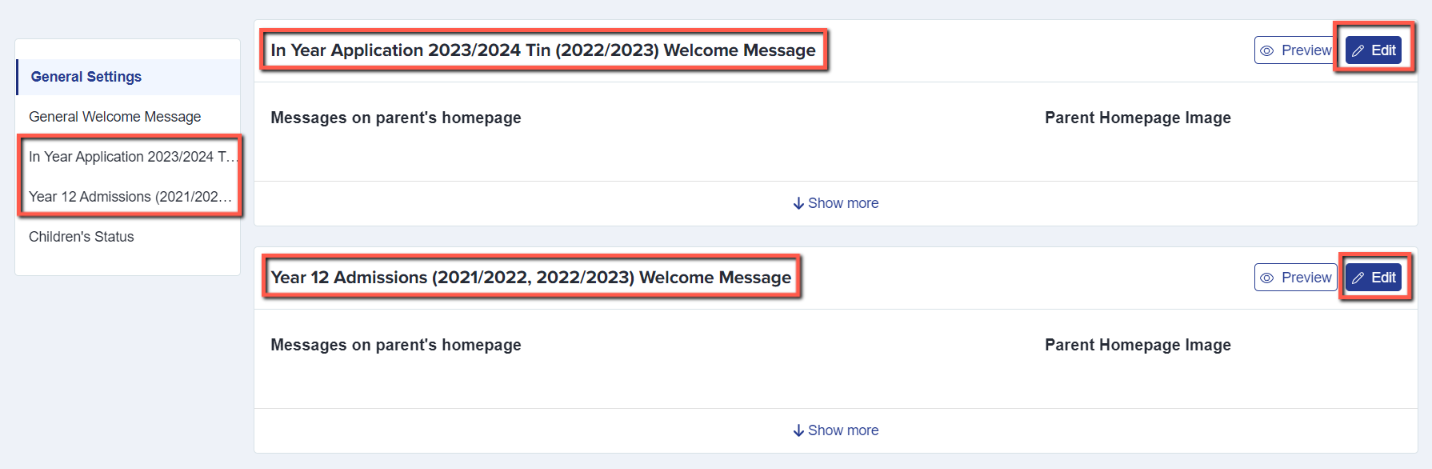
The first settings to configure are the general ones, which apply across all active forms. For example, if you have multiple intakes running simultaneously (such as Year 7 and In-Year), parents of both groups will see the General Welcome Message on their respective homepages and will need to accept the privacy policies if those settings are enabled.
To change your message and/or image, click the 'Edit' button on the right-hand side of the page. You can also click 'Preview' to see how the form will appear to a parent.
File Upload Guidelines:
- You can upload files with a maximum size of 25MB per file.
- Images will be automatically resized to 800x800 or smaller, based on their original dimensions.

Once you have confirmed your general settings, you can move on to the form-specific settings. You can add a welcome message and image tailored to each intake, which will only be seen by parents accessing that particular form.
In this example, an In-Year form and a Year 12 form are currently active, so you can add a bespoke welcome message for each group by clicking the 'Edit' button on each welcome message.
The last section of the parent homepage is specific to the form you are currently working on (you can check this in the top left-hand corner of your page).
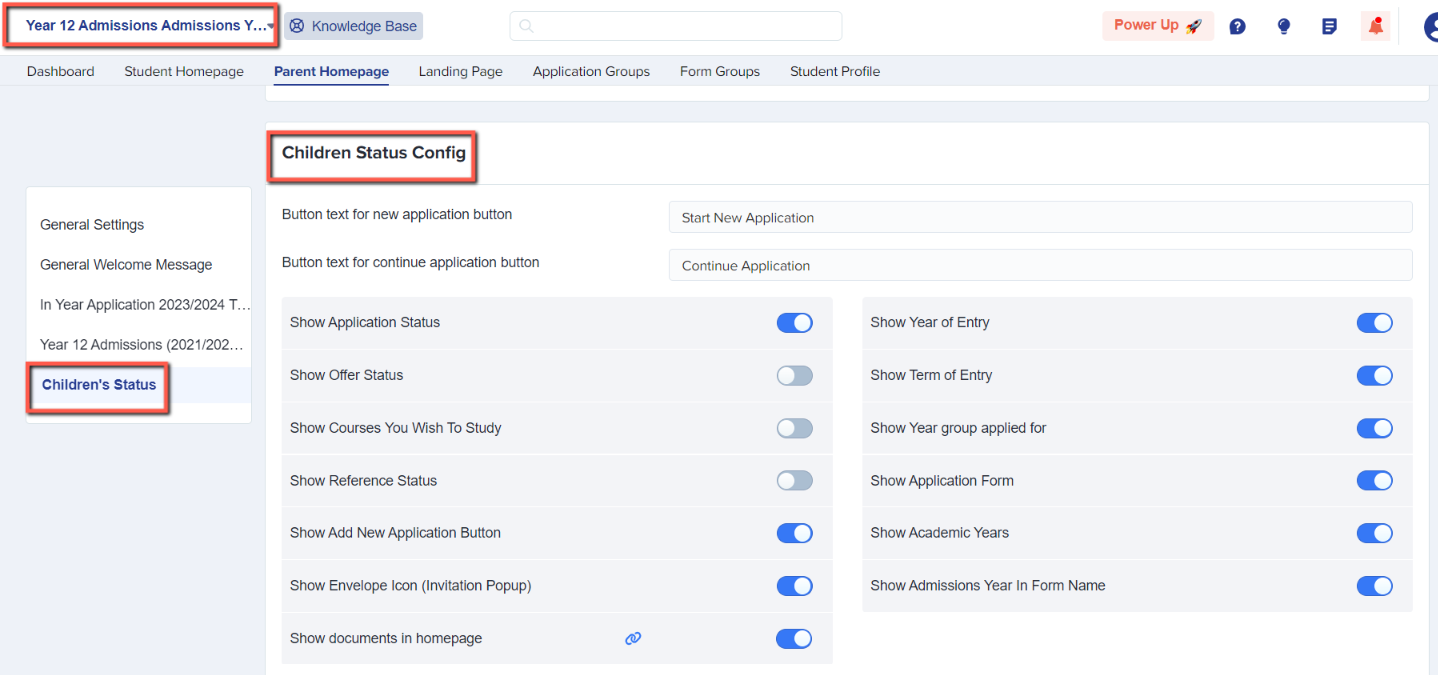
You can set the wording that will appear on the buttons parents click to begin or continue an application.
You can also decide which toggle switches to turn on or off. Here is an overview of what they control:
-
Show Offer Status – Displays whether a child has been made an offer and, if so, whether they have accepted it. This is typically used in Nursery and Year 12.
-
Show Reference Status – Displays whether a reference request has been sent and whether the reference has been completed. This is typically used only for Year 12.
-
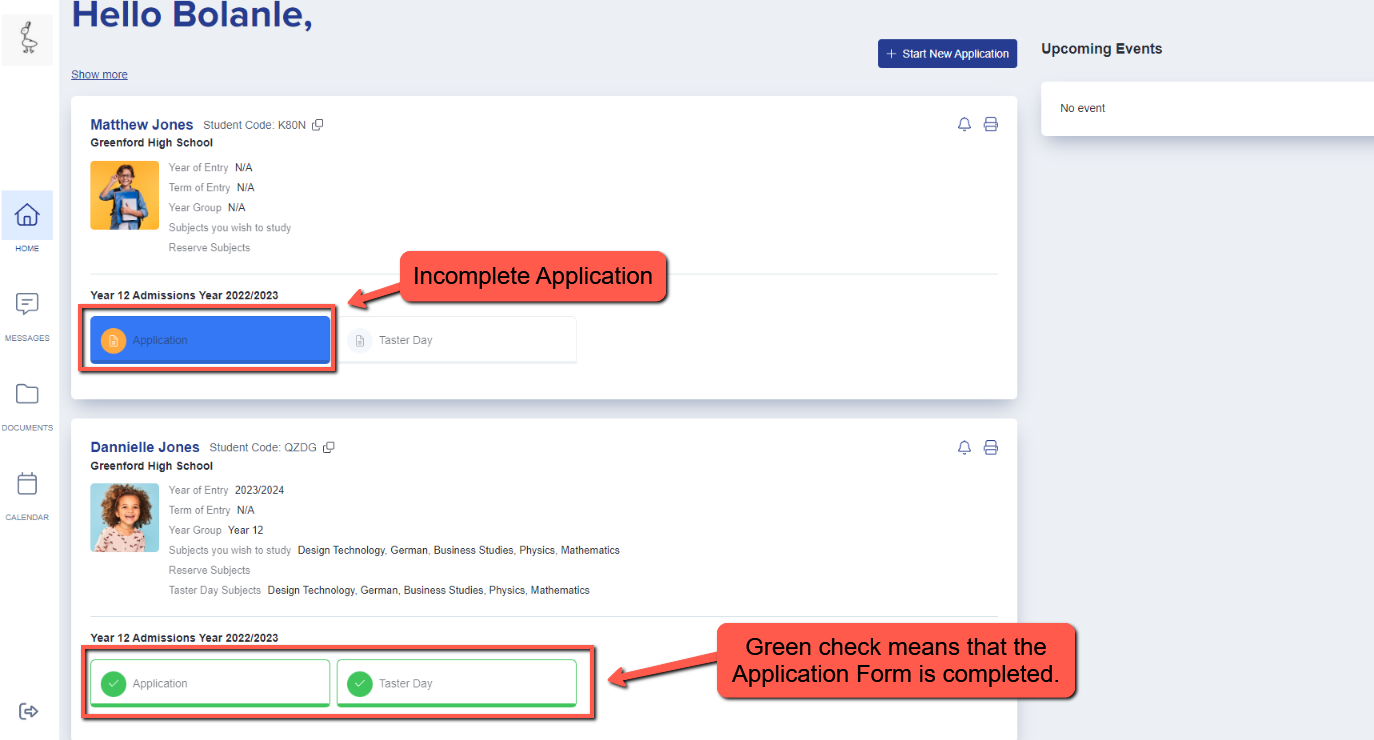
Show Application Status – Displays the status of the child's form, such as "Complete" or "Incomplete.
-
Show Courses You Wish to Study – Displays the subjects chosen by an applicant. This is typically used only for Year 12.
-
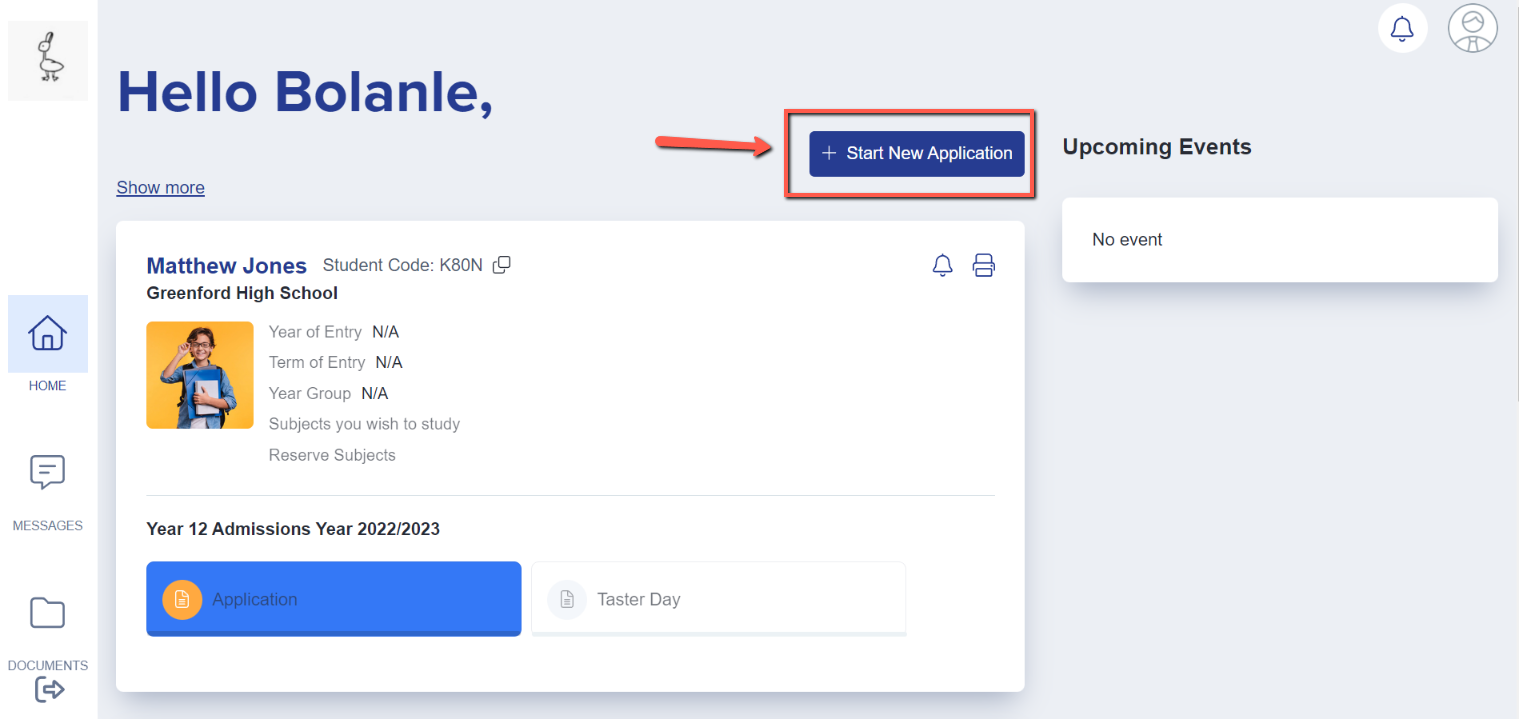
Show Add New Application Button – Should only be used for Year 12, Nursery, and In-Year Admissions. This button enables parents to apply for multiple children, so it must NOT be used for Year 7 or Reception intakes, as those applications are handled by your Local Authority.
-
Show Envelope Icon – Displays an envelope icon if you are inviting parents or students to an event or meeting.
-
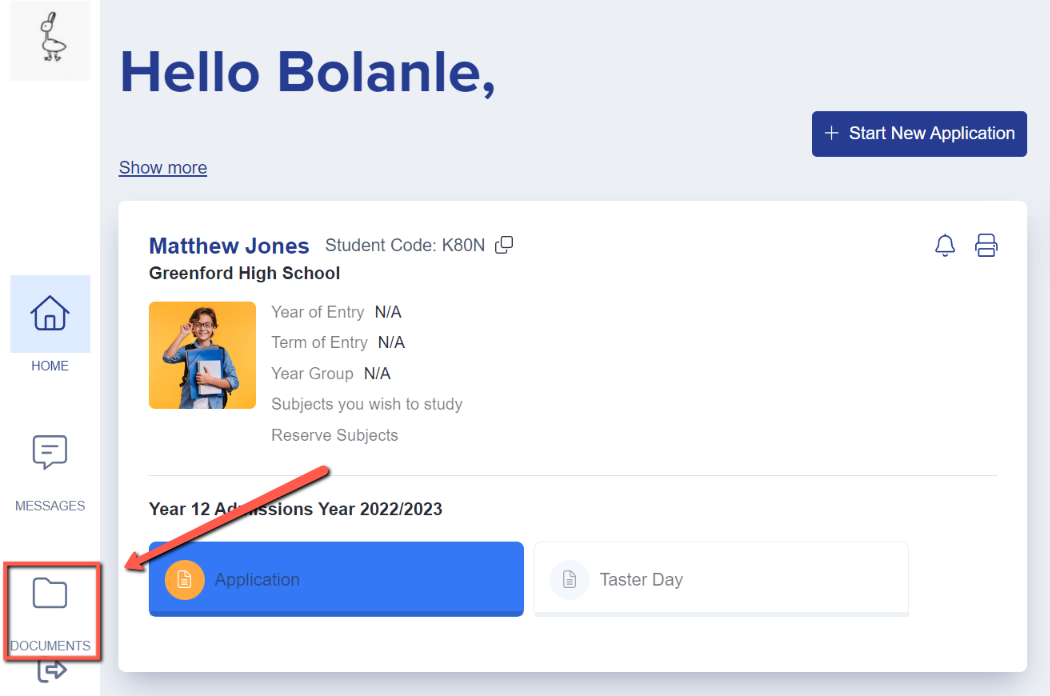
Show Documents in Homepage – Enables you to display any documents added to the Uploaded Documents area (Data > Uploaded Files) for parents to access and view.

-
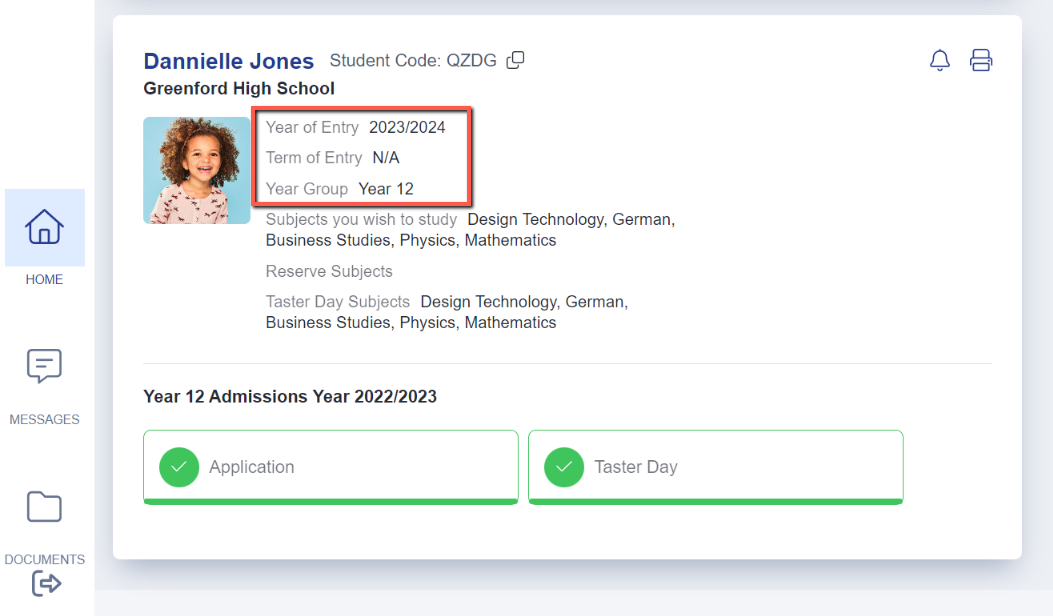
Show Year of Entry – Displays the year the child is expected to start at your institution.
-
Show Term of Entry – Typically used for Nursery or In-Year Admissions. Parents can specify Autumn, Spring, or Summer, and this answer will be displayed on the parent homepage if this option is enabled and the question is active in your application form.
-
Show Year Group Applied For – Displays the year group a child is applying to join.
-
Show Application Form – Displays the name of the form, allowing parents to see which application form they are completing for their child/children.
-
Show Academic Years – Displays the academic year to which the application form applies.
