Moving internal students into Admissions+ from SIMS
- Load the Admissions+ SIMS App and select “Export Applications”.

- Select the correct application form (your Data Collection form, for example) to ensure this is where the students are exported to.
*Note: if the form is not showing in the list, you will need to log into your Admissions+ system and ensure the toggle switch is turned on for that form in your forms area.
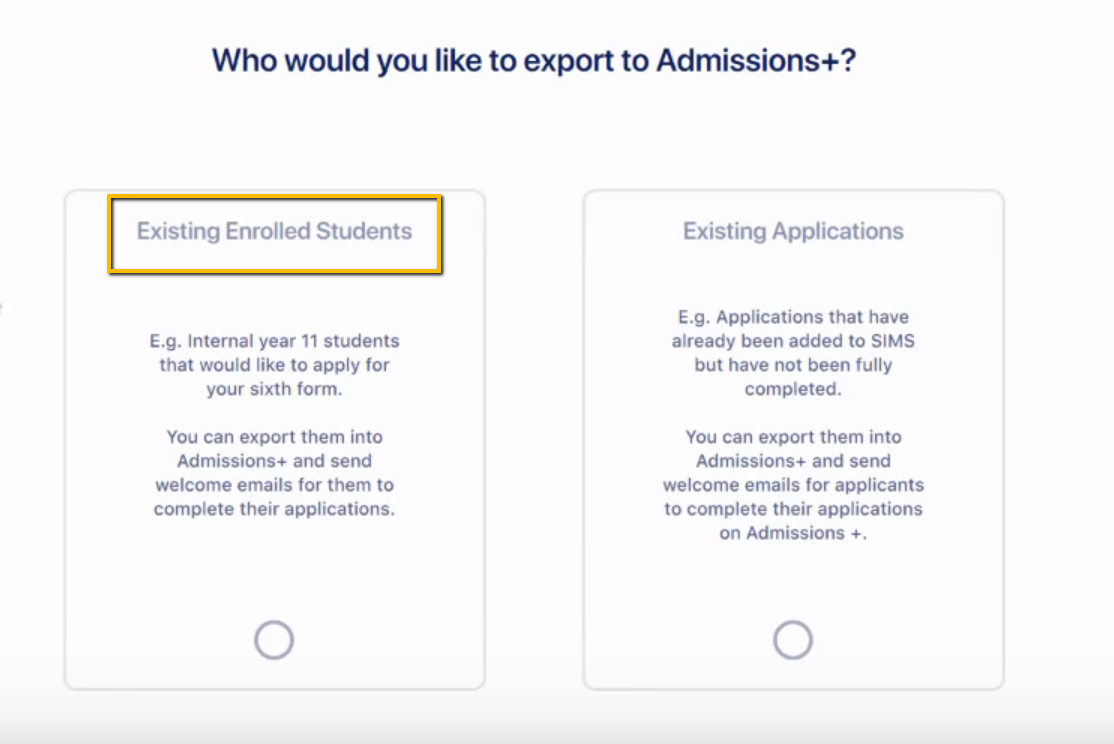
- Choose “existing enrolled students” when prompted, and then filter to select the correct year group from the list of all on-roll students. You can select multiple year groups, but our recommended practice would be to complete this process one year group at a time.
- Click “select all” to choose all of the students who appear in your filtered list.
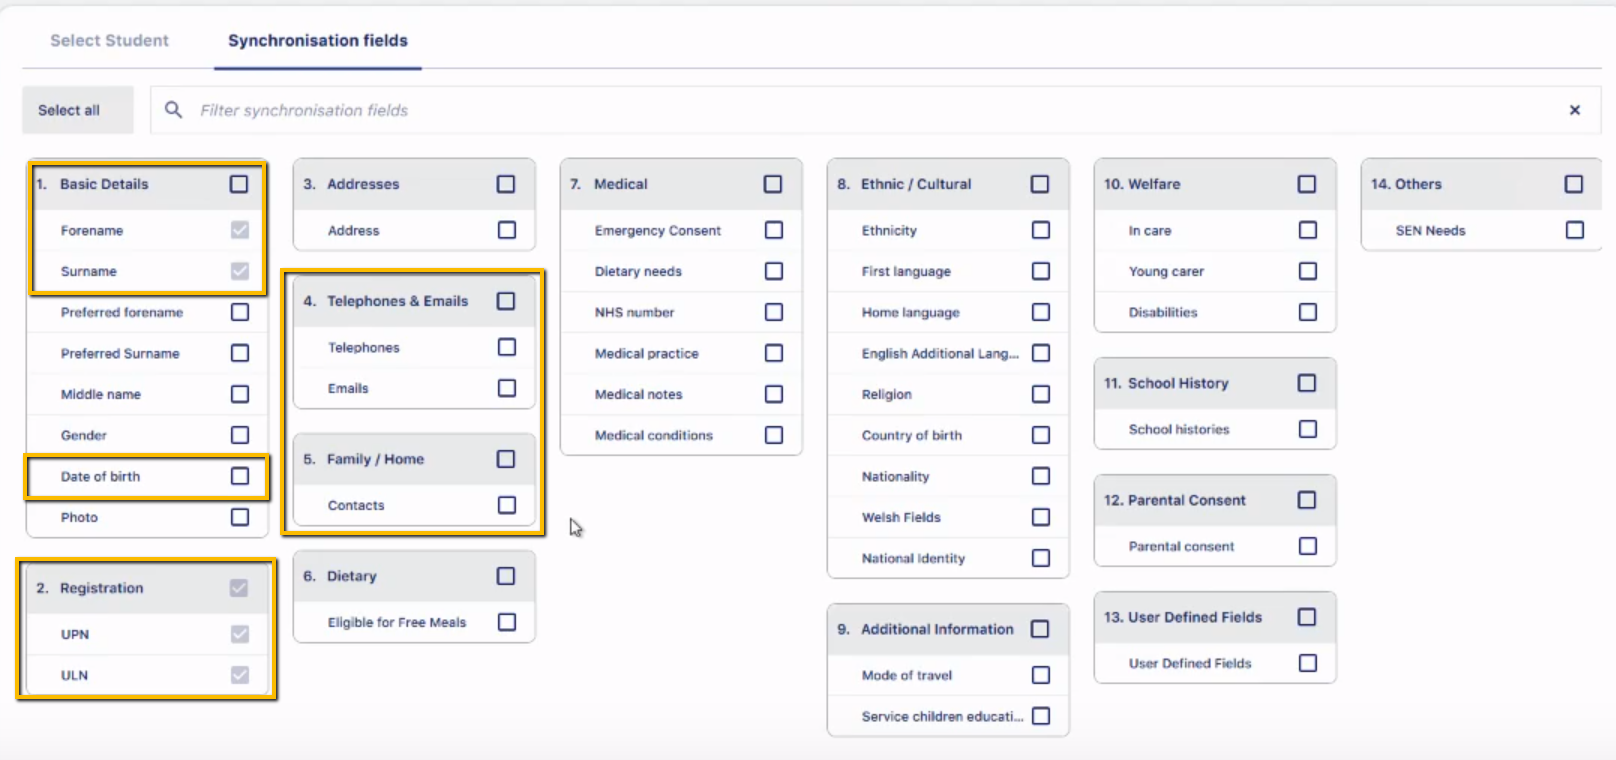
- Choose which fields of data to export from SIMS; you can "select all", or choose which fields of data to export, as shown here:
- You will then be asked whether you would like to be able to email the parents/contacts of each student - we suggest choosing “yes” and then selecting to import the data for Priority 1 and/or contacts with Parental Responsibility. This will enable you to CC parents into emails you send to the students from your A+ system.


- You will then be asked whether you want the contacts to have login credentials so that they can login to the system, as well as choosing which contacts to enable this for.
- For Data Collection, you will want the parents to be completing the process and should therefore select "yes".


- Finally, you will be prompted to complete the export and the data for your students will show in the Data > Import area of your Admissions+ system.


Moving internal students into Admissions+ from Arbor
- Navigate to Data > Import > Start an Import within the Data Collection form of your Admissions+ platform.
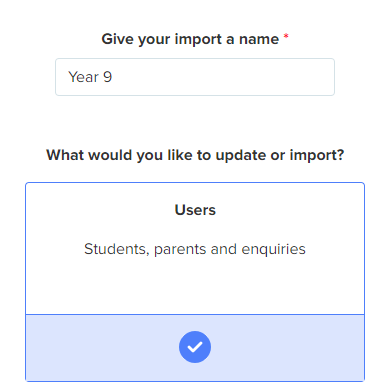
- Give your import a name and select “users”, then “next”.
-
Select “New Users” and “next”, then “Students” and “next”.
-
Select the name of your MIS and then click “next”.

- You will see a Mapping step which shows you which data will be imported; scroll to the bottom and click "next".

-
Filter by Year and select the correct year group from the dropdown menu, then click “select all” to choose all of the students within that year group. You can select multiple year groups, but our recommended practice would be to complete this process one year group at a time.

-
Click “next” to complete the import, and the students will then be visible in your Imports area.

What to do once the students are imported (SIMS & Arbor)
Once your students and their contacts have been imported into Admissions+, you can send the parents their welcome emails so they are able to log in and complete the application form.
In your Imports area, you can click on the report icon to view the list of imported students; switch to view imported parents so you can edit, preview and send the welcome email.

