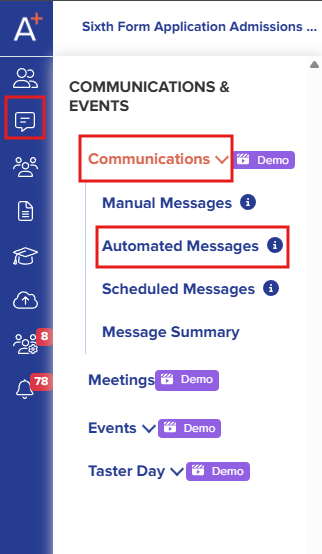
Please navigate to Communications & Events > Communications > Automated Messages. From there, you will see all the templates available on your platform.
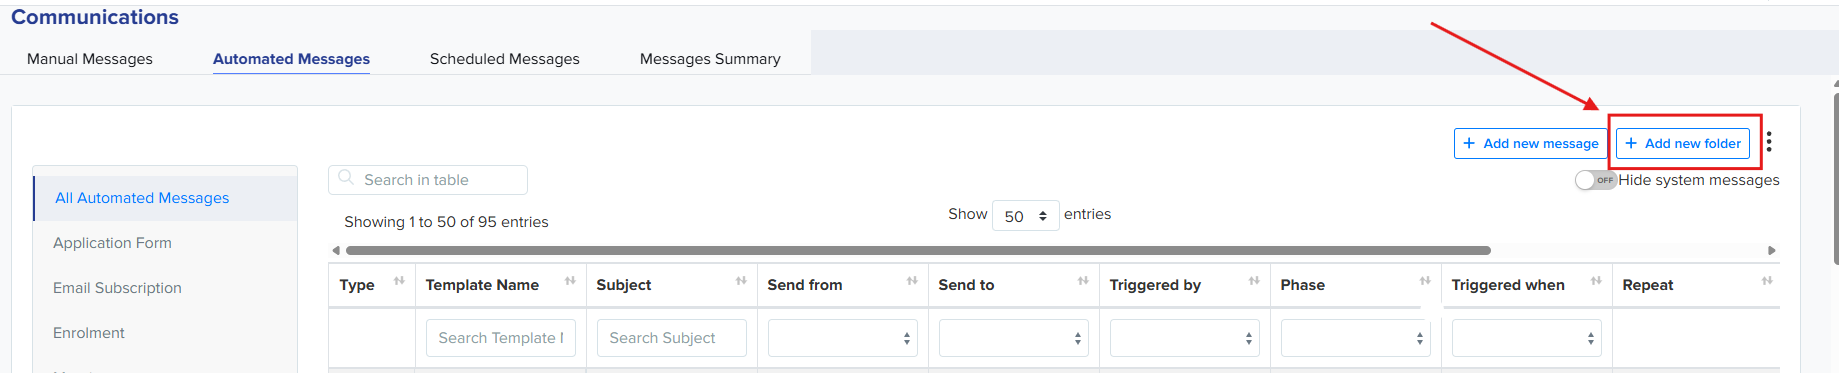
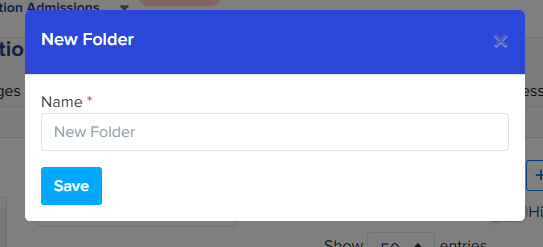
Click the Add New Folder button, located in the upper right-hand corner. A prompt will appear, allowing you to enter the folder's name.
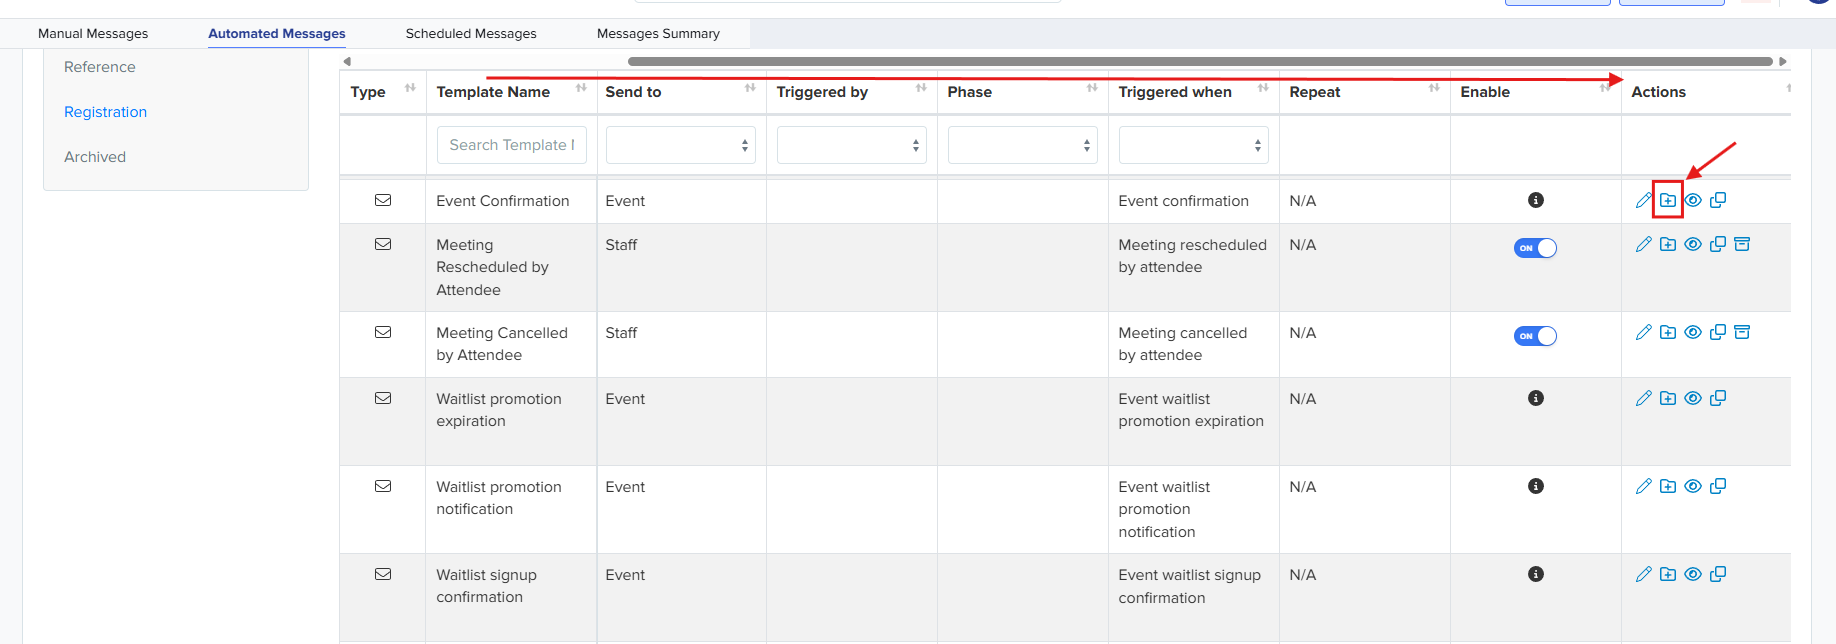
Once the folder has been created, scroll through the list of automated emails to the right until you locate the Actions column. In that column, click the folder icon with a plus sign (which allows you to move the template).
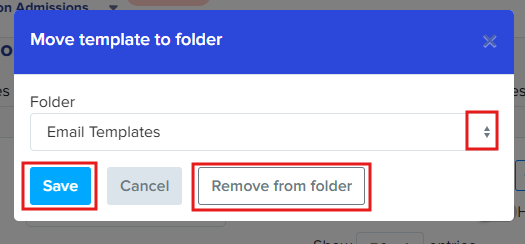
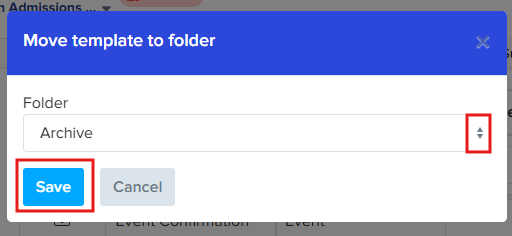
Use the dropdown menu in the prompt to select the desired folder, and then click Save to confirm the template's new location.
How to move a template back out of a folder
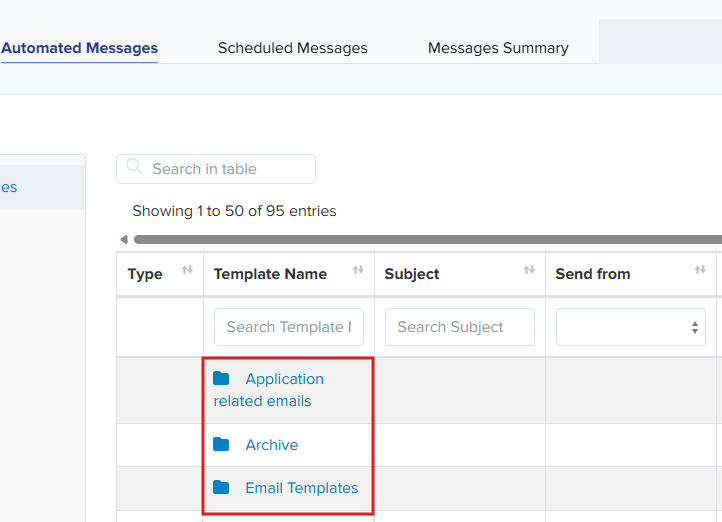
Should you decide to move a template back to the main area or change it's folder, first navigate to its current folder, which you'll find at the top of your email templates list.
Locate the email template in the list, scroll right to the Actions column, and click the folder icon with a plus sign.

A prompt will appear, allowing you to either select a different folder from the dropdown menu or click the Remove from folder button to place it back in the main area.