Actions
This provides tools to manage your events. You can edit events using the pencil icon or access additional options—such as preview, duplicate, publish/unpublish, cancel, delete, or manually add guests—through the three-dot (kebab) menu.- Pencil icon – Allows you to view and edit an existing event.
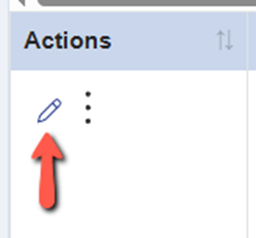
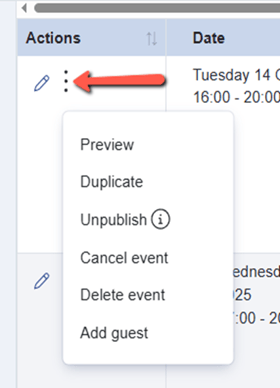
- Kebab menu (three-dot icon) – Offers additional options such as previewing, duplicating, publishing or unpublishing, canceling, and deleting an event. You can also manually add guests to an event from this menu.
Event Details Overview
The Event Details section provides an at-a-glance view of key information to help you manage and monitor your school events. It includes event basics (name, date, URL, and location), visibility status, attendee limits, and registration details such as the number of registrants, invitees, attendees, and remaining tickets.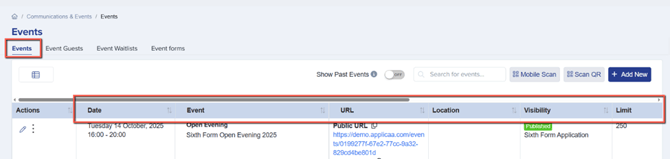
- Date – Displays the scheduled date and time of the event.
- Event – Shows the name of the created event.
- URL – Provides a unique link that can be shared or embedded on your school’s website for easy access.
- Location – Indicates the venue or location where the event will take place.
- Visibility – Shows the event’s publication status, specifying whether it is Published or Unpublished.
- Limit – Indicates the maximum number of attendees or registrants allowed by the school.
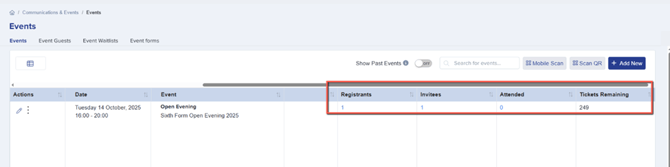
- Registrants – Displays the total number of people who have registered for the event.
- Invitees – Shows the number of guests or additional attendees invited by registrants.
- Attended – Populated once the event concludes, showing which registrants have been marked as attended.
- Tickets Remaining – Displays the number of tickets still available for the event.

- Show Past Events – This toggle allows you to hide old events from your view. When turned off, events that ended more than one month ago will not be displayed in your events list.
- Search Bar – If you have multiple events created, use this search bar to quickly find a specific event by typing its name.
- Scan Event’s QR Code via Mobile – This function allows you to scan the event’s QR code using your mobile device. Once scanned, you can use it to check in attendees by scanning their individual QR codes.
- Add New Button – Click this button to create a new event in your system. You may refer to this link for more detailed guide on how to create an event: How to Create an Event.
- Show/Hide Event Calendar – This toggle gives you the option to display or hide an event on the landing page of a selected form.
Event Guests Overview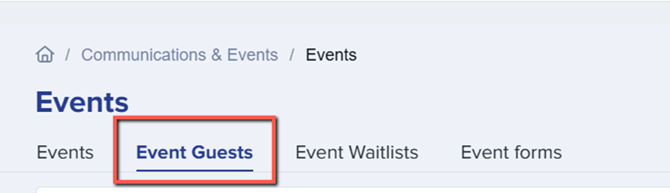
The Event Guests section displays key details about all participants linked to an event, including both registrants and their invited guests. It includes essential information such as personal details (name, email, phone), event details (event name, date, guest type, status, attendance), and additional data like school information, registration date, postcode, and medical notes. The Action column allows you to manage guest records by viewing, editing, or removing entries.
Event Waitlist Overview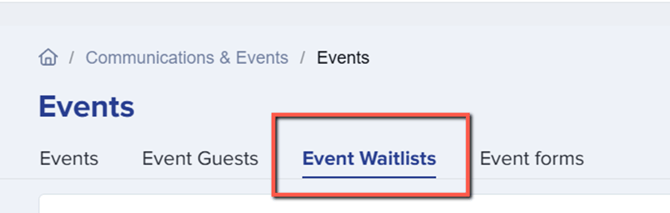
The Event Waitlist feature in Admissions+ allows you to capture and manage interest in an event even after it has reached full capacity. Registrants can add themselves to the waitlist, and you can promote them into the event either automatically or manually.
For a step-by-step guide on how to enable and manage the Event Waitlist, please refer to this article: Event Waitlists Feature
Event Forms Overview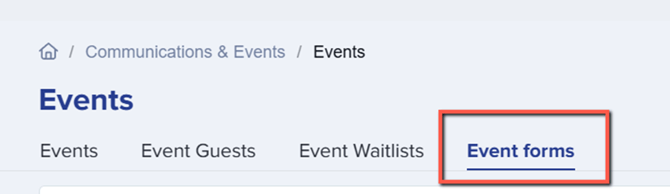
This section allows you to create, manage, and customise forms linked to your events. These forms collect important information from registrants and their guests, such as personal details, and any additional data required by your school. Event forms help streamline the registration process and ensure accurate record-keeping.
“This is a Public Event – Publish This Event to Applicaa One”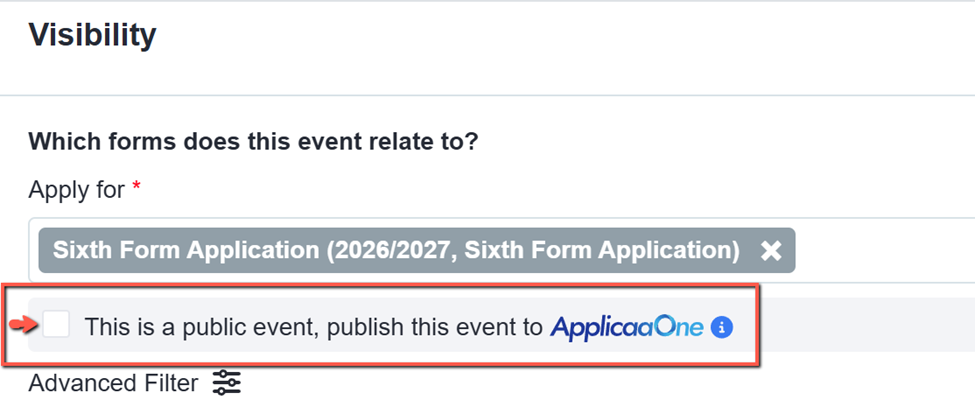
When creating an event, you now have the option to publish it to your ApplicaaOne profile. Doing so helps maximise your event’s reach and visibility among local applicants. By publishing, your event becomes accessible to a wider audience, allowing you to attract more potential attendees.
This new option can be found in the Visibility section when creating an event.
This video provides an overview of the Events feature, demonstrating how to easily create, manage, and customise events—such as open days, open evenings, etc.—while efficiently handling registrations within the system.